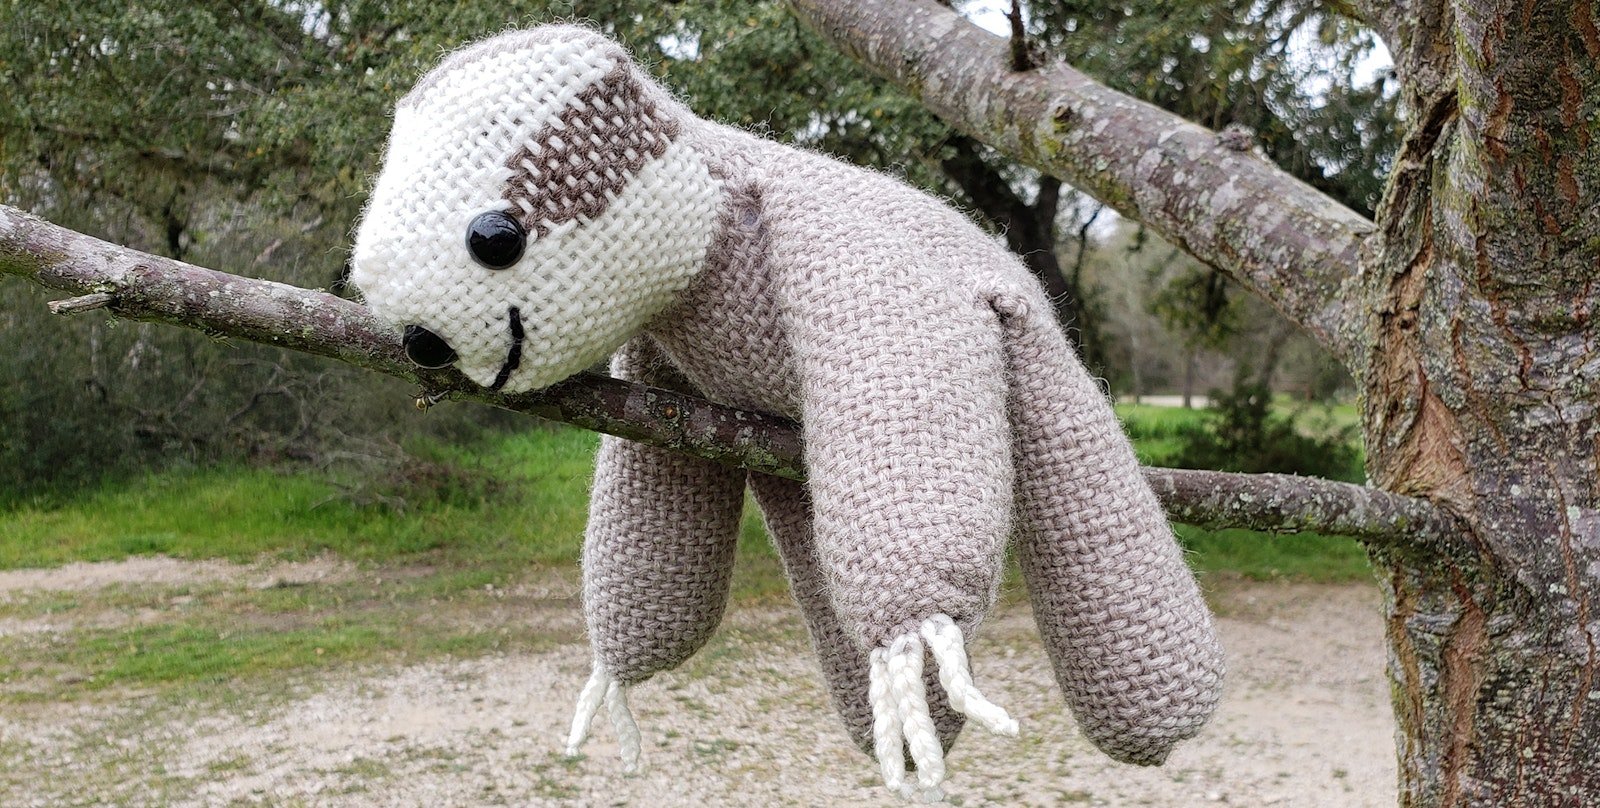
In this second post about designing with hexagons, Gabi van Tassell starts at the beginning with making 1 hexagon into a three-dimensional shape and continues on through joining 4 hexagons. Read on for the surprising number of ways you can manipulate pin-loom woven hexagons.
In her next post, Gabi continues with 3D hexagon designs giving tips for sharing hexagons to create garments and bags, doubling designs to make them 3D, and more. —Susan
The world isn’t flat, and hexagon projects don’t have to be flat, either! In this post I’ll start with the basic methods for changing hexagons from flat to three dimensions and then show how you can go from there to designing three-dimensional projects. For this post, I’m focusing on regular hexagons, with six equal sides and angles.
Manipulating 1 Hexagon
Let’s start with looking at how to make a single hexagon “not flat” by pulling threads or folding it.
Pulling Threads
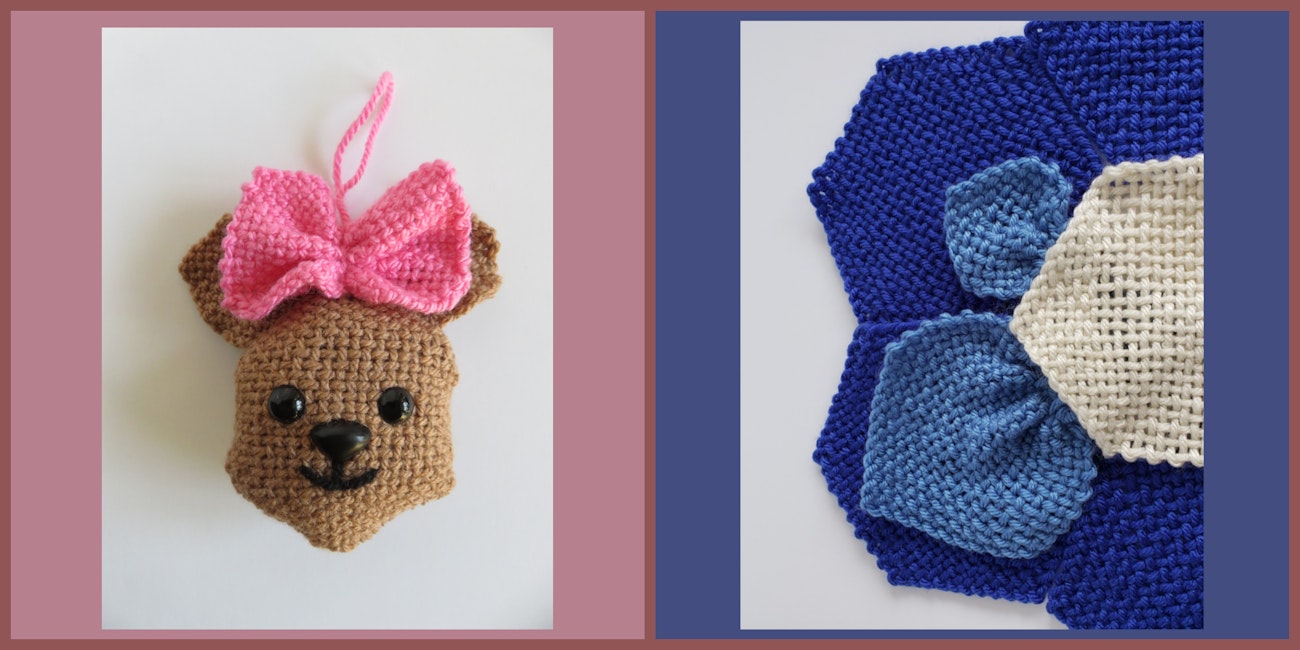
If you’re using the patented hexagon weaving method and pull the start tail (make sure to hold the opposite tip tightly so that the pull stops there), you will get an instant decorative bow. If you pull the end tail, you’ll get a ruffled half circle shape that you can use for a flower petal, or perhaps a kitten’s ear?
Folding Hexagons
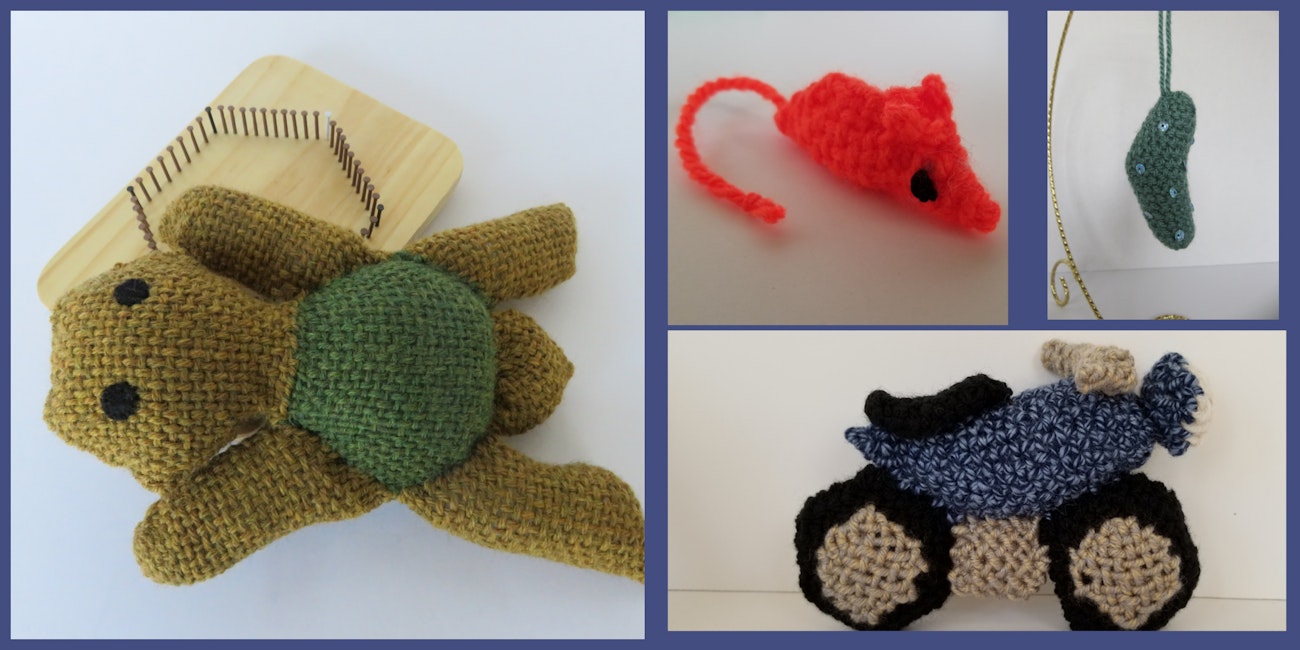
There are two ways to fold a hexagon: along the longest point-to-point diameter or half way in the middle of a hexagon side. As I mentioned in my first post about designing with hexagons, depending on whether you fold along the bias or not, those half hexagons will stretch at different rates, in different directions. Fold a hexagon twice for a triangle shape (turtle tail), or fold it free form (motorbike seat). Folded hexagons make great building blocks for stuffed animal or doll arms and legs, ornaments, or toy mice (particularly enticing when filled with catnip).
Working with 2 Hexagons
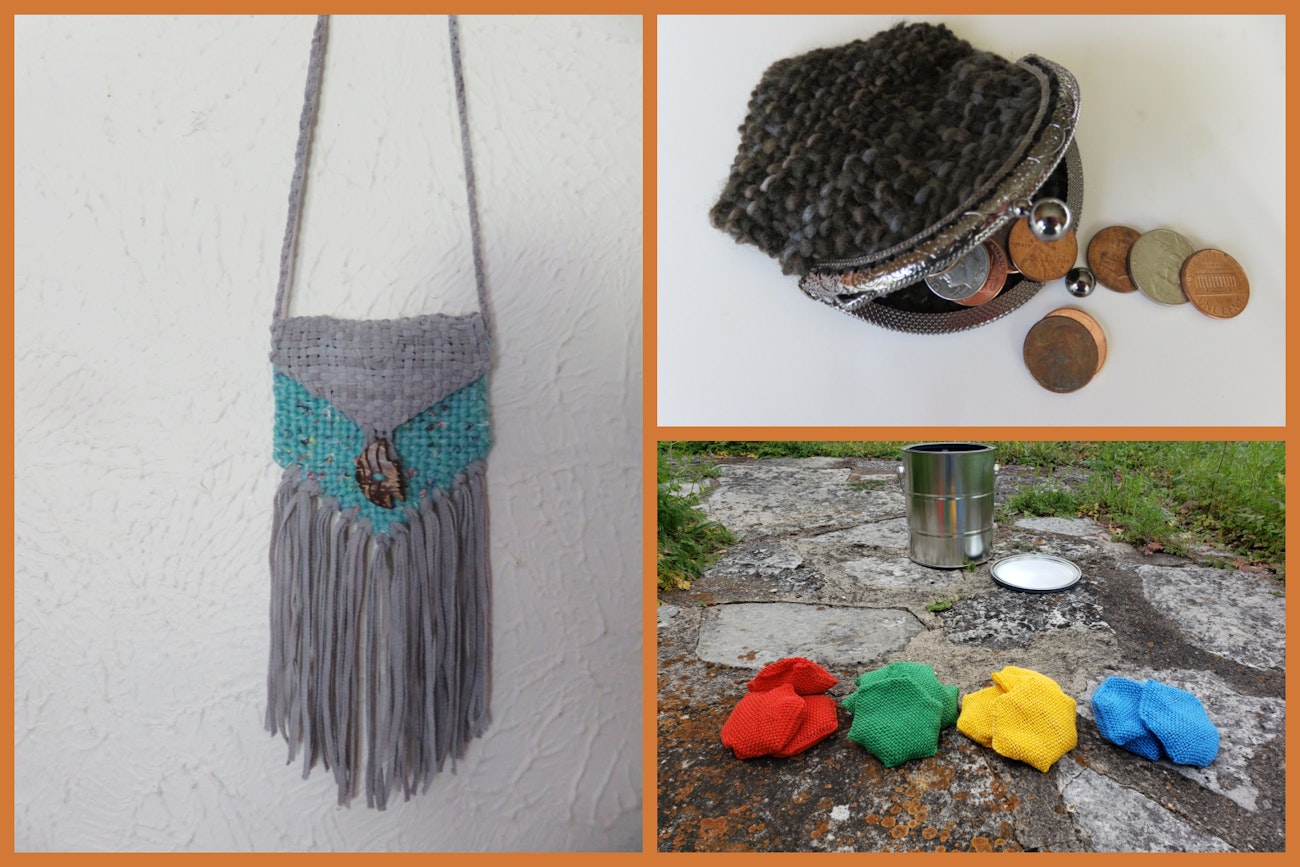
Joining 2 hexagons is probably the most intuitive way to add dimension. If you sew both layers along 4 sides, you will have a pocket shape, which can be used as the beginning of a coin purse or amulet pouch.
Two hexagons sewn together on all 6 sides and stuffed create a hexipuff shape. A hexipuff on its own can be a toss-game piece or hand warmer. Sewing multiple hexipuffs together can turn into anything from a cozy seat cushion to a cute pet bed.
Working with 3 Hexagons
Joining 3 hexagons with their tips facing each other creates a perfectly flat “bottom,” and you can fold up the remaining sides to shape walls for an instant basket or the beginnings of a pouch. The bottom will have a tendency to take on a triangle shape, but if you make a basket or pouch, that effect will go away and settle into a round shape when used.
Close up the top like the bottom and you will have a sphere-like shape, great for ornaments or small balls.
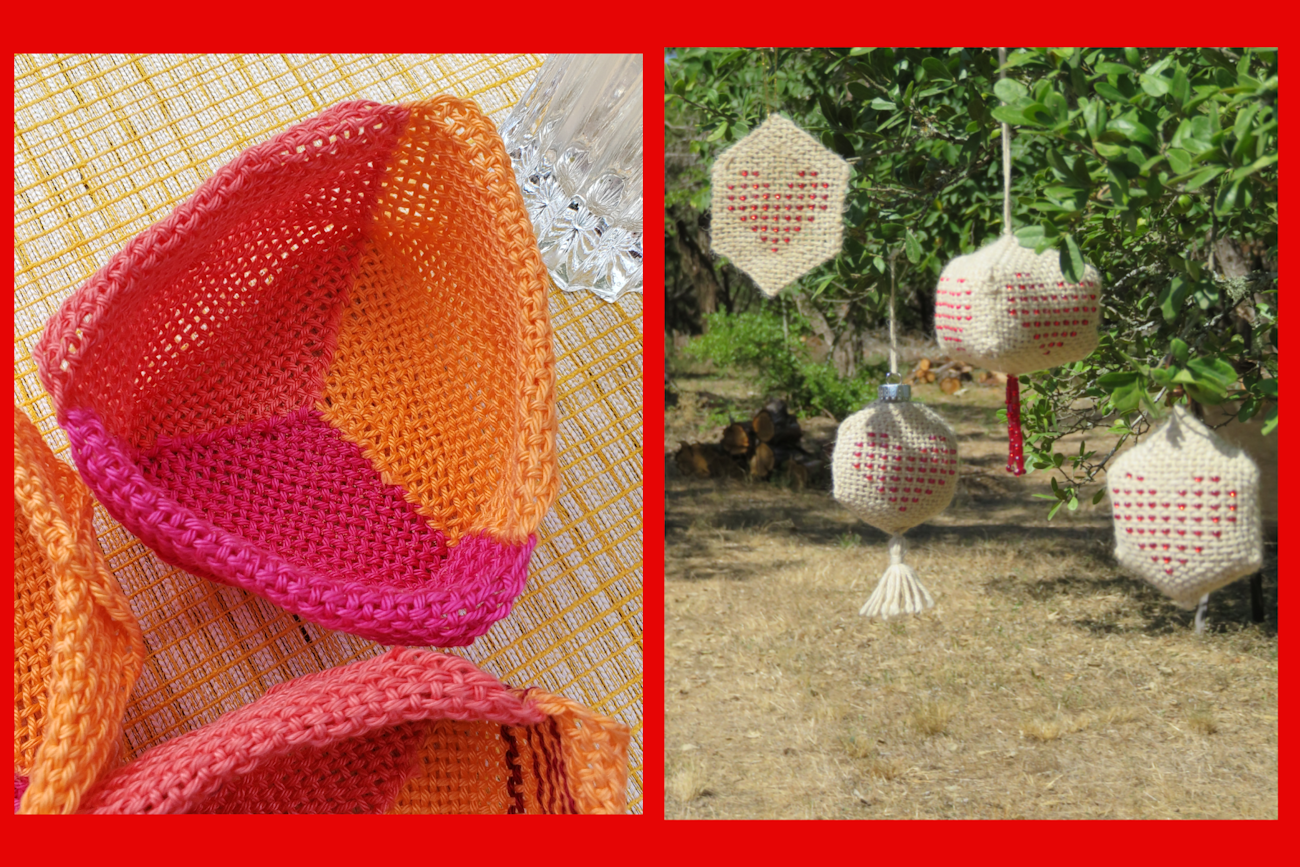
Working with 4 Hexagons
You can join 4 hexagons, tips touching much as you did for 3 hexagons above. Mathematically, there is more fabric than fits into a circle when you join 4, causing the center of the piece to bulge out. That might just be what you want for a nicely rounded bottom and a wider diameter that work great for bags or pillows.
Folded in half, a 4-hexagon setup is also a great starting point for making dolls and plush toys with arms that are integrated into the body as shown below.
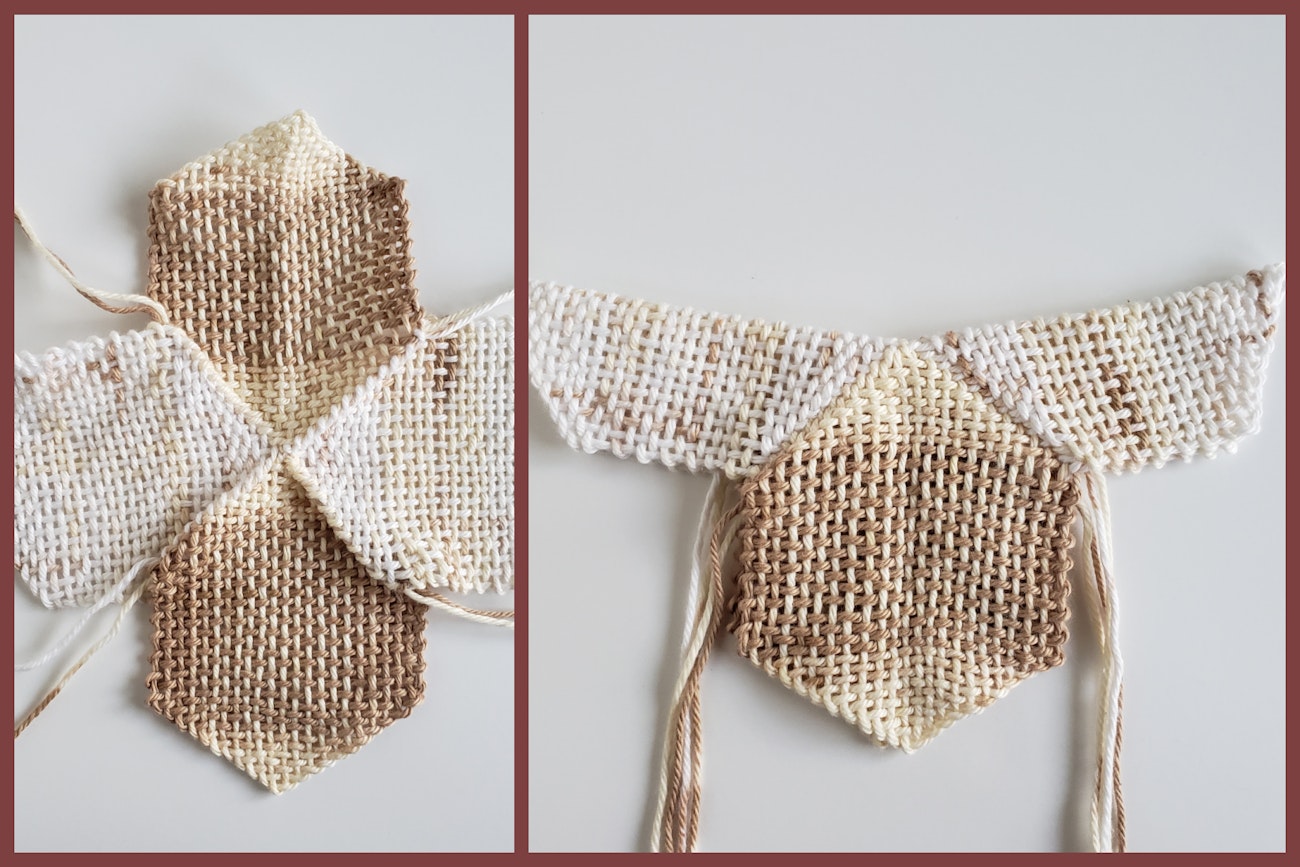
Now it’s up to you! Start pulling threads, folding, and joining hexagons and see where it takes you. Check here for Part 2!
Originally published 6/30/22; updated 2/25/25

