
Back in 2019, the Facebook Pin Loom Weaving Support Group had a pumpkin weave-along. Any pin loom, any style pumpkin, any technique was welcome. I loved seeing all the pumpkins and how everyone interpreted “pumpkin” in their own way; I filed it away as a project for “someday.” Well, now I’m happy to say I’ve finally woven my own little pin-loom pumpkin, and I can’t believe it took me this long.
I didn’t follow a specific pattern, although I absolutely took a gander at various pin-loom pumpkins made by others to get an idea on how I wanted to do mine. I began by weaving 3 orange squares on my trusty Loomette and whipstitched them first into a 1 x 3 rectangle (1 square tall and 3 squares wide). Then with right sides in, I sewed this into a tube and flipped it right-side out. Voilà! I had a 3-dimensional form.
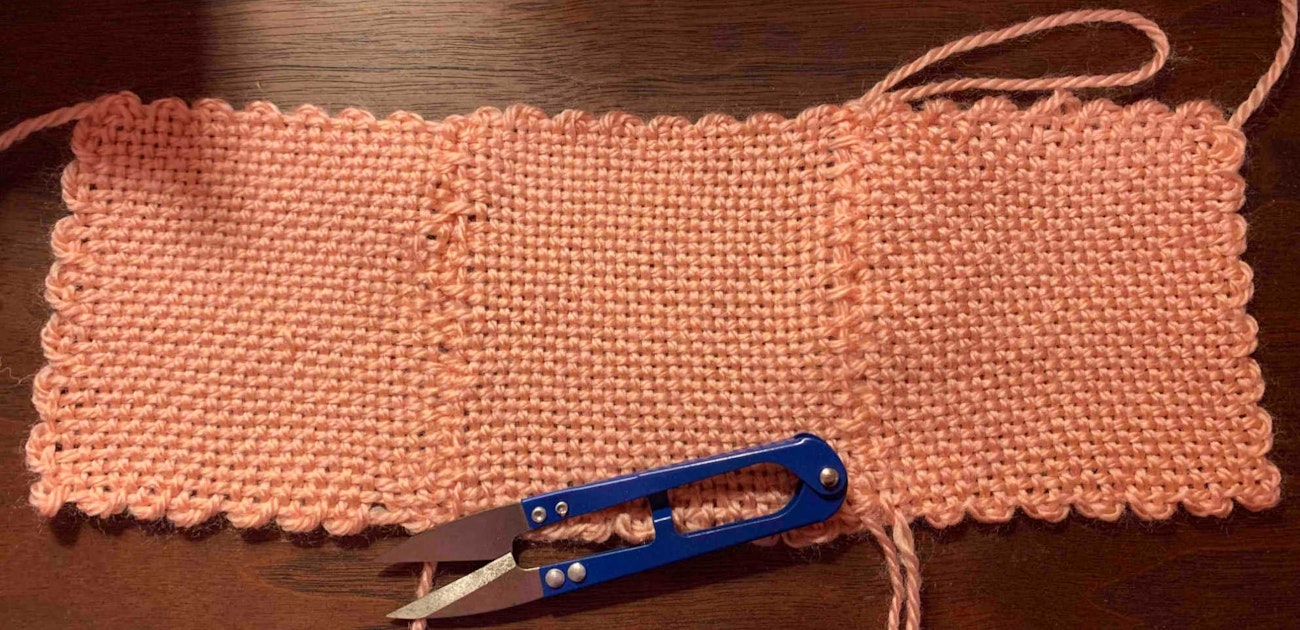 After joining the pin-loom squares together Christina shaped them into a tube.
Now that I had my tube shape, I had to make it look more pumpkin-y. I added a quick running stitch along the top and bottom edges of the tube, all the way around. I pulled the running stitch on the bottom, as one would a drawstring, to draw the fabric in as close as I could. Once it was to my satisfaction, I tied off the strings and hid them inside the pumpkin form. Then I added some stuffing and repeated the process with the top running stitch. The result was a squat little proto-pumpkin.
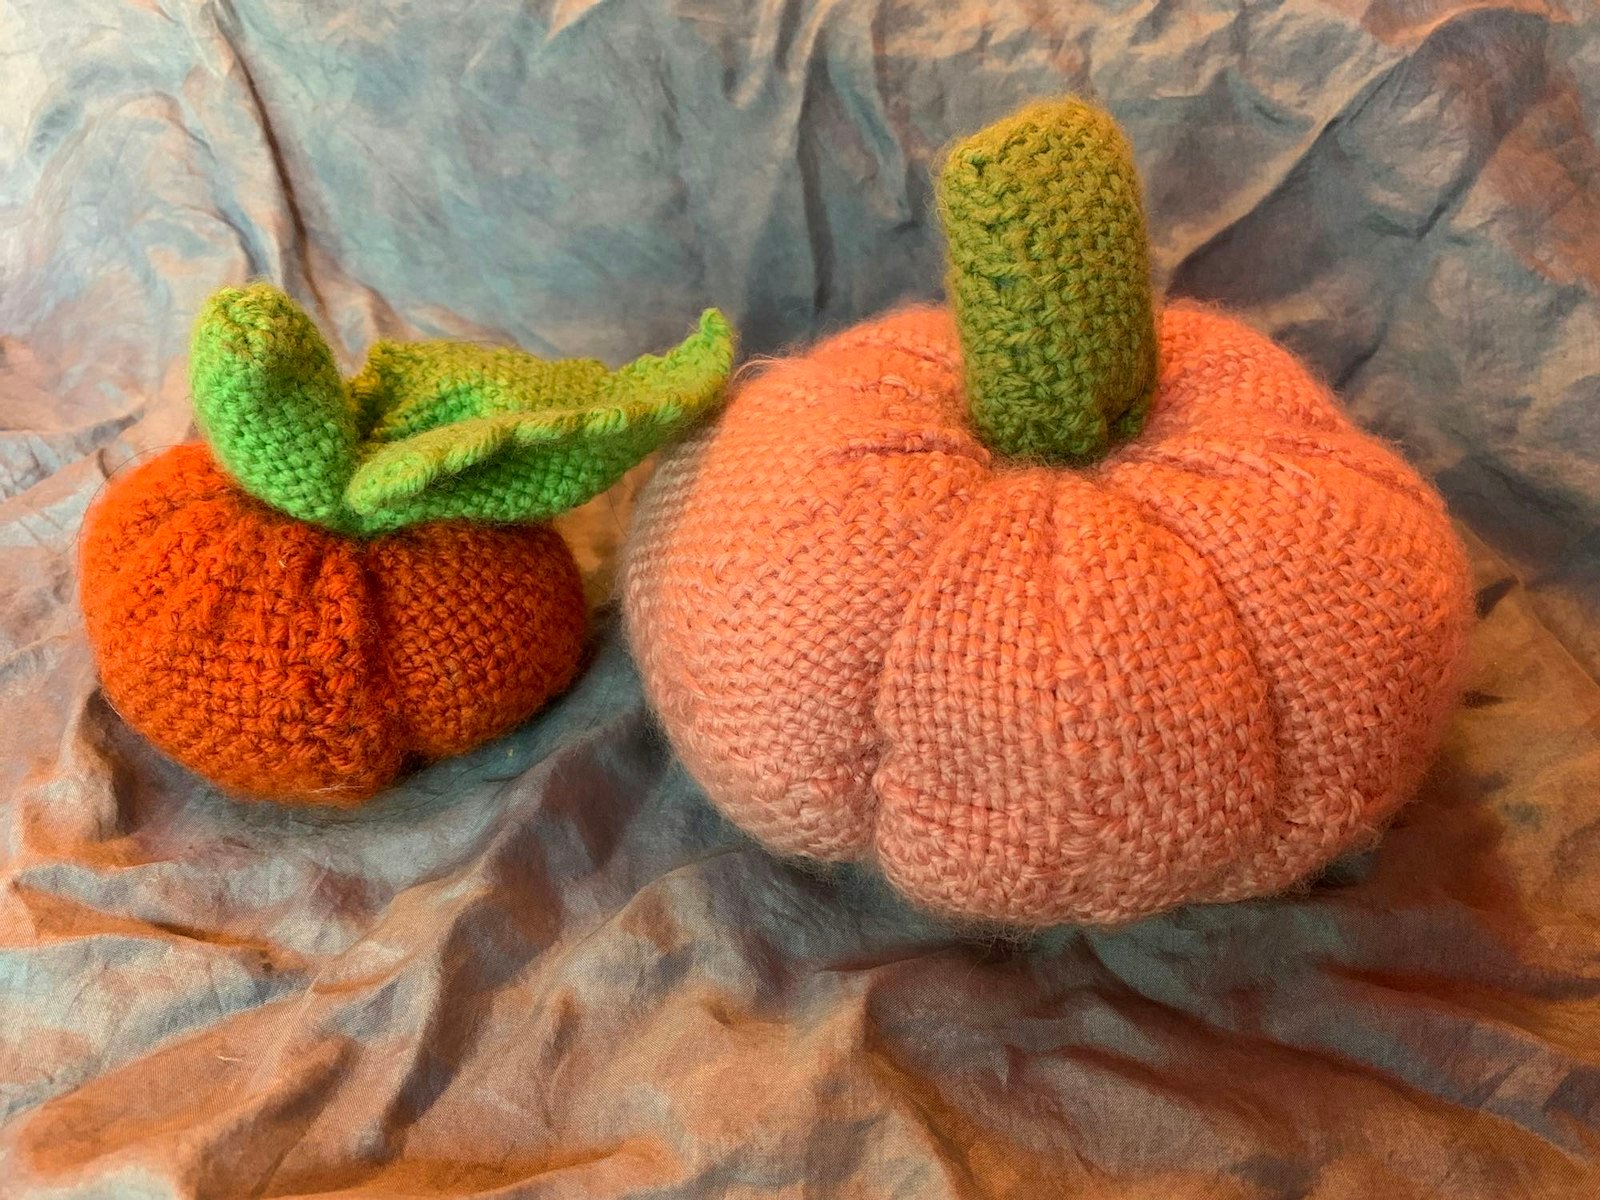
Now I needed a stem. I wove one green square and folded it in half, sewed it into a stem shape, and turned it right side out to hide the seam. When I put the stem on the pumpkin, I realized it was entirely too big. Fortunately, the hole in the top of the proto-pumpkin was large enough that I could wiggle the stem down into the pumpkin until it was just the right height. Adorable, but I felt it needed a leaf.
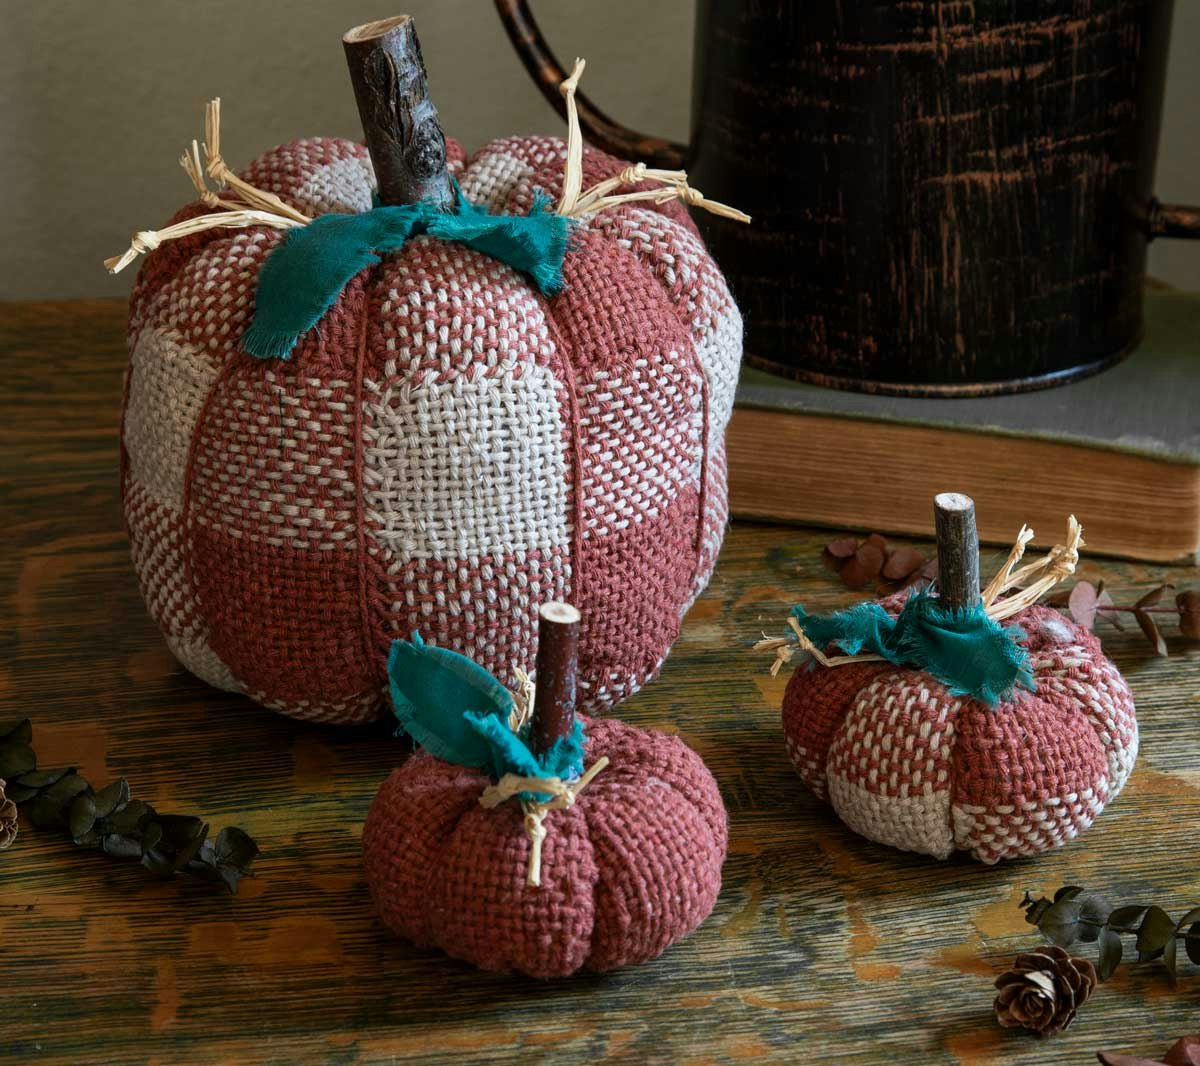 Want to make a pumpkin but with a twist? Try Deborah Bagley's Pin-Loom Pumpkin Patch project from the Fall 2024 issue. Photo by Matt Graves.
The leaf was a little trickier. I tried a method I found on the Schacht website (see Resources) for making the leaf, but my yarn was so sticky, it didn’t work quite as well as I’d like. So mostly I just fiddled and folded until the square looked like a leaf. I had to fight my impulse to make a cute little leaf because pumpkin leaves are not dainty; they are large and in charge. Once the leaf was finished, I sewed it to the stem so that the raw side would be hidden within the pumpkin.
I sewed up the hole on the bottom of the pumpkin, and with the first few stitches, I anchored the stem. It was almost there, but not quite. Last, I took a length of orange yarn and added a few long stitches up and down the sides of the pumpkin to give specific texture. The result was adorable! Of course the 4-year-old immediately claimed it so I decided to make a another pumpkin, this time with the coloring of a Fairytale pumpkin.
For my second pumpkin I made a few changes. First, I used an on-loom joining technique which you can read about here. Second, to make it larger I used 12 pin-loom squares to create a 2 x 6 rectangle (2 pin-loom squares tall by 6 squares high) which I turned into a tube by whipstitching the two short sides together. I followed the same methodology as my first pumpkin, leaving off a leaf this time around. Voila! An adorable Fairytale style pumpkin.
This was such a fun, quick project, I encourage you to weave up your own whether you use pin-loom pieces (of any shape), specially woven fabric from your rigid-heddle or multishaft loom, or scraps of weaving you have been saving for “someday.” I’m sure whatever you do it will be gourd-geous. Fair warning, though: you might weave a whole patch of pumpkins before you know it!
Best Weaving,
Christina
Resources
“Zoom Loom Flower and Leaf Tutorial”
Originally published 2022; Updated 10/16/2024