Contents
Common Crochet and Knitting Abbreviations
beg—begin(s); beginning
BO—bind off
CC—contrasting color
ch—chain
cir—circular
cn—cable needle
CO—cast on
cont—continue(s); continuing
dc—double crochet
dc3tog—double crochet 3 stitches together
dec(s) (’d)—decrease(s); decreased; decreasing
dpn—double-pointed needle(s)
fsc—foundation single crochet
foll—follow(s); following
hdc—half double crochet
inc(s) (’d)—increase(s); increased; increasing
k—knit
k1b—knit 1 in back of stitch
k1f&b—knit into the front and back of the same stitch—1 stitch increased
k2b—knit 2 in back of next 2 stitches
kwise—knitwise; as if to knit
k2tog—knit 2 stitches together
k3tog—knit 3 stitches together
k5tog—knit 5 stitches together
LLI—insert left needle into back of the stitch below stitch just knitted, knit this stitch
lp(s)—loop(s)
m(s)—marker(s)
MC—main color
M1—make one (increase)
M1k—increase 1 by knitting into the front and then the back of the same stitch before slipping it off the left-hand needle
M1p—increase 1 by purling into the front and then the back of the same stitch before slipping it off the left-hand needle
M1L—(make 1 left) lift the running thread between the stitch just worked and the next stitch from front to back, and knit into the back of this thread
M1R—(make 1 right) lift the running thread between the stitch just worked and the next stitch from back to front, and knit into the front of this thread
p—purl
p2tog—purl 2 stitches together
p3tog—purl 3 stitches together
p4tog—purl 4 stitches together
p5tog—purl 5 stitches together
p7tog—purl 7 stitches together
patt—pattern(s)
pm—place marker
prev—previous
psso—pass slipped stitch over
p2sso—pass 2 slipped stitches over
pwise—purlwise; as if to purl
rem—remain(s); remaining
rep(s)—repeat(s); repeating
rev St st—reverse stockinette stitch (p rightside rows; k wrong-side rows)
RLI—knit into the back of stitch (in the “purl bump”) in the row directly below the stitch on the left needle
rnd(s)—round(s)
RS—right side
sc—single crochet
sc2tog—[insert hook in next stitch, yarn over and pull up loop] 2 times (3 loops on hook), yarn over and draw through all 3 loops on hook (1 stitch decreased)
sk—skip
skp—slip 1 knitwise, knit 1, pass slipped stitch over (1 stitch decreased)
sk2p—slip 1 knitwise, knit 2 stitches together, pass slipped stitch over (2 stitches decreased)
sl—slip
sl st—slip(ped) stitch
sp(s)—space(s)
ssk—slip 1 knitwise, slip 1 knitwise, knit 2 slipped stitches together through back loops (decrease)
sssk—slip 3 stitches one at a time as if to knit, insert the point of the left needle into front of slipped stitches, and knit these 3 stitches together through their back loops (decrease)
ssp—slip 1 knitwise, slip 1 knitwise, purl 2 slipped stitches together through back loops (decrease)
st(s)—stitch(es)
St st—stockinette stitch
tbl—through back loop
tch—turning chain
tog—together
tr—treble crochet
tr2tog—treble crochet 2 together
tr3tog—treble crochet 3 together
tr4tog—treble crochet 4 together
ttr—triple treble crochet
WS—wrong side
wyb—with yarn in back
wyf—with yarn in front
yo—yarnover
yo twice—bring yarn forward, wrap it counterclockwise around the right needle, and bring it forward again to make two wraps around the right needle
Other Symbols Found in Patterns
*—repeat starting point
( )—alternate measurements and/or instructions
[ ]—work bracketed instructions a specified number of times
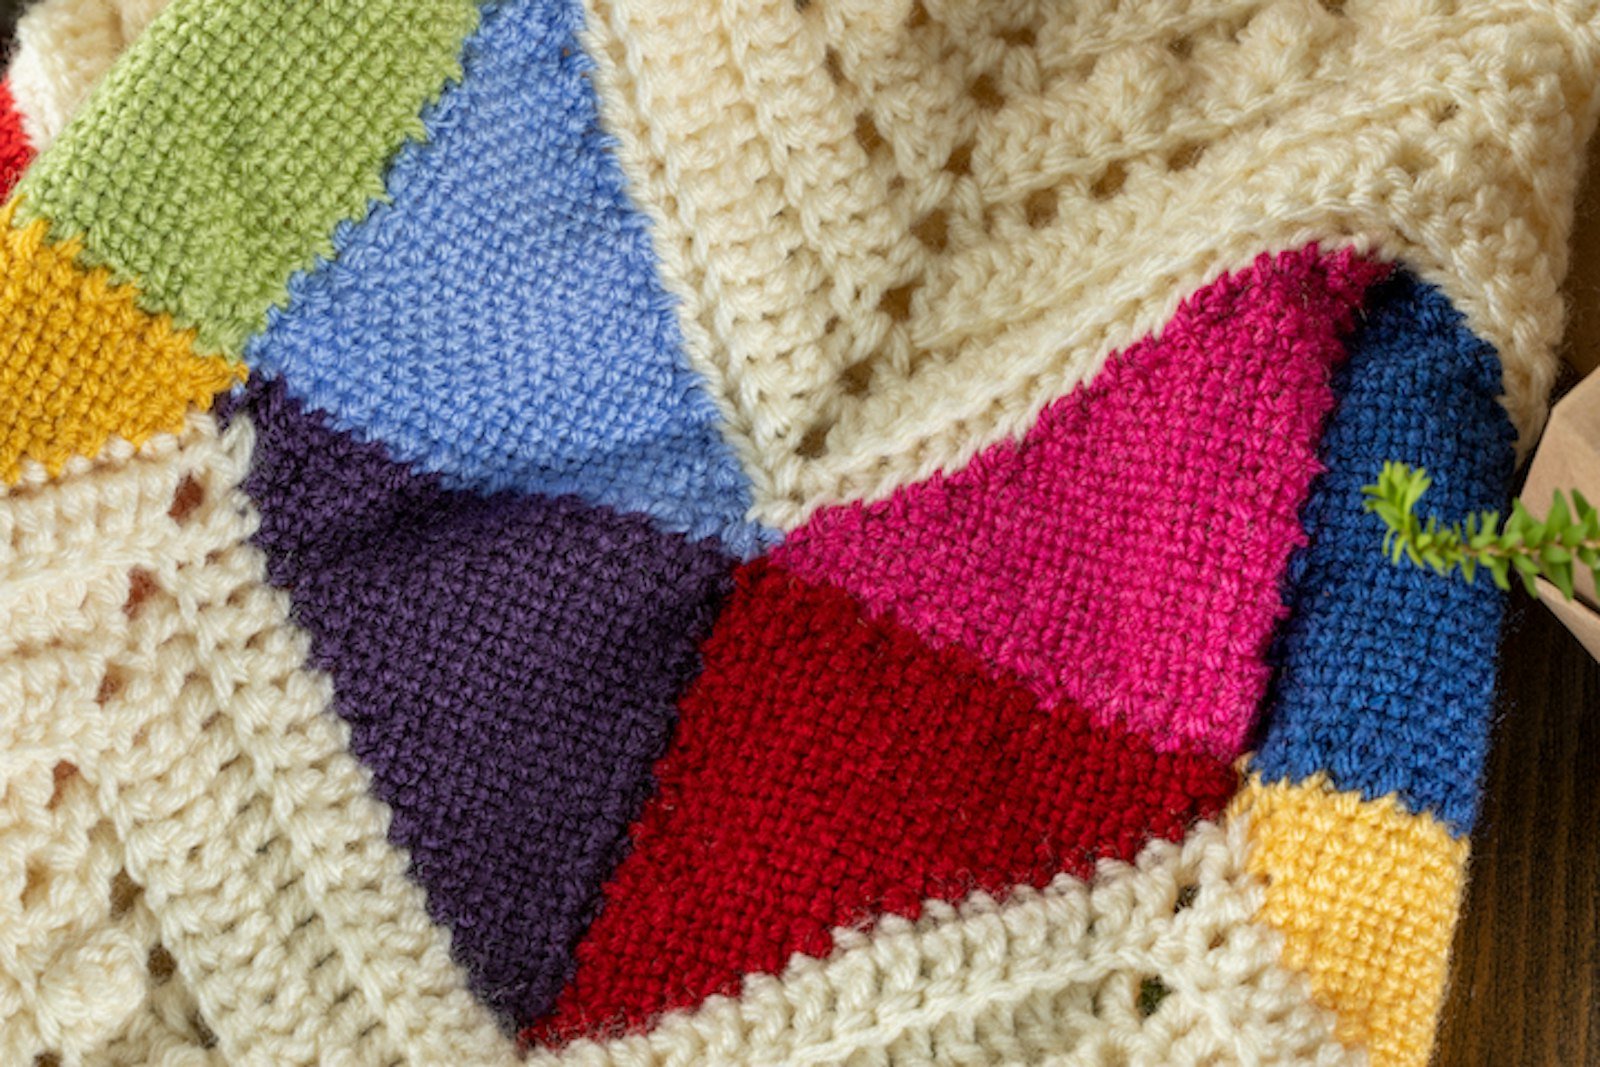
Crochet Tutorials
Each of these crochet techniques can be used individually or combined to create decorative borders, attractive joins, and clever closures in your weaving.
Crochet Chain or Chain Stitch
The crochet chain, also known as the chain stitch, is one of the building blocks of crochet. Use it as a foundation for further crochet work or on its own as a length of finished cord.
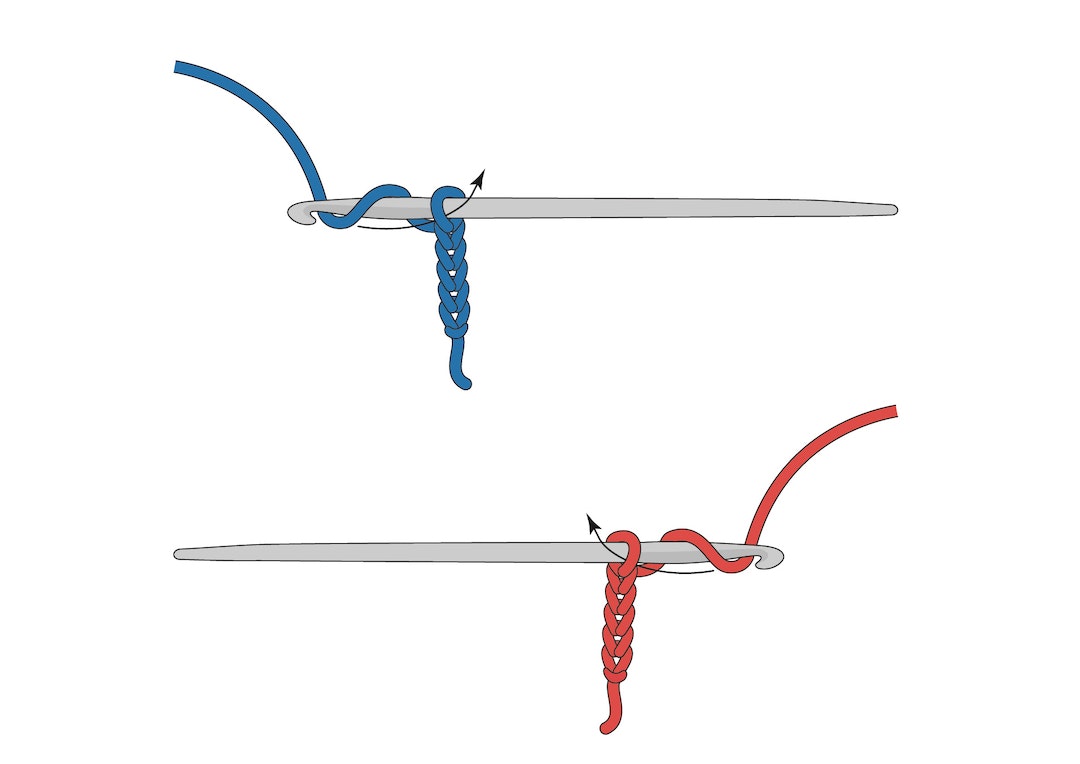
Step 1: Tie a slipknot and place it on the crochet hook.
Step 2: Hold the crochet hook in your dominant hand and the working yarn in your other hand.
Step 3: “Yarn over” the hook: wrap the working yarn over the hook from back to front. Use the hook to pull the working yarn though the slipknot, making the first chain stitch.
Step 4: Yarn over, and draw a new loop through the loop on the hook.
Step 5: Repeat Step 4 for the desired length of chain.
Step 6: To end the chain, draw the yarn completely through the final loop, leaving no loops on the hook.
Slip Stitch
Use slip stitches to join a new yarn before starting a crochet element, to end a round of crochet, as a border, or to join pieces. While you can use slip stitch on rigid heddle–woven fabric, pin-loom fabric lends itself especially well to the technique, as the loops on the selvedges provide the perfect base for anchoring the crochet to the cloth. Slip stitching can be used by itself or in combination with other stitches.
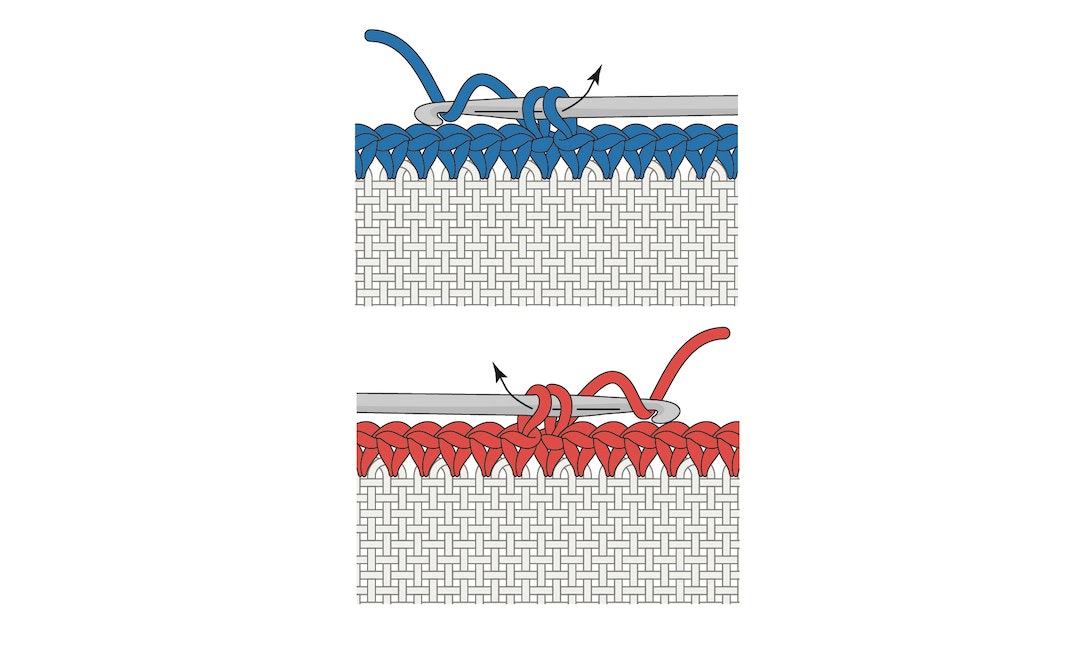
Step 1: Start with a loop on the hook. Insert the hook into the fabric edge or into the crochet stitch to be joined.
Step 2: Yarn over, and draw a new loop through both the edge or the stitch to be joined and the loop on the hook (1 loop remains). Repeat as needed.
Step 3: To end, draw the yarn completely through the loop on the hook, leaving no loops.
Single Crochet
Single crochet makes a tidy and attractive border or a dense fabric when worked in rows. Like slip stitch, it can be used to join a new yarn or to connect pieces of fabric in an easy and elegant way.
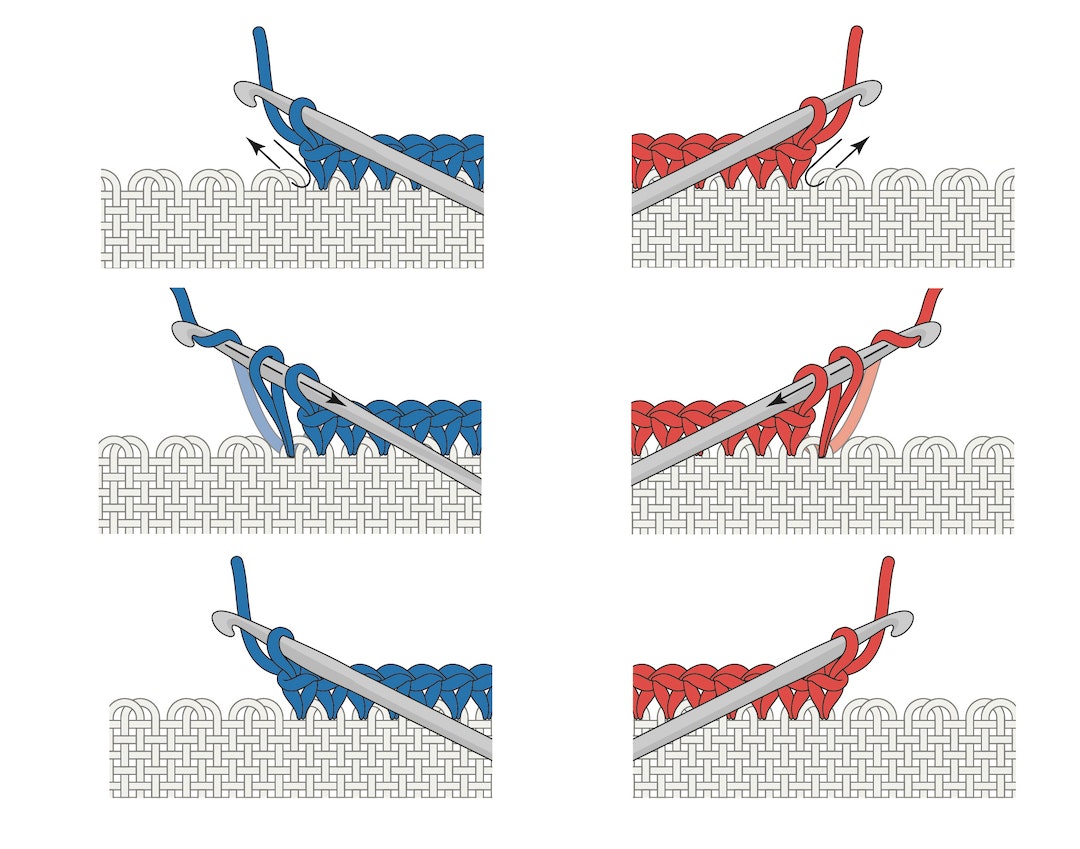
Step 1: Start with a loop on the hook.
Step 2: Insert the hook into the next stitch (or fabric edge), yarn over, pull this loop through the stitch to the front, yarn over, and draw the second yarn over through both loops on the hook (1 loop remains on hook).
Step 3: Repeat for desired length.