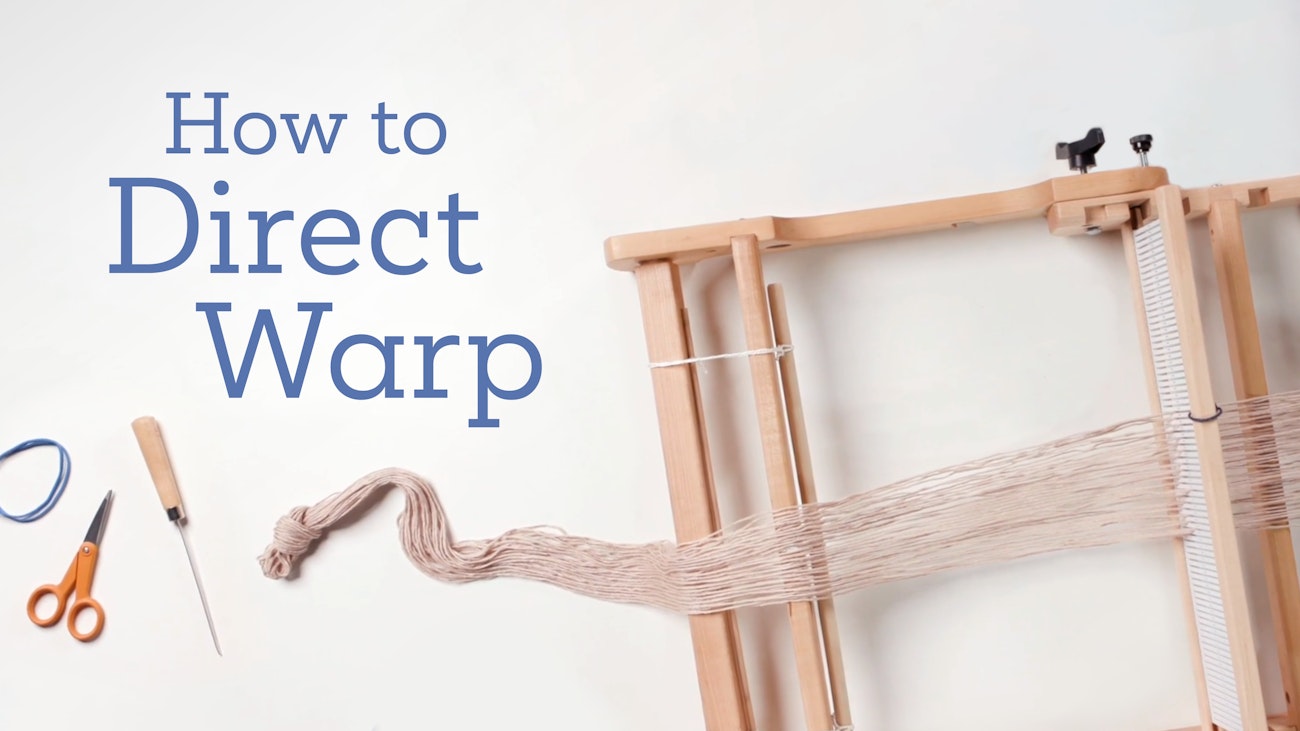
So, you’ve got a rigid-heddle loom ... now what? The first step after acquiring a rigid-heddle loom is to learn how to warp it. There are two basic methods for warping: indirect and direct. With indirect warping, you need to measure, wind, and cut your warp first and then thread it on your loom. Direct warping, on the other hand, lets you measure the warp and thread the loom at the same time—no winding or warping board required. Not only is direct warping easier than indirect warping, but it’s also much quicker, and it works well for just about any weaving project. Once you’ve got this warping method down, you can warp your loom in just 20 minutes!
Yarn and Direct Warping
As you get ready to direct warp your rigid-heddle loom, you’ll need to think about your warp yarn. If you’re curious whether your yarn will work for the warp, hold about six inches between two hands and give it a tug. If it comes apart easily, you probably shouldn’t use it in the warp. (Note: sometimes when people test warp yarns, they pull too hard on the yarn—the idea is to mimic the tension of the loom and not to pull as hard as you can.) As with any type of weaving, you also want to make sure your warp yarn won’t abrade too much and will easily fit through both the slots and holes of your heddle.
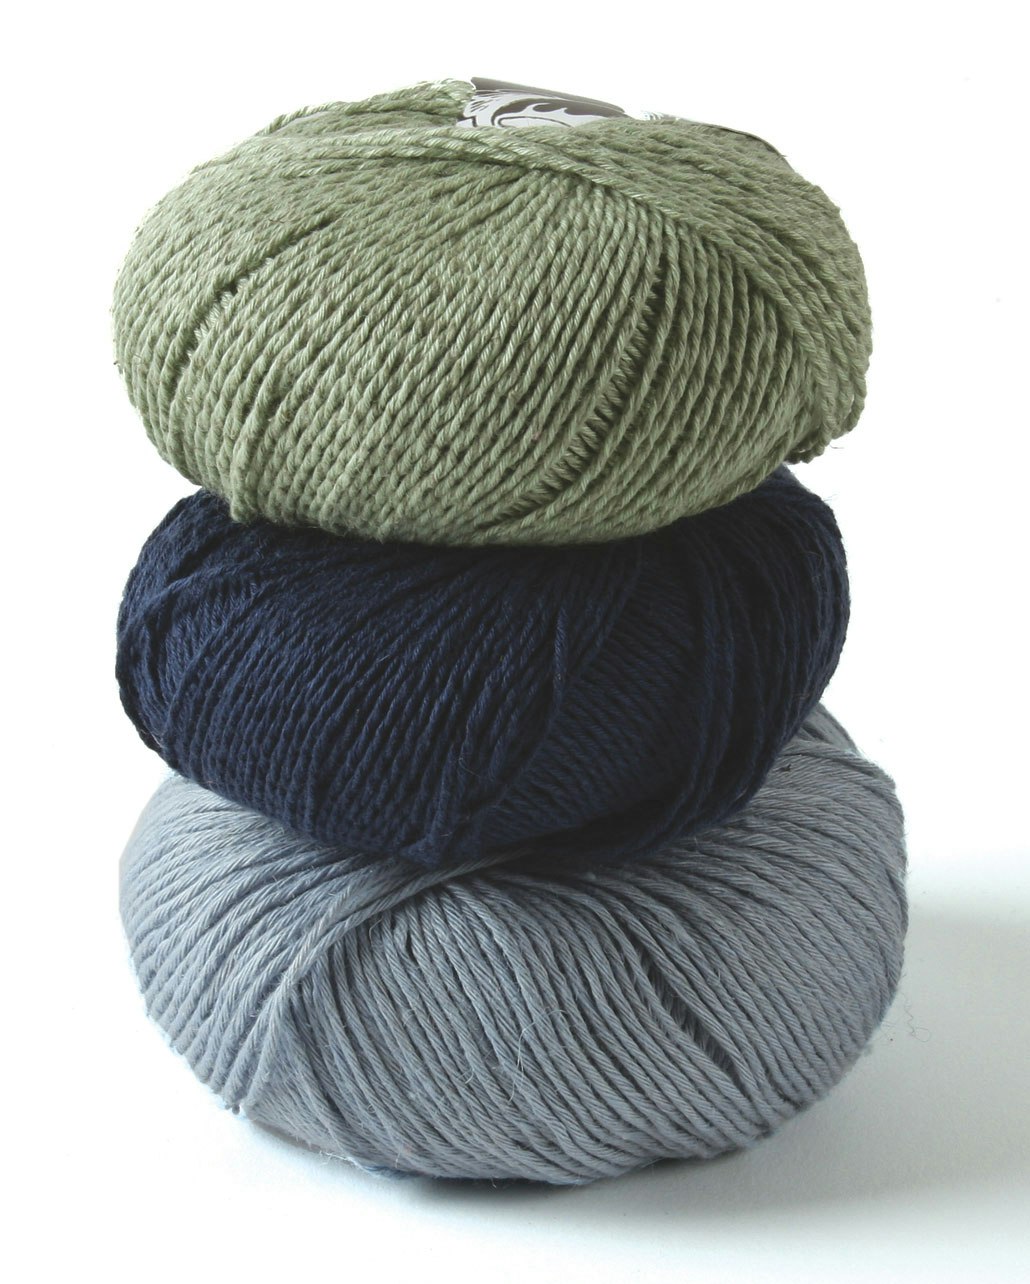 Choosing the right warp yarn is the first step to successful warping. Photo by Matt Graves
During direct warping, you will pull your warp straight off your put-up. The force of pulling off the yarn can cause it to roll around the room and possibly tangle. To keep your yarn safe, secure it in a container large enough to hold the yarn and with some sort of small opening to thread and pull the yarn through. The walls of the container will keep your yarn from dancing around your workspace, while the small opening will let you unwind your yarn without it getting tangled. Yarn bowls, iced tea dispensers, and plastic baskets are great for keeping balls and skeins of yarn stable.
If you’re working with a cone or spool, you can also try using a cone holder or a milk crate with a dowel rod. If you’re using the latter, thread your cone or spool on the dowel rod and then thread the dowl rod through the sides of the milk crate. The result will look like you have your put-up on a spit, and it will allow you to unwind your yarn with ease.
Tools for Direct Warping
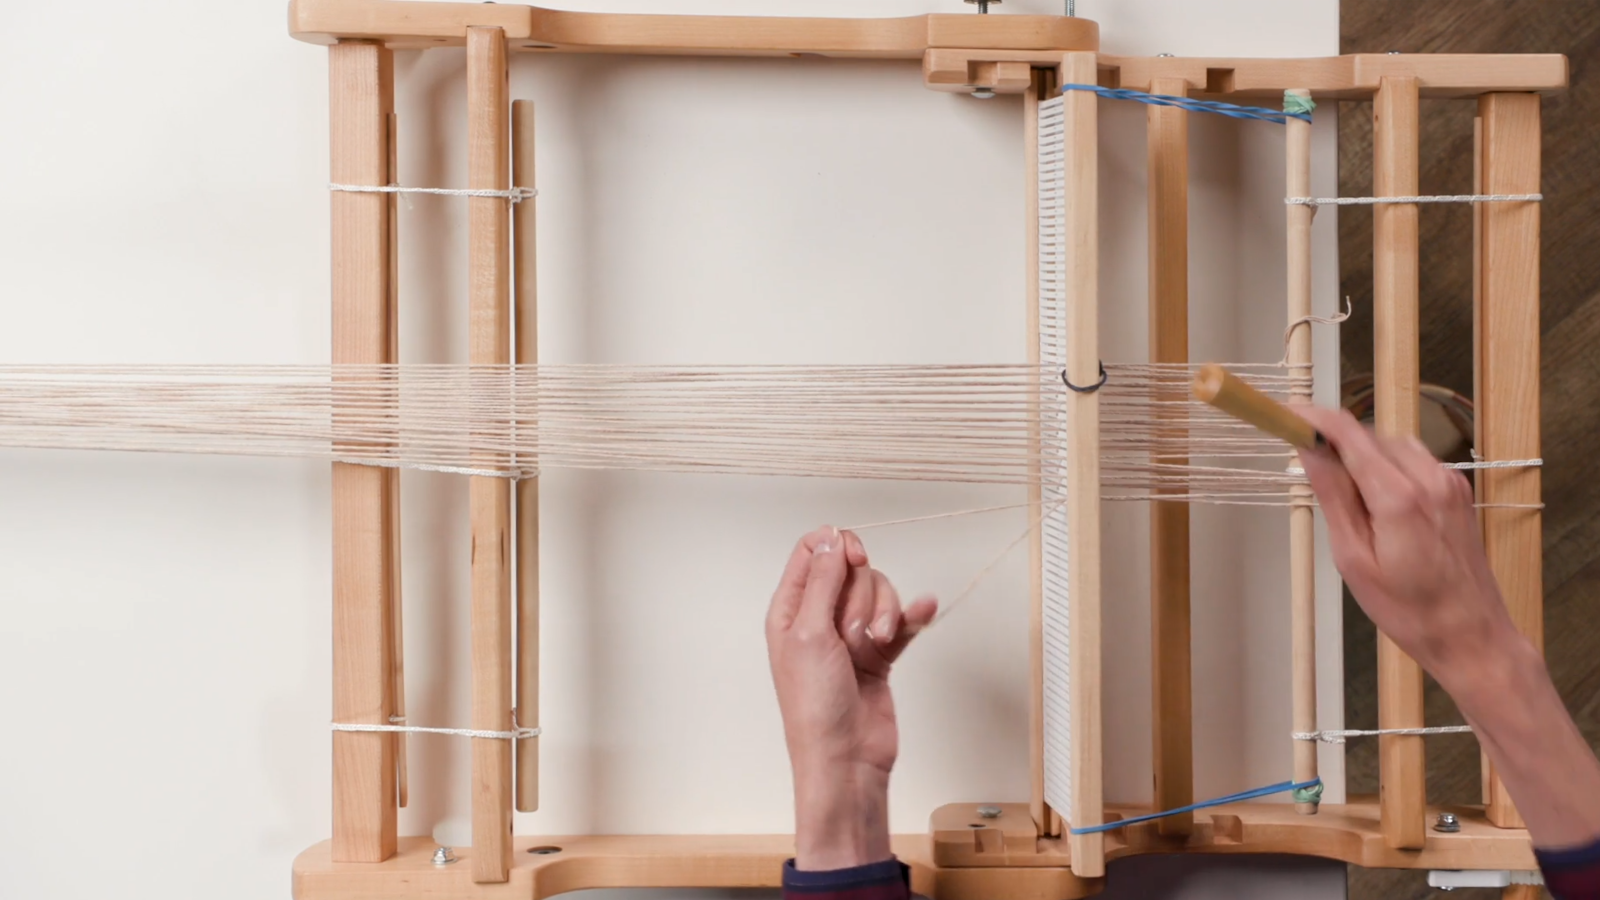
Next, you’ll need a couple of tools: a threading hook and a sleying hook. Threading hooks have long necks and small hooks perfect for fitting into tiny the holes of your rigid-heddle. Sleying hooks, on the other hand, are larger (too larger to fit into a heddle’s holes) with a deeper hook that makes holding onto yarns easier. While you can sley the slots in your rigid-heddle loom with a threading hook, it might be easier with a sleying hook. If you don’t want to deal with two different hooks, you can also buy combination hooks that have a threading hook on one end and a sleying hook on the other. Another option is a looped threading tool such as a cord threader. With these tools, you thread the yarn through the loop and use that to pull it through the slots and holes.
 Sara Goldenberg White uses a threading hook to pull her warp yarn through the slots of her rigid heddle. Photo courtesy of Long Thread Media
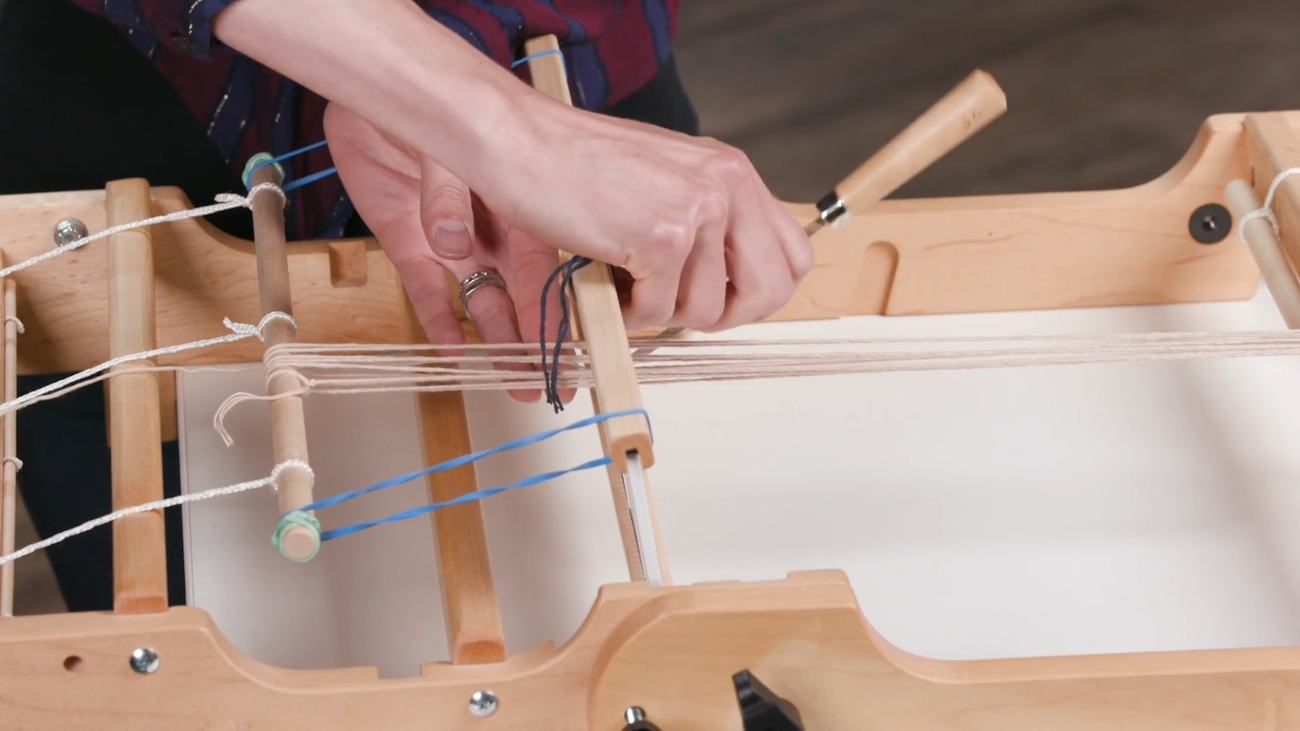
You’ll also need a stationary object to set up across the loom to hold one end of your warp while you thread the other end through your heddle as you warp. Most rigid-heddle looms these days come with warping pegs designed to clamp easily onto a table end. If you don’t have a warping peg (or can’t find yours), bar clamps work well as a substitute and are available at pretty much any hardware store. You can also use a chair if it has a large enough ear (yes, that's the technical term) and it's sturdy enough to not move during threading.
Learning To Direct Warp
Most looms come with warping instructions, but sometimes you need something more, which is why we’ve decided to put out our new FREE minicourse, How to Direct Warp: Set Up Your Rigid-Heddle Loom with Sara Goldenberg White and Sara Bixler. In this video, two incredible instructors show you all the steps of direct warping. Each step is easy to follow and, best of all, you can stop, rewind, or slow down (or speed up!) the video when you need to.
Happy Warping!
Christina
So how do you get this amazing video? It’s easy! You can enroll in this minicourse for free . Also on our streaming video site, you’ll find many other incredible weaving courses, including more from Sara Goldenberg White and Sara Bixler, available for individual purchase or with an All Access subscription (learn more about our All Access subscription program here).