

While at Weave Together with Handwoven, I had the distinct pleasure of getting to take John Mullarkey’s Tablet-Woven Shoelaces class. Before taking the class, I had never warped an inkle loom for tablet weaving, nor had I woven anything following a tablet-weaving pattern. I was shocked to find out it was relatively easy (no, really!).
Since then, I’ve warped and woven a set of shoelaces using the simple draft John gave us (and the same draft you can find in his project Astounding Laces in the Summer 2021 issue.) While I loved weaving the shoelaces, I wanted to try a more complicated pattern, one that required me to do more than forward 4, backward 4.
I chose a pattern from John’s book about Egyptian diagonals, warped my loom, and got started weaving. Thanks to the sticky Tencel warp I put on (Pro tip: Don’t use Tencel for your first intermediate tablet-weaving project), I had issues from the start. Cards would get stuck and not turn all the way, and I wouldn’t notice until I saw the error in my weaving. Thanks to my ADHD and lack of short-term memory, I was constantly forgetting whether I’d turned the cards once or twice and which set of cards I’d turned. It soon became clear I needed some strategies. Here are some tips I use to help me with tablet weaving.
Set some rules.
These more advanced designs required me to turn some cards forward and some cards backward. Unfortunately, I kept forgetting which set I’d turned and which still needed turning. So, I made a new rule. Before turning cards get separated into forward- and backward-turn groups, one I moved to the back of the loom, one I moved forward. Then, no matter what, I always turn the forward group first.
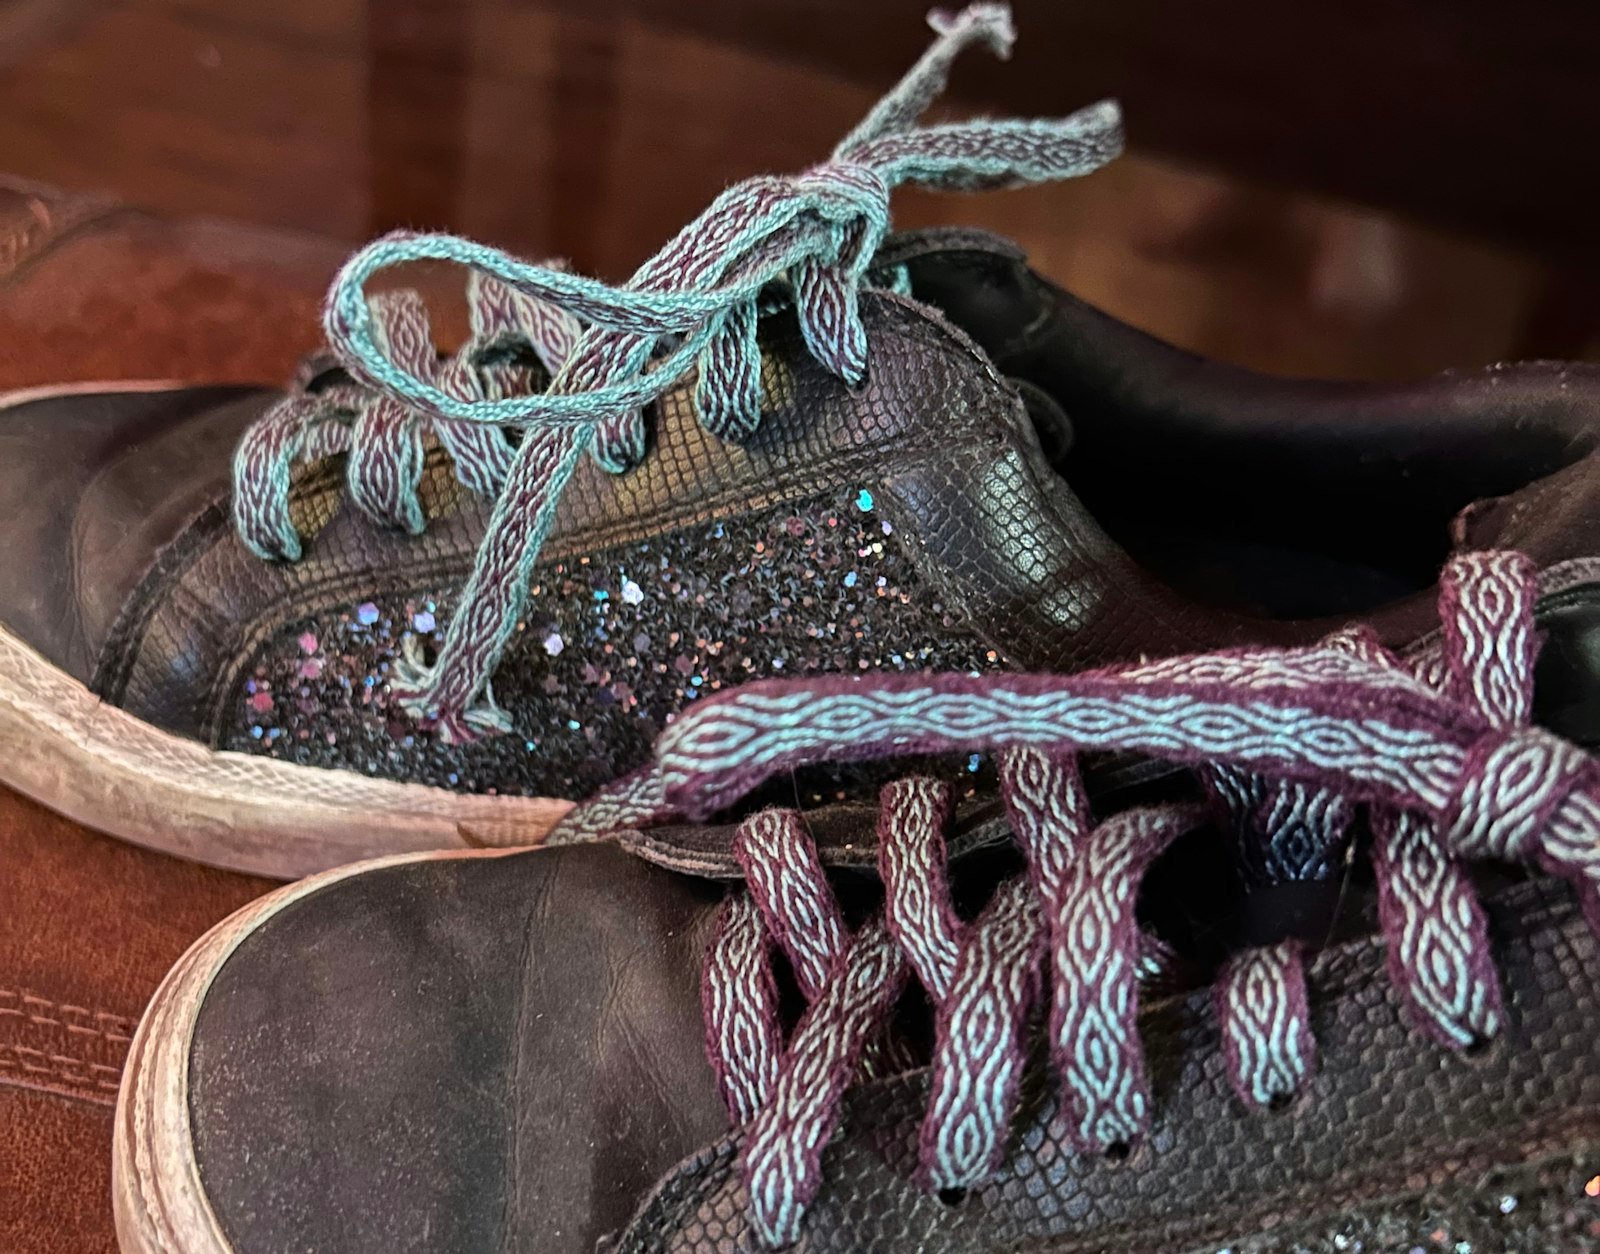
Clockwise from top left: Christina’s first attempt at weaving Egyptian diagonals next to the photo in John’s book; an intermediate pattern woven in two shades of pink and iridescent filament; Christina’s current project, which is being woven upside down; the finished pink band turned into a wristlet for a favorite bag. Get a closer look! Click any image in the gallery above to open it in full-screen mode.
Color coding.
I love using color and other visual cues to help me tell at a glance what’s going on. I put the cards in the starting position and used a pink highlighter to color the side facing me as well as the opposite side, and then I used a blue highlighter to color the other two sides, so as I turned the cards, they went pink, blue, pink, blue. Then, on the pink sides, I added a black stripe only on the two center cards. Now I could easily find the center and know whether a card didn’t turn when it was supposed to. If you don’t want to permanently mark your cards, I bet painter’s tape or colored pencils would work well, too.
Mark up the draft.
The patterns in the book don’t include borders, but I kept forgetting that fact and would count border cards as part of the pattern. This meant I’d end up turning one pattern card when I was supposed to turn two. I grabbed my trusty highlighters and added a column for the border on either side of the draft. Now every time I looked at the draft, I was instantly reminded to mind my borders.
I learned a lot while weaving my Egyptian diagonal sampler band, and since then I’ve kept both my inkle looms warped and have even started playing with iridescent filaments. I even successfully wove a band for a wristlet that had 64 rows before the pattern repeated! While I don’t claim to be close to an expert weaver—I mixed up the S- and Z-threadings on my most recent warp and am weaving it upside down—I am fully hooked on tablet weaving and can’t wait to learn more.
Happy Weaving!
Christina