
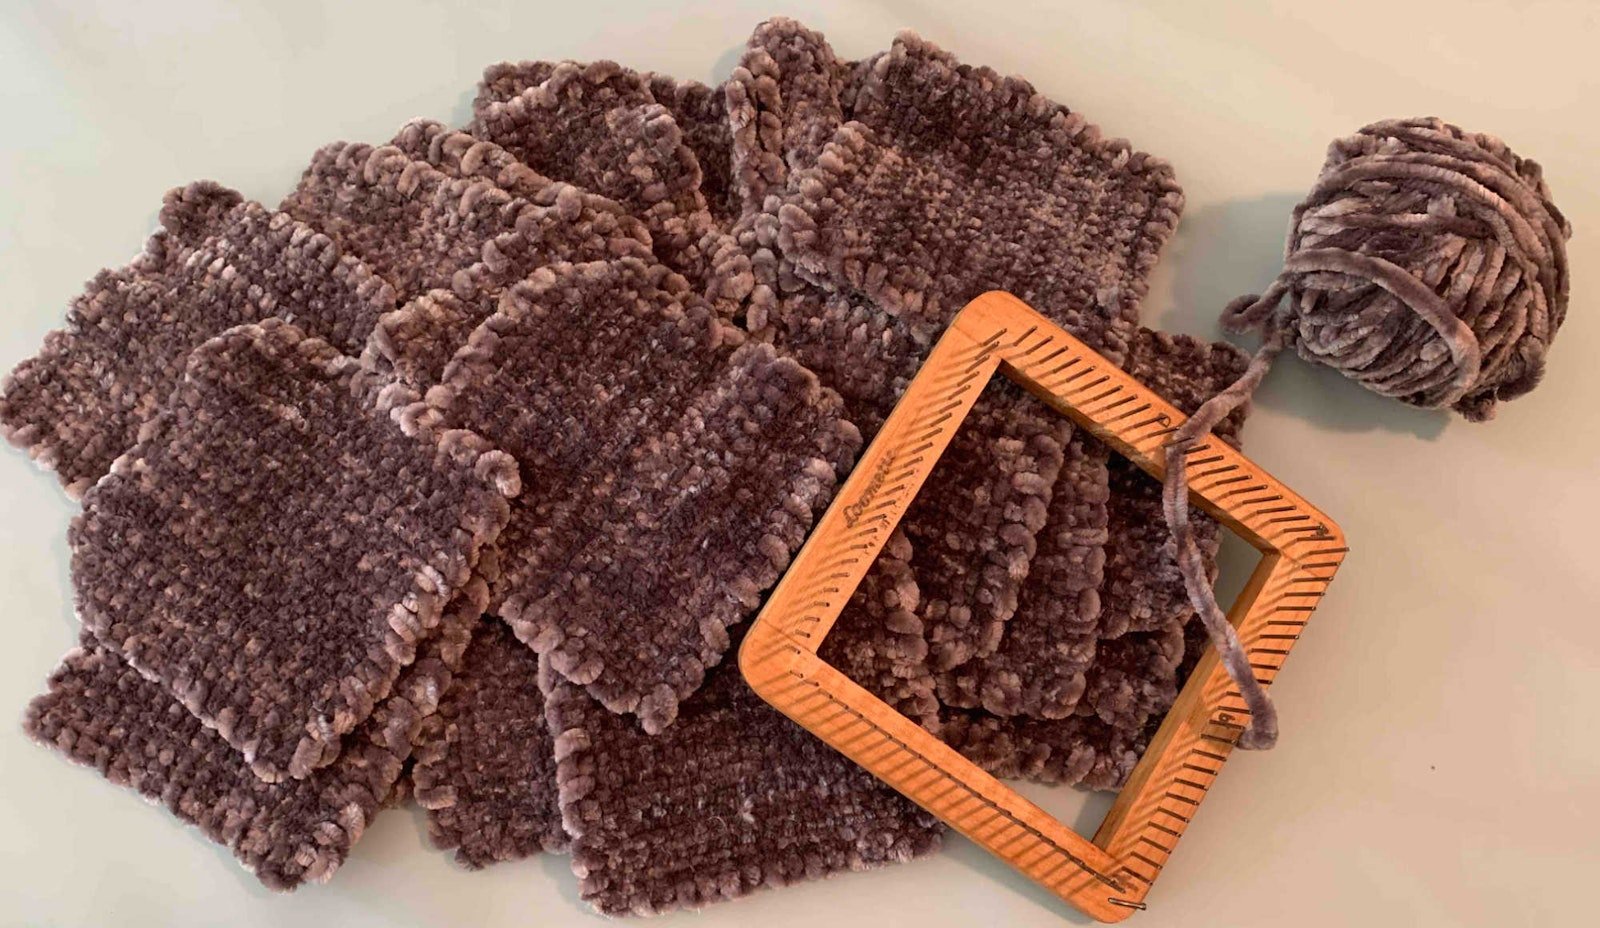
Recently, I began weaving squares on my pin loom to make a soft toy for a friend’s imminent baby. The project is based on one in the upcoming Little Looms Holiday 2021 issue, and the yarn required for the project is an extra-fluffy velvet yarn. The yarn is wonderfully soft (and washable!), but it’s a bit of a bear to weave with—at first. Through trial and error—and plenty of practice—I’ve figured out how to effectively weave fluffy yarns on my pin loom.
What exactly is it about this yarn that makes it so difficult on the loom? Well, this particular yarn has a fine core and a fur-like fluff that radiates out of it. This fluff makes my velvet yarn perfect for a soft stuffed animal and terrible for visibility of the bottom two layers wound onto the loom. I think it took at least 45 minutes to weave my first square because I just could not see where my needle was going. I had to keep pulling the needle out and starting rows over again. The last two rows were so tight that it was a struggle to get through, and I had floats galore when I was done. Instead of despairing and giving up or choosing a new, less cuddly yarn, I thought about what I went through and how I could improve the process.
First, I realized that with my first square, I was too gentle, treating the yarn as if it were as dense as it looked. While the velvet yarn looks thick, the core is very fine, making it easy to shove yarn not being actively woven out of the way to increase visibility. For my second square, I used my weaving needle to push the middle layer aside so I could actually see the bottom layer ends that my weaving needle needed to go under.
Second, I needed to solve the problem of the last 2 rows being too tight to weave accurately, even with my increased manhandling. My solution? Dental floss. I’d remembered seeing in a Facebook group about how a weaver used dental floss to guide her weft yarn when weaving got tight. I raided my bathroom and then got to weaving.

Weaving in the dental floss.
I wove my first 2 picks as normal with the velvet yarn. Then, turned my loom 180 degrees. I threaded the needle with enough dental floss to weave 2 picks with a bit of extra. I used the floss to weave what would normally be the last two picks, making sure to leave overhang on either side. Then I finished weaving with the velvet yarn until I got to the first pick of dental floss. I tied my velvet weft as tight as I could to the dental floss and then used the overhang on the opposite side to pull the weft through and repeated the process with the last pick. The weft yarn slid through easily with not a skip or float in sight.

Pulling the weft through with the dental floss.
Finally, I realized that while long weft floats were not advisable, having a skip here or there wouldn’t make or break the project so long as it wasn’t on an end. While the fluff makes weaving difficult, it also hides floats extraordinarily well. I just needed to accept that mistakes would probably happen despite my best efforts.
While I will not say that weaving with a fluffy yarn is as easy as using a more traditional yarn, I’d say it now takes me about 20 minutes to weave a square. While this is longer than it typically takes me with other yarns, I find I enjoy the slightly slower pace and handling this wonderful, soft yarn now that the weaving process is so much less stressful. As of writing this, I have about 4 more squares to weave, and I plan to savor each and every one.
Happy Weaving!
Christina