
Contents
Sometimes we have a project in mind, but the beauty of pin looms is that you can create something fun and colorful, make only one, and still use it.
Also, you don’t have to weave a fancy pin-loom piece for it to be usable. Solid-colored, plain-weave pieces can serve as great coasters on their own or as a canvas for showcasing other techniques, such as embroidery, cross-stitch, and crochet.
Even one single pin-loom square has potential, and that’s what this tutorial is all about. Today, we’re going to show you two ways to use those one-off pieces by turning them into coasters or wall art.
A quick tip before we get started: be sure to test whatever glue you use on a sample before committing—you don’t want to find out too late that it will leave your yarn discolored.
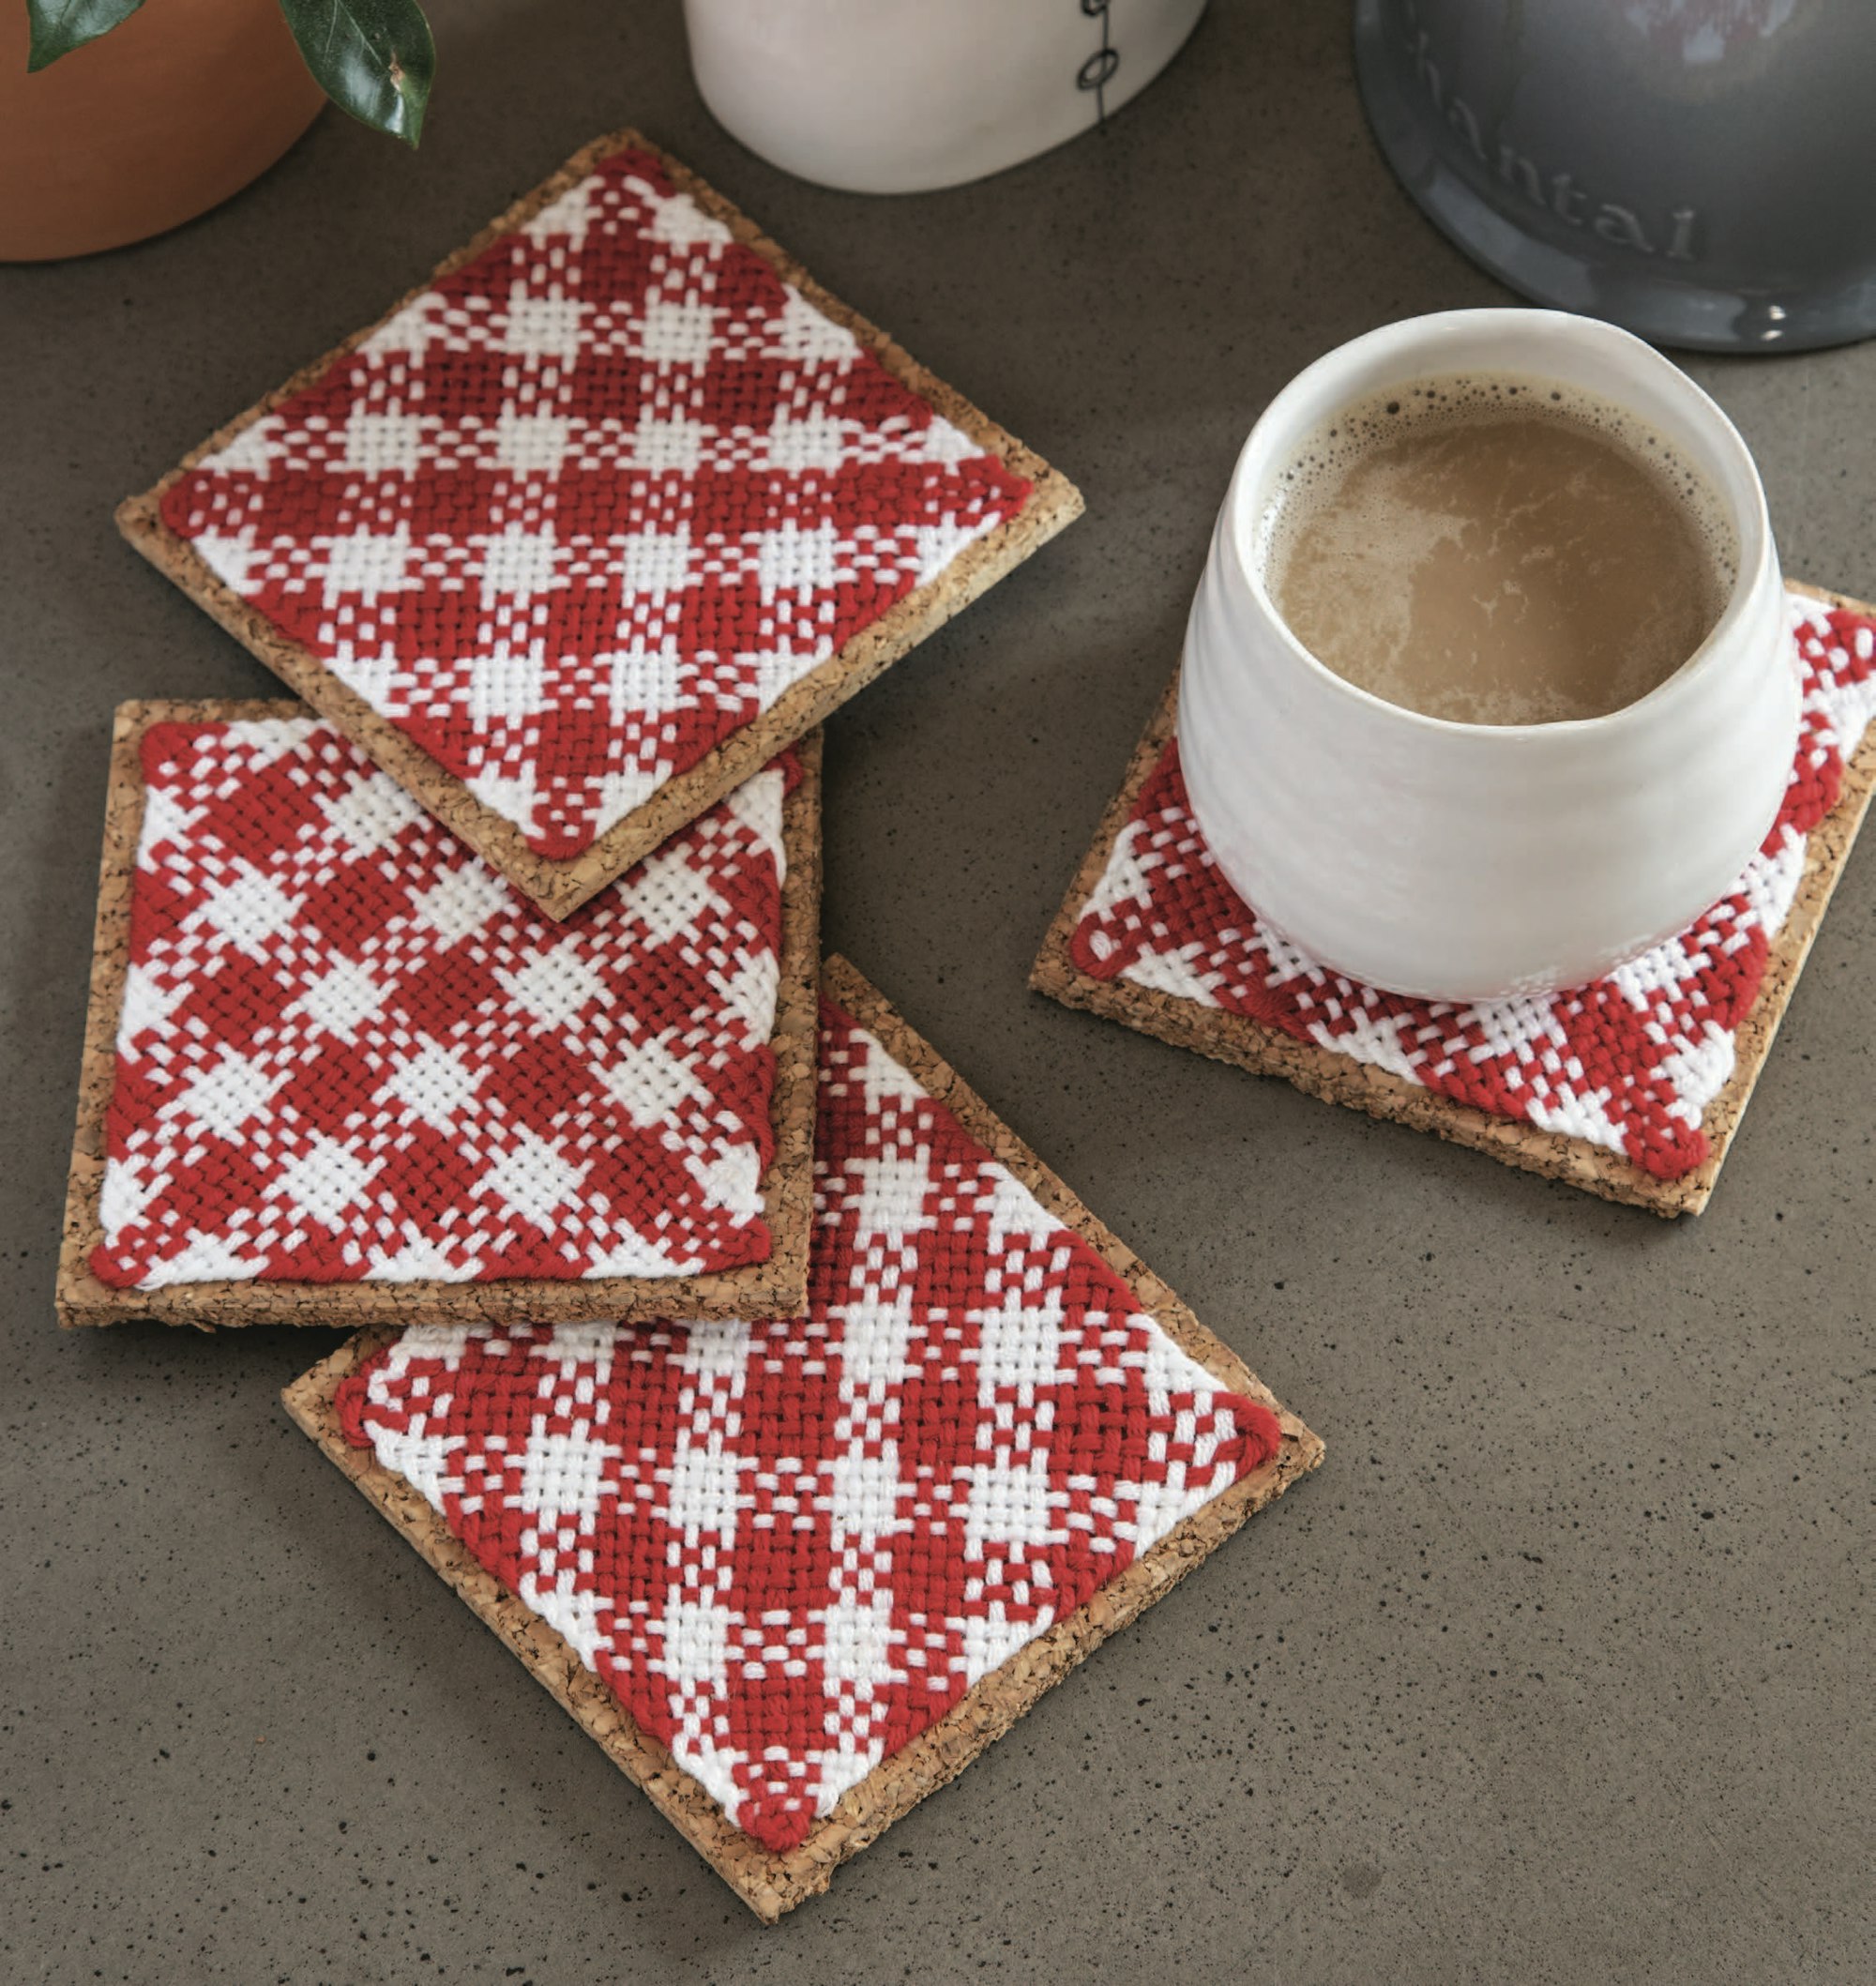
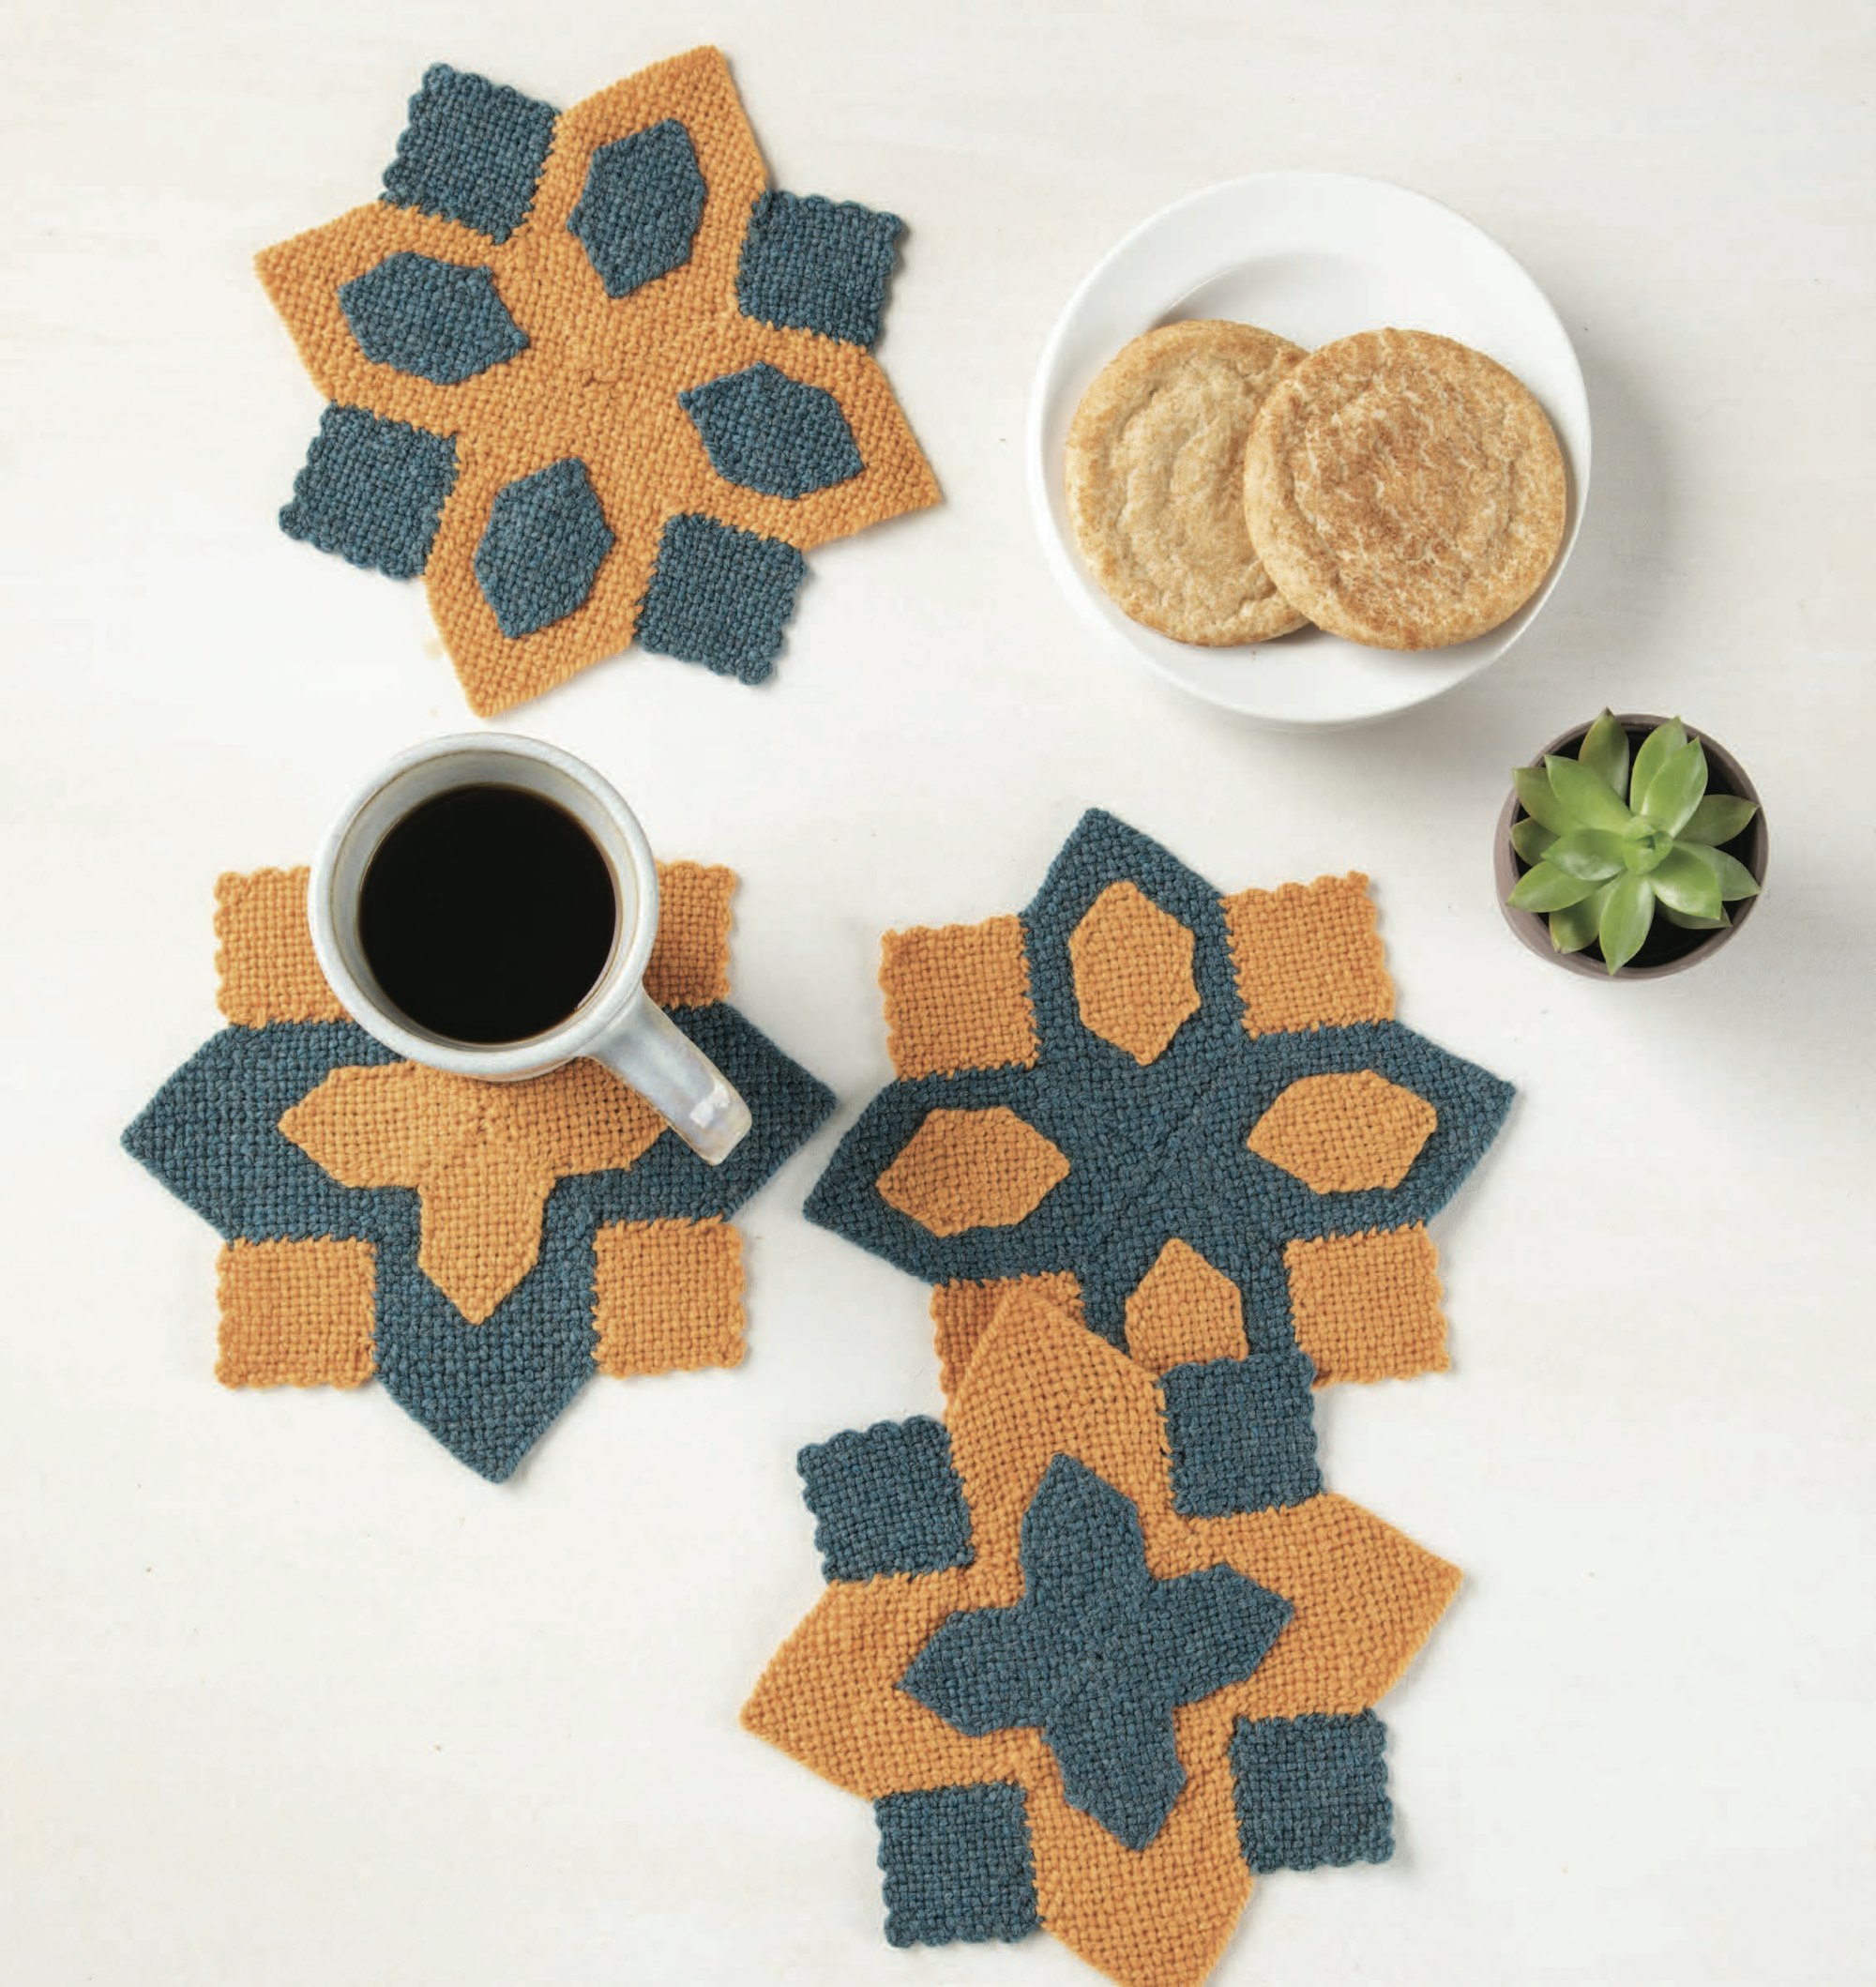
 Hazel Spencer’s Bright Morning Mug Rugs make gorgeous coasters to keep or give as a gift.
Just Glue It #1 - Make Coasters
To go from a single pin-loom square or piece to a finished drink coaster, try this method, adapted from Hazel Spencer’s Bright Morning Mug Rugs project.
1.) Cut the corkboard in the same shape as your pin-loom piece, but about ¼" larger on all edges.
2.) Using a fabric-safe tacky craft glue (make sure it’s not water-based or it will dissolve when wet), apply the glue to the back of the woven piece.
Tip: Mod Podge is a water-soluble glue, which means that if a glass with condensation sits on it, the moisture will eventually break down the glue. Instead, use a fabric-safe tacky craft glue that isn’t water-soluble to ensure it stays put.
3.) Position the woven piece on the corkboard, glue side down, so the corkboard has an even frame around all edges of the weaving.
4.) Press the pin-loom piece to the board with your hand so it glues down evenly.
5.) Once all your pin-loom mug rugs are glued, stack them and then weight them with a book or other flat, heavy object. If you are worried about them sticking, put a piece of freezer paper between the squares. Leave them to dry for at least 24 hours.
6.) After 24 hours, check the edges of the woven piece and add more glue if needed.
Display and enjoy your new collection of custom coasters, created by you!
Just Glue It #2 - Make Wall Art
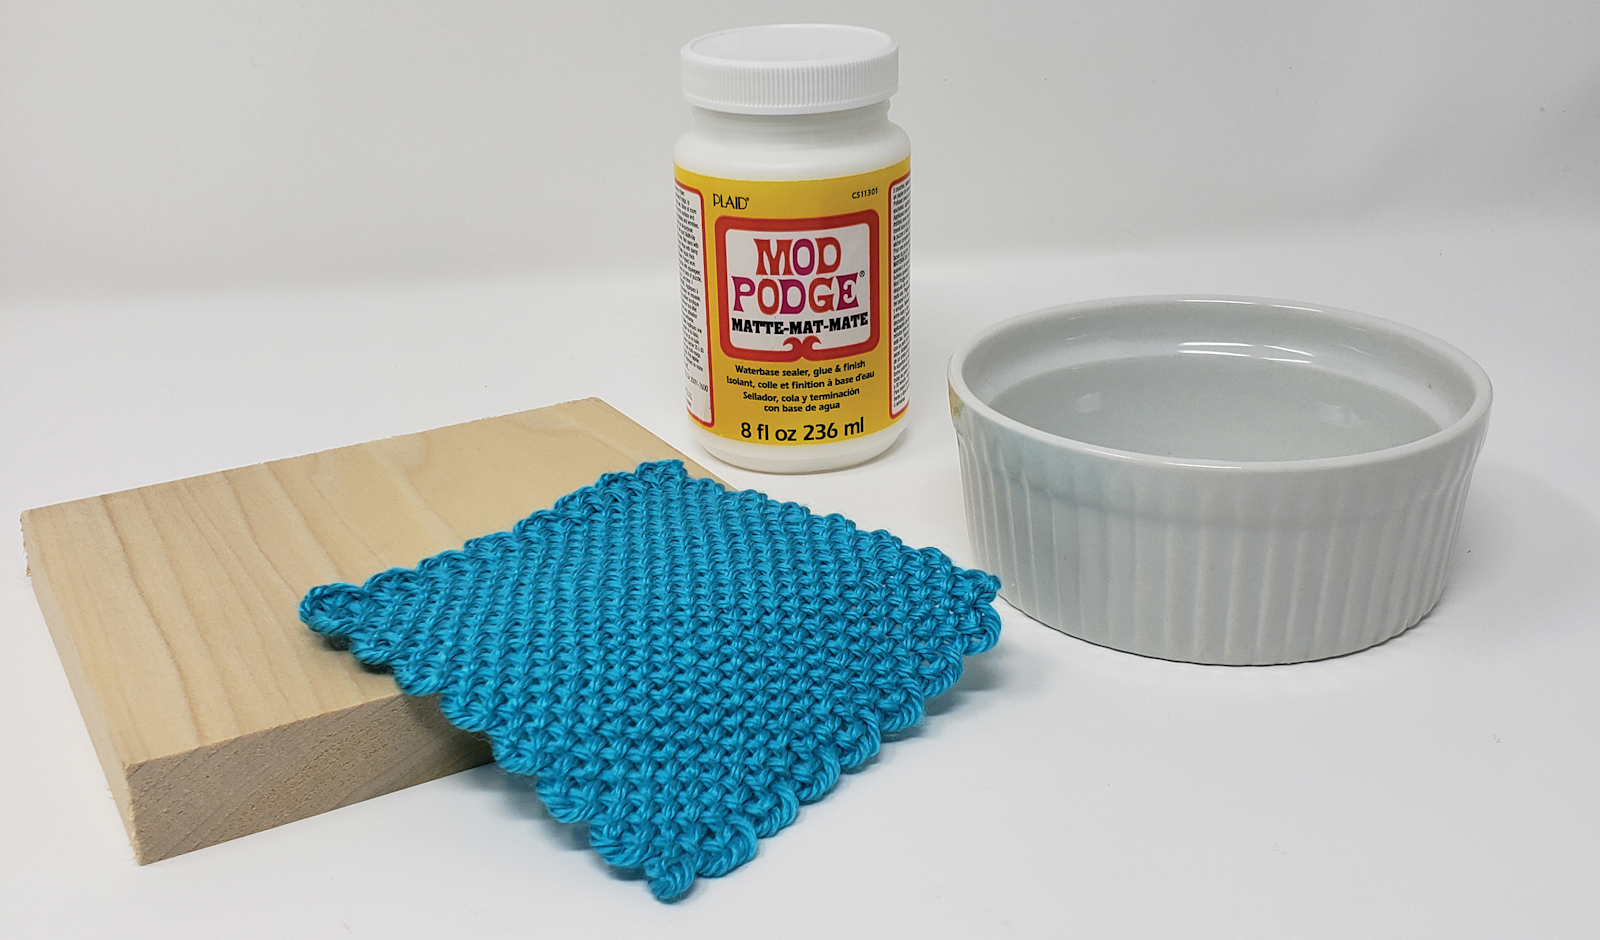
To turn your pin-loom pieces into wall art, try this method, adapted from Gabi van Tassell's finishing tips article from Little Looms Holiday 2021. For wall art rather than coasters, Mod Podge works very well, though other similar glues are available. Remember to follow the manufacturer’s instructions and sample before committing. Protect your work surface and wear disposable gloves.
1.) Prepare your wood backing, being sure it’s at least ¼" larger than your pin-loom piece on all edges. Gather Mod Podge or a similar glue, a small bowl, a spoon, and the base onto which you will be gluing.
2.) For gluing one or two squares to a hard surface, dilute 3 teaspoons of glue with 1 teaspoon of water in a pan or bowl.
 Step 2: Dilute 3 teaspoons of glue with 1 teaspoon of water in a pan or bowl.
3.) Dip the square or squares completely into the glue mixture.
 Step 3: Dip the square or squares completely into the glue mixture.
4.) Gently squeeze out any excess glue.
 Step 4: Gently squeeze out any excess glue.
5.) Spread a small amount of glue on the prepared surface.
 Step 5: Spread a little glue on the prepared surface.
6.) Position the square(s) and gently press down to smooth without pressing out the glue mixture.
 Step 6: Position the square(s) and gently press down to smooth without pressing out the glue mixture.
7.) Let dry completely. As it dries, the glue will turn from white to clear.
Optional: Add one or more layers of glue for a smoother surface. You can also seal with polyurethane spray.
 Step 7: As it dries, the glue will turn from white to clear.
8.) Attach picture hanging hardware to the back and enjoy!
Don’t let the feeling that you have to make a big project every time be a burden or a roadblock between you and your pin loom. Make a single coaster or piece of wall art, and show off those beautiful woven pieces!
5 Pin-Loom Designs to Try
One and done! These projects make beautiful single pin-loom pieces that you can turn into your next favorite coaster or wall art:
Instant coaster: Serve drinks in style with the Bright Morning Mug Rugs by Hazel Spencer.
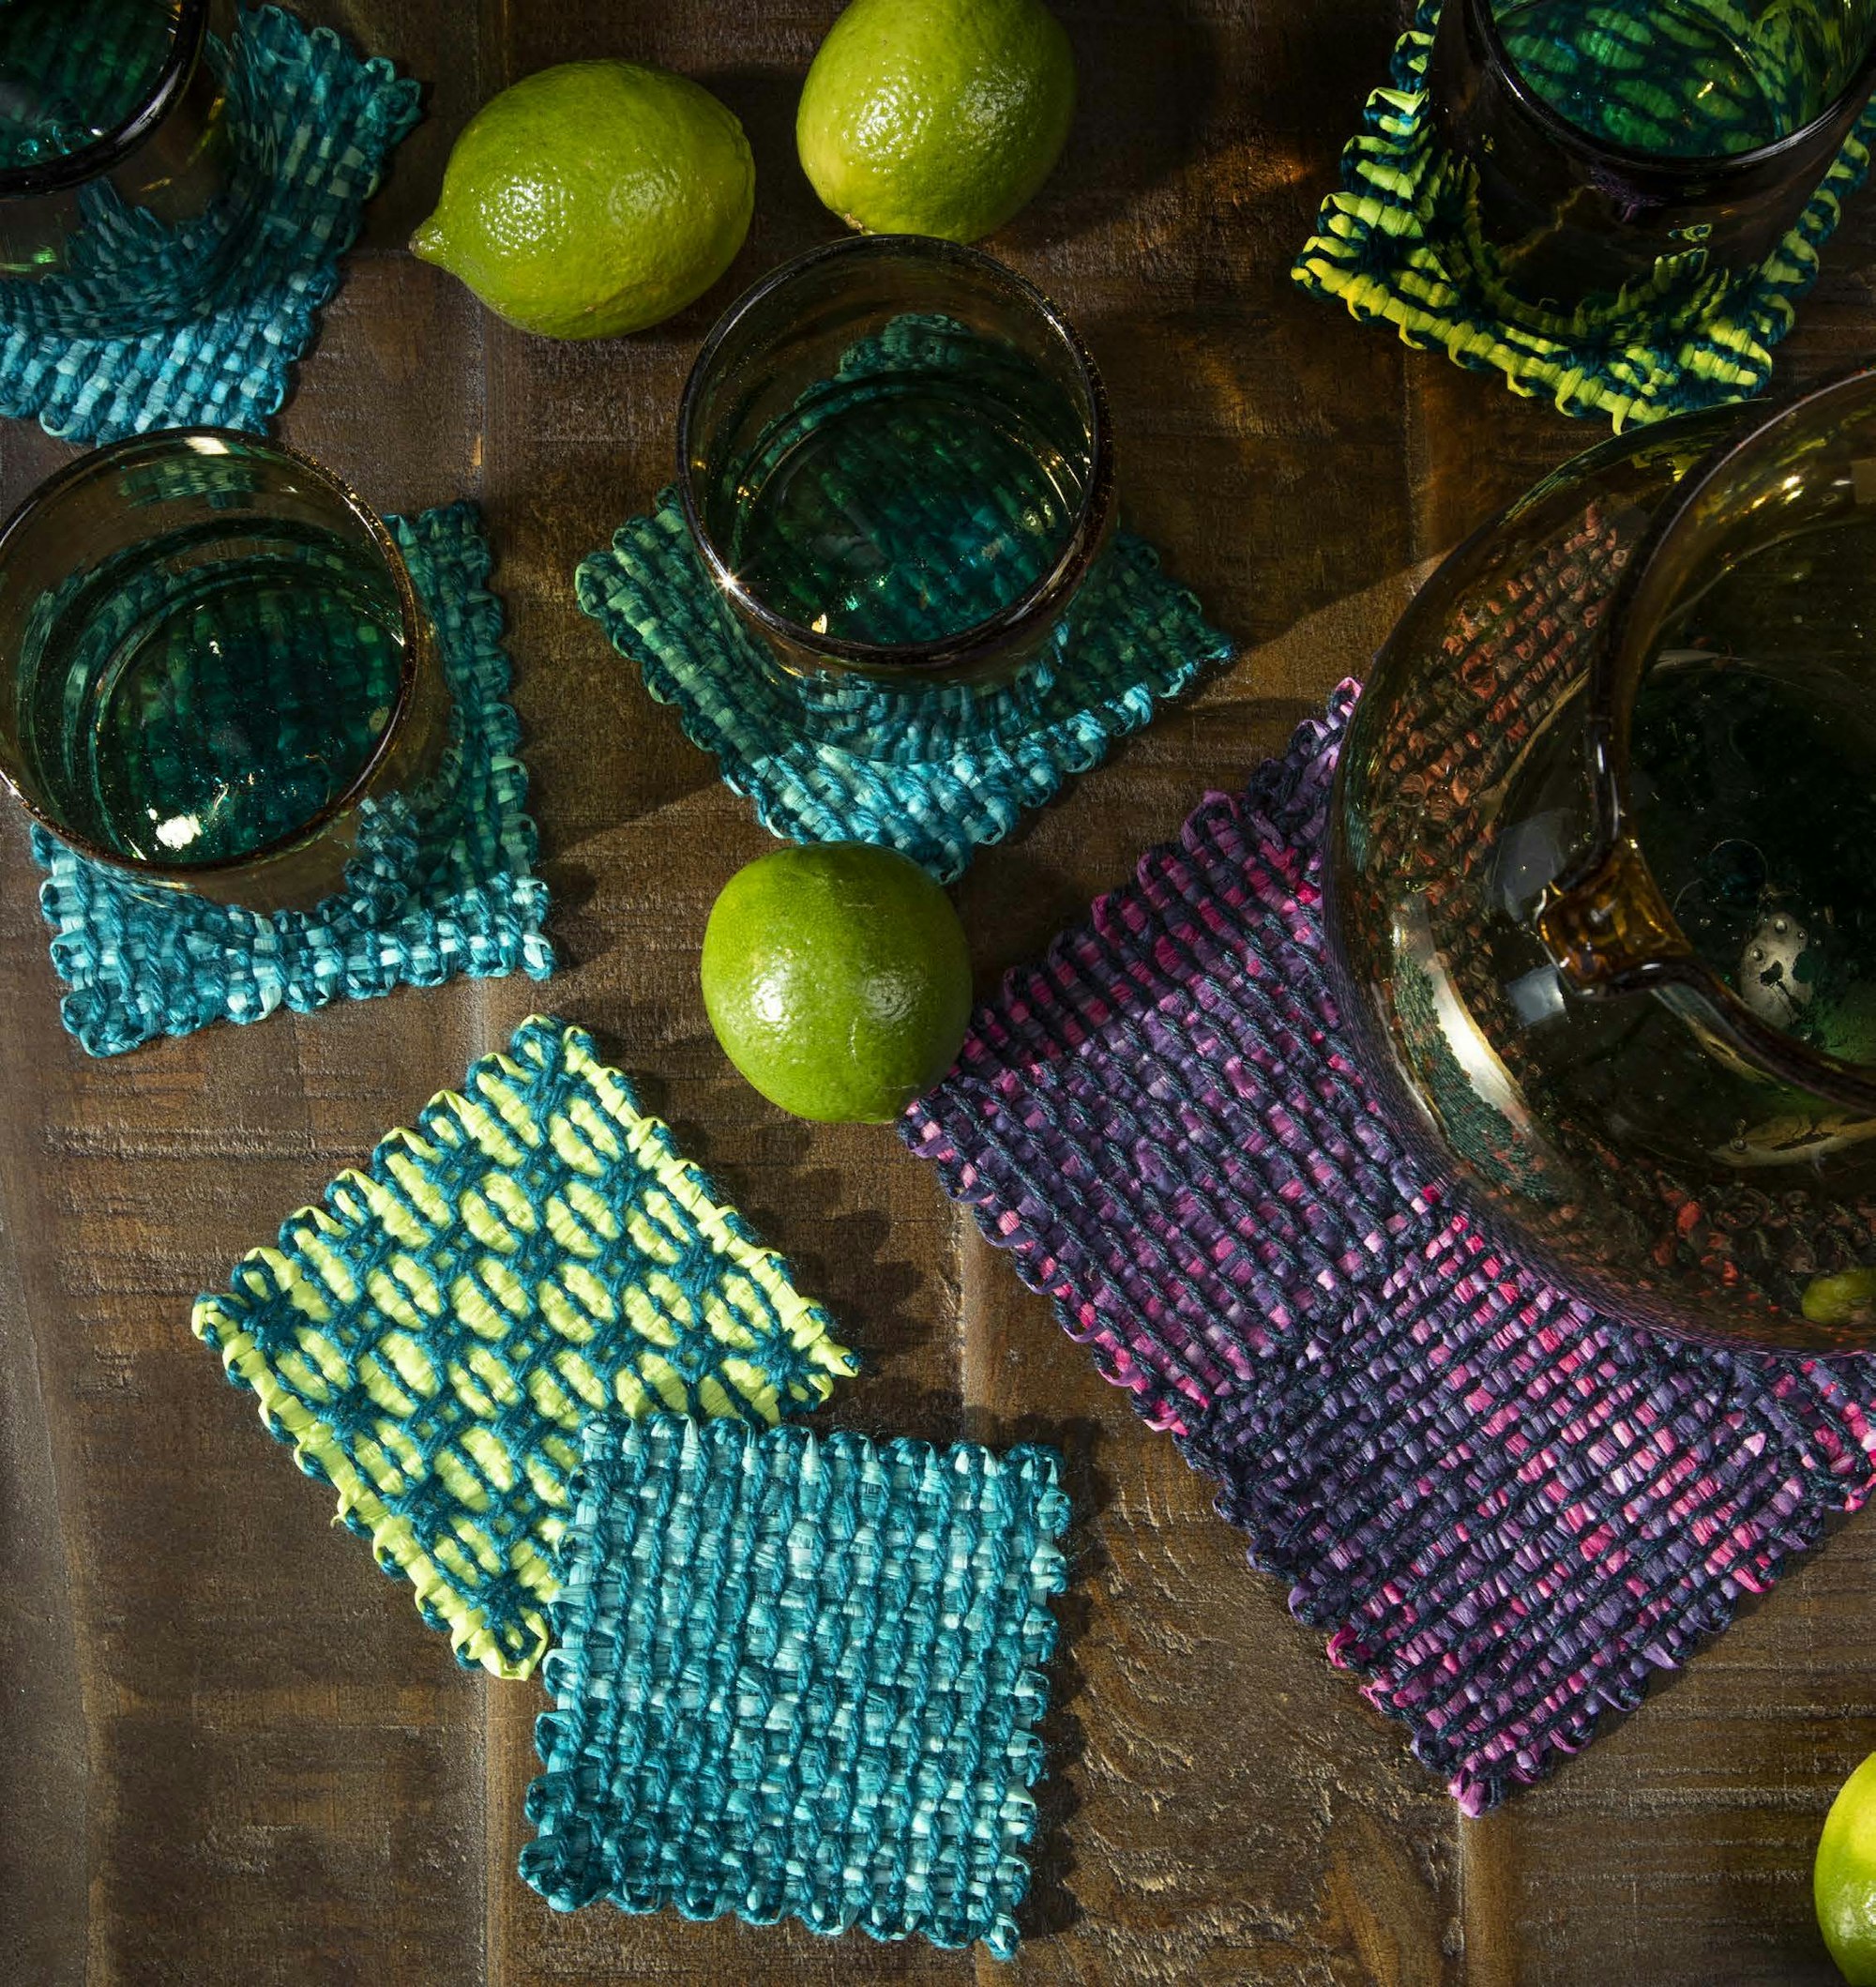
Make a patio party: Attach the Patio Party Mats by Margaret Stump to a cork base for added protection on your tabletops.
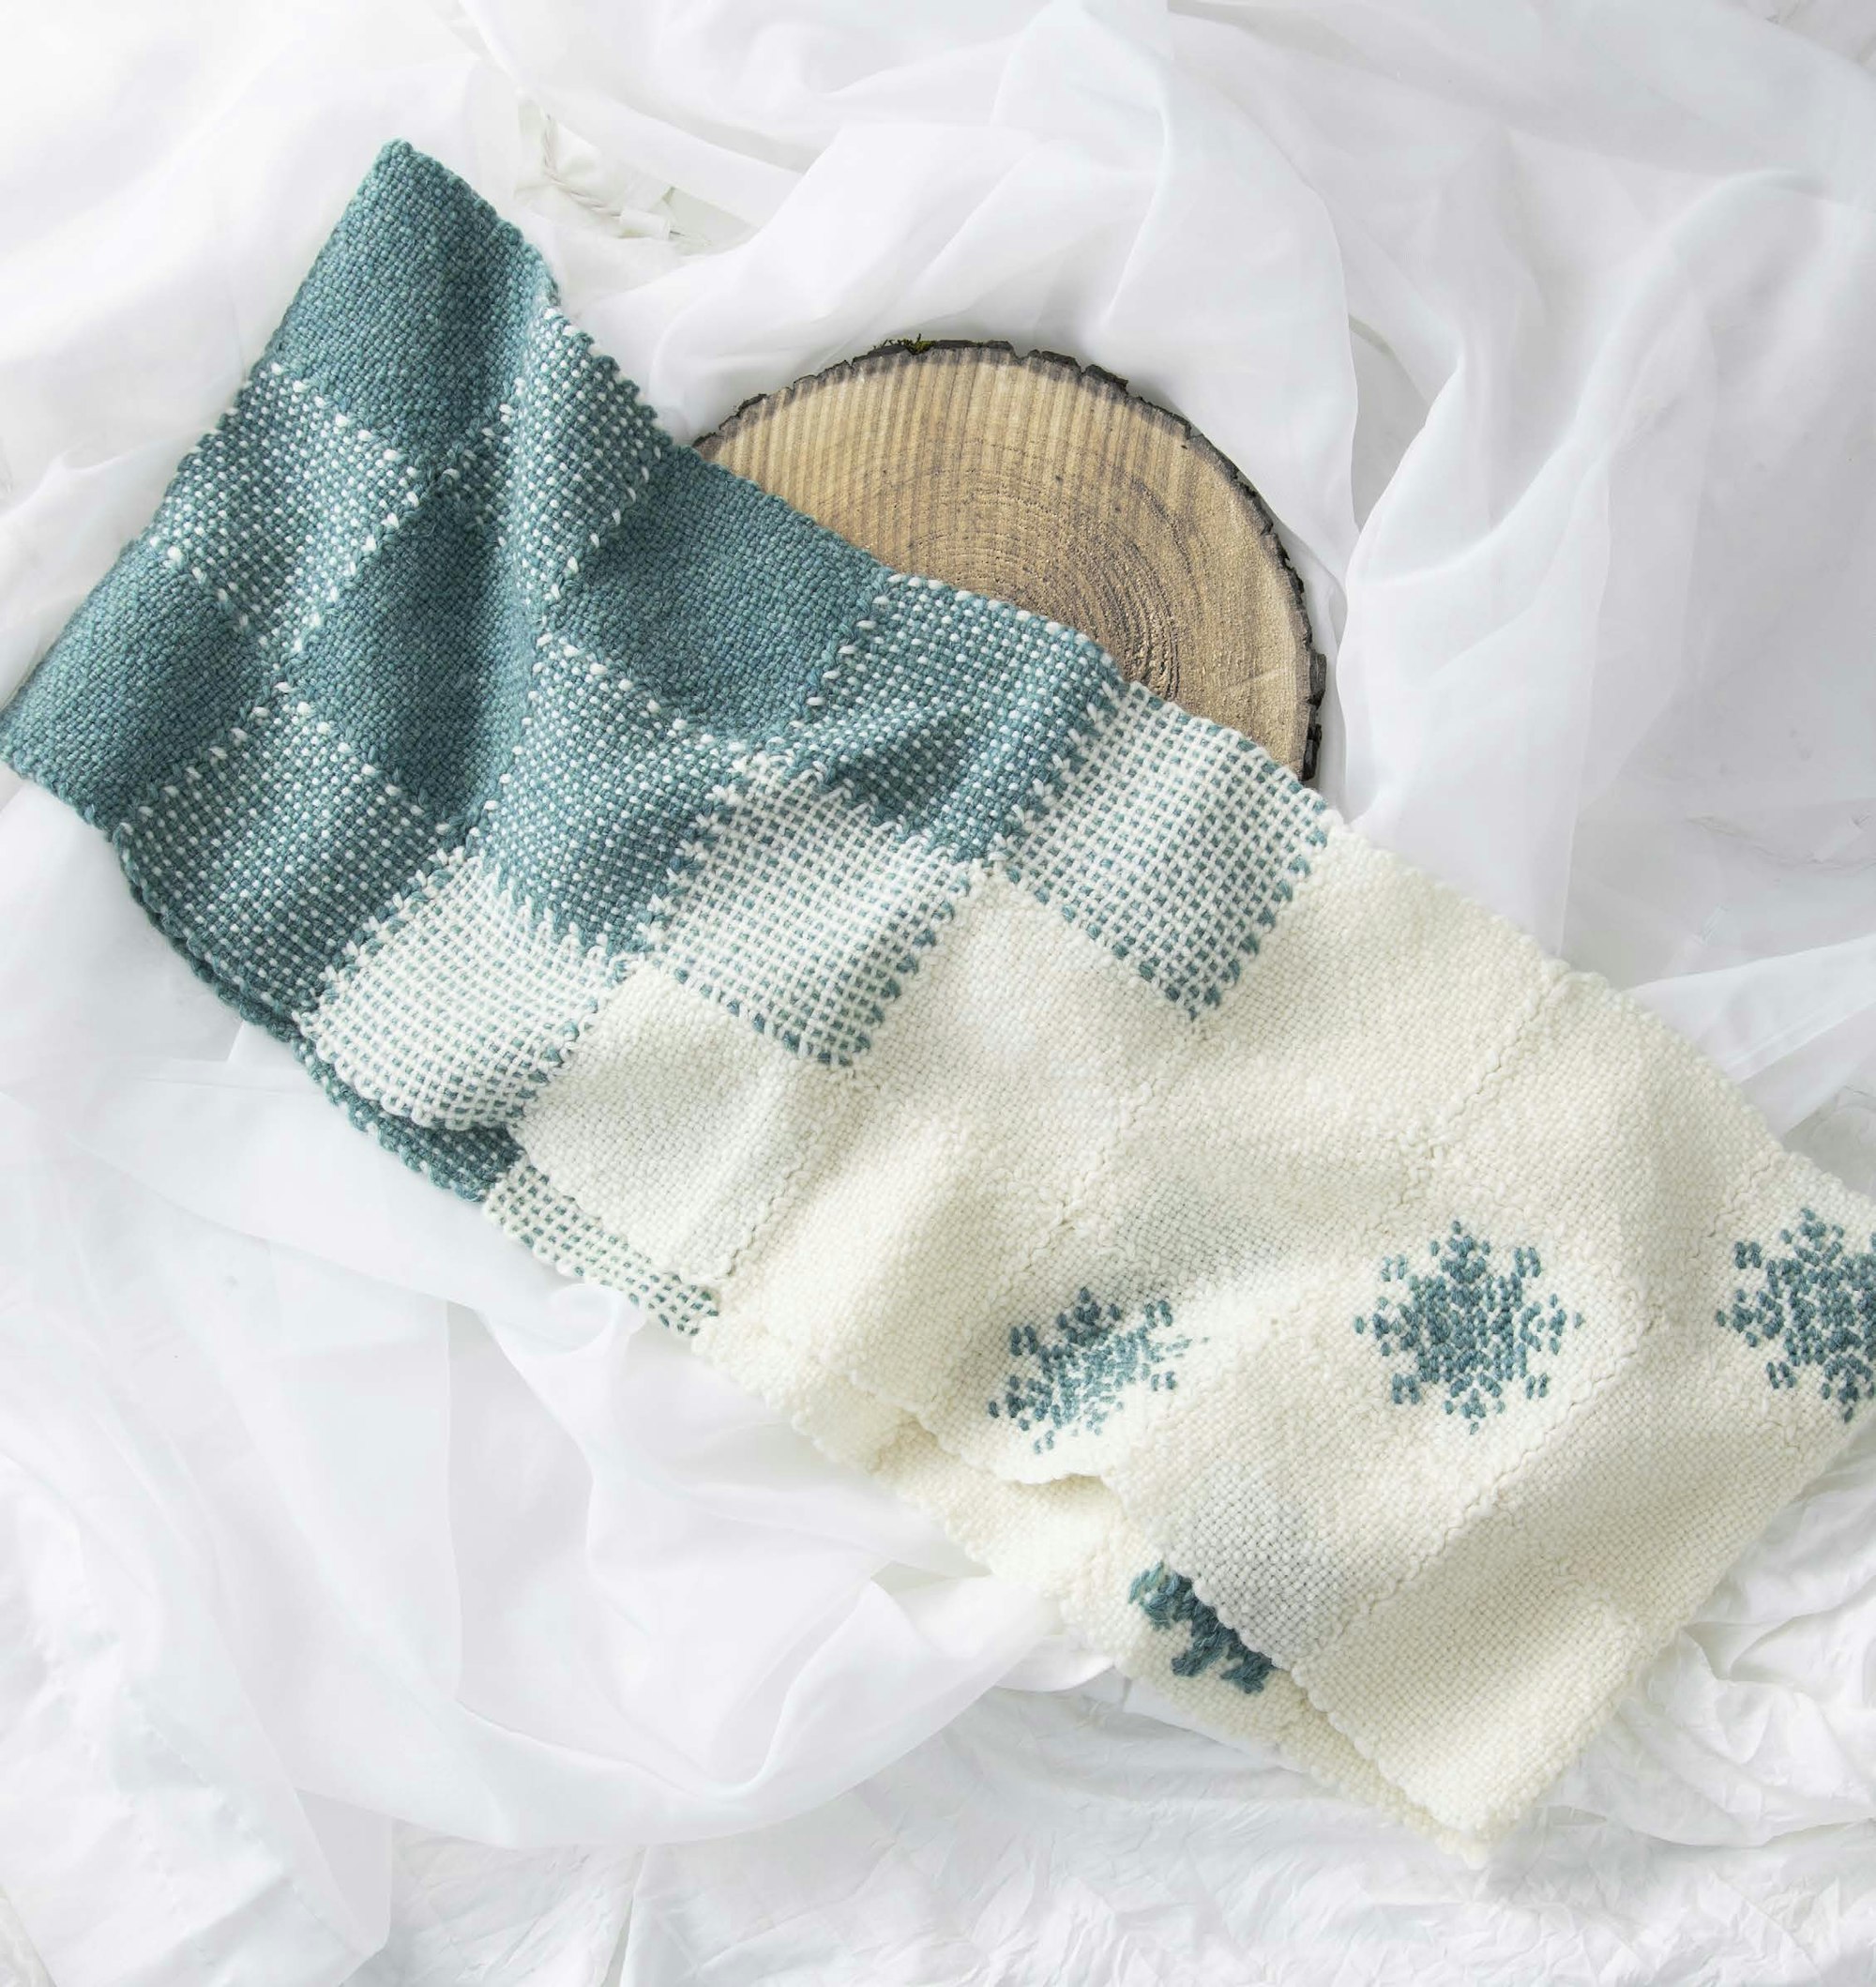
Embellished wall art: Make just one of the embellished squares from the Snow Queen Snood by Janna Ford to add to your wall decor.
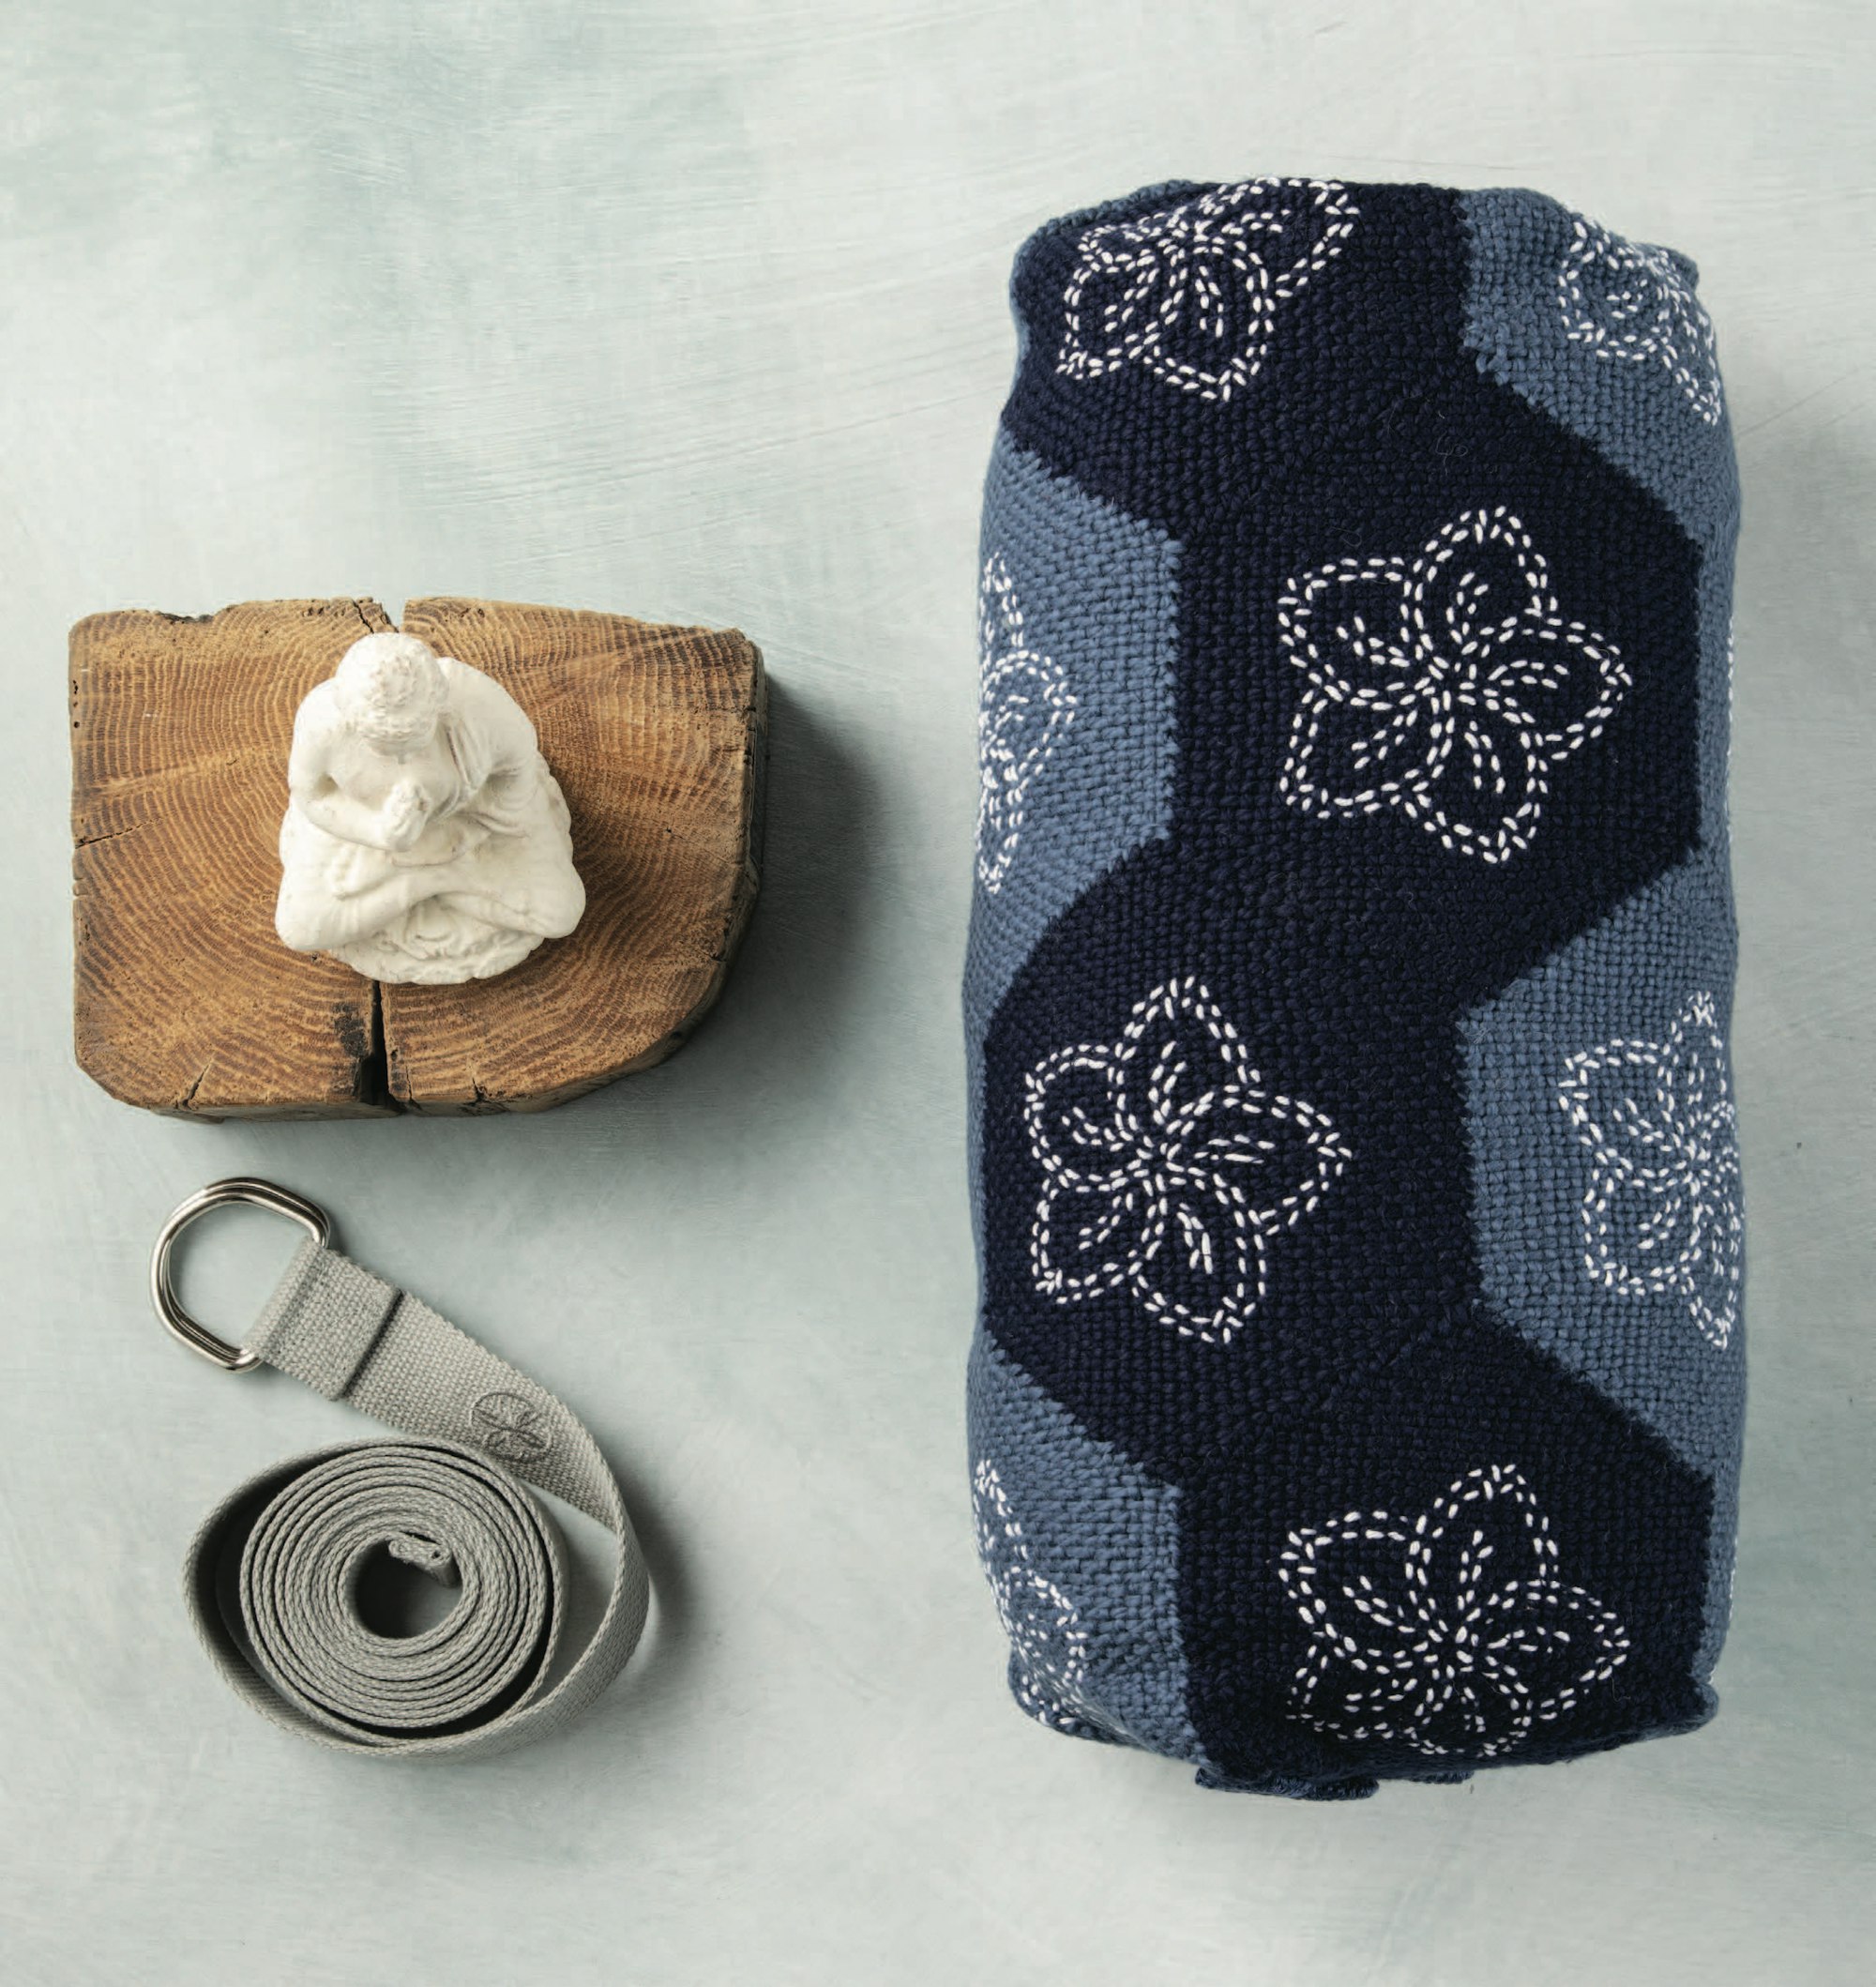
Stitch it up: Use a single piece from the Cherry Blossom Neck Roll by Gabi van Tassell to spice up your coaster or wall art collection.
Take it up a notch: Combine several small pieces into a larger coaster or wall art design inspired by the Scandinavian Stardust Doilies by Edith van Tassell.