
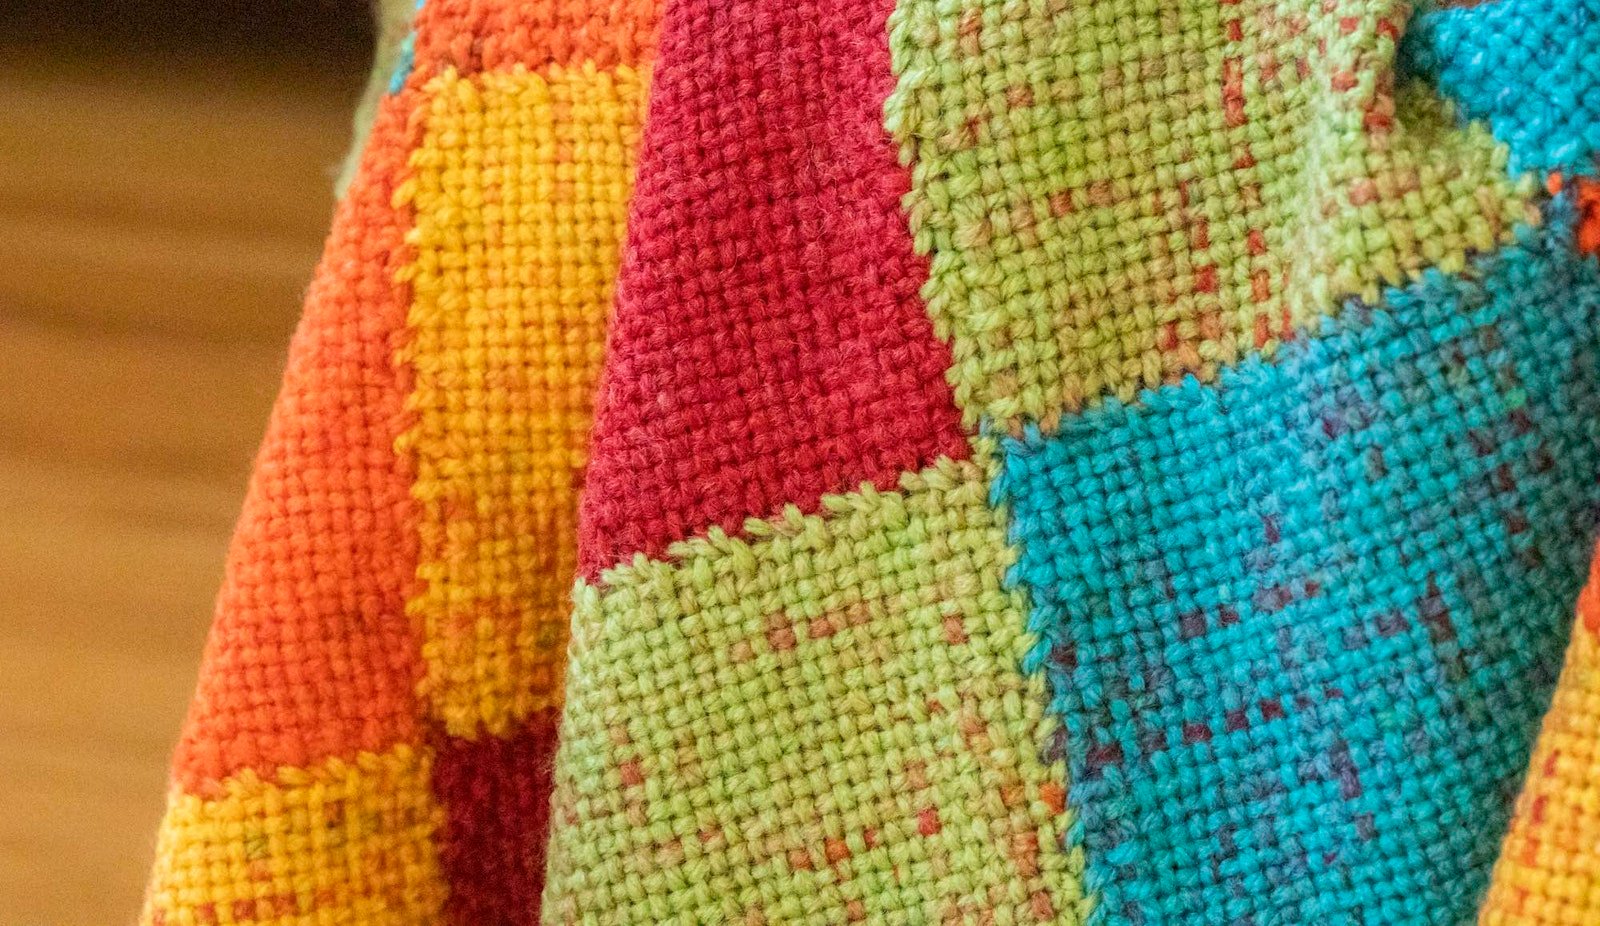
The whipstitch is a great way to join pieces of woven fabric together that creates a nearly invisible seam on the right side of the fabric. It's perfect for sewing lots of types of handwoven cloth together, in the tutorial below I'll show you how to do the whipstitch using two pin-loom squares as an example.
This particular join is perfect for sewing lots of types of handwoven cloth together, especially pin-loom squares. You can see it used in many Little Looms projects as well as throughout our fun eBook, Zoo Crew, where it's used to create 12 adorable pin-loom animals. All you need to do whipstitch is a tapestry needle, a seaming yarn (usually you'll use the same yarn used in your weaving), and the two pieces of fabric you want to join.
Step-by-Step Whipstitch
Step 1. Lay out two squares with the pointed corners in the upper right, with right side of top square facing down and right side of bottom square facing up (if sides are not identical).
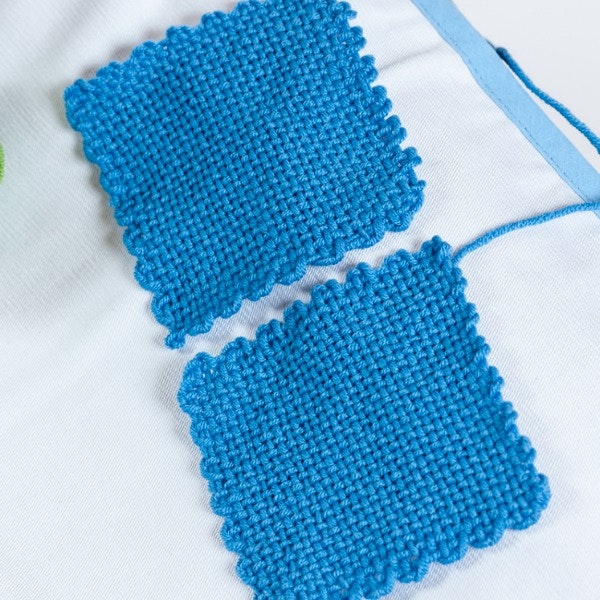
Step 2. Slide the top square over the bottom square, keeping the same orientation. This will offset the loops, matching a “bump” with a “dimple” so that they will be nested together when joined.
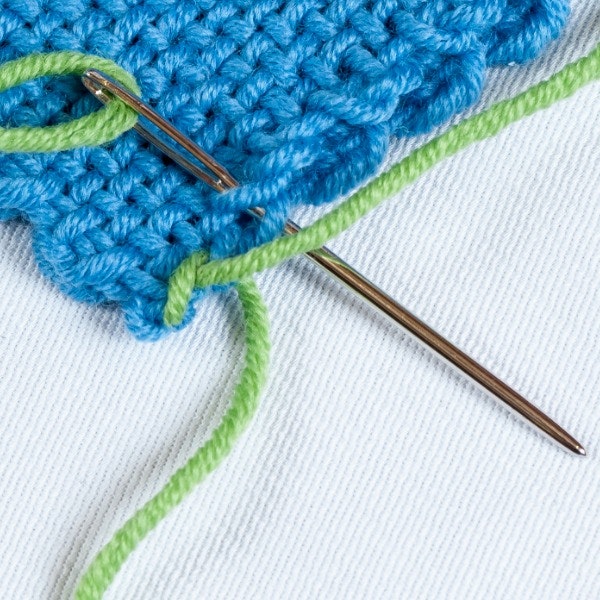
Step 3. Thread your seaming yarn on a tapestry needle. Pass the threaded needle from front to back through the upper right corner loop of both layers from front to back.

Step 4. Folding the tail along the top edge of the squares, *pass the needle through the next loop of the top square, then the next loop of the bottom square.
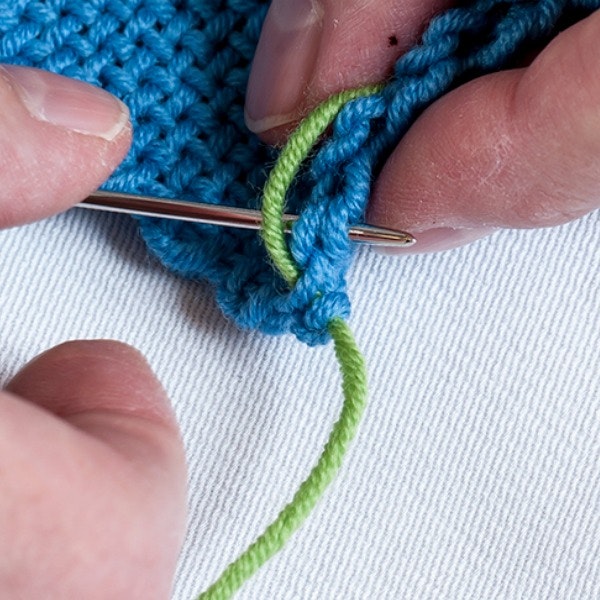
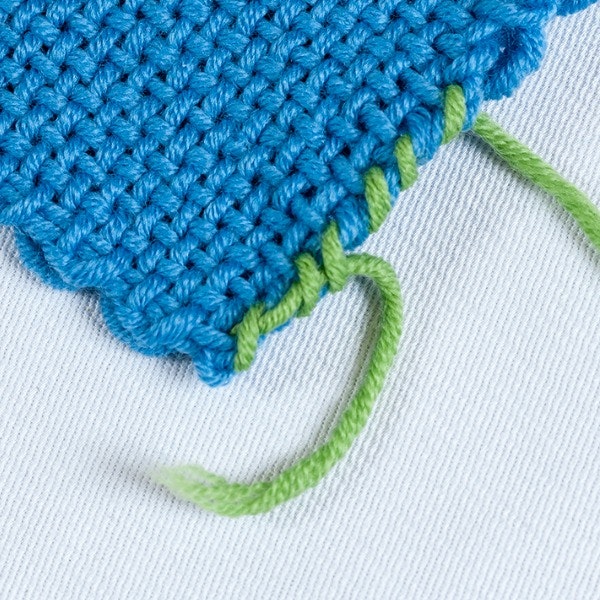
Step 5. Bring the needle to the front and pass through the next loop on the front and back as before.
Step 6. Repeat from * across the top of the squares.
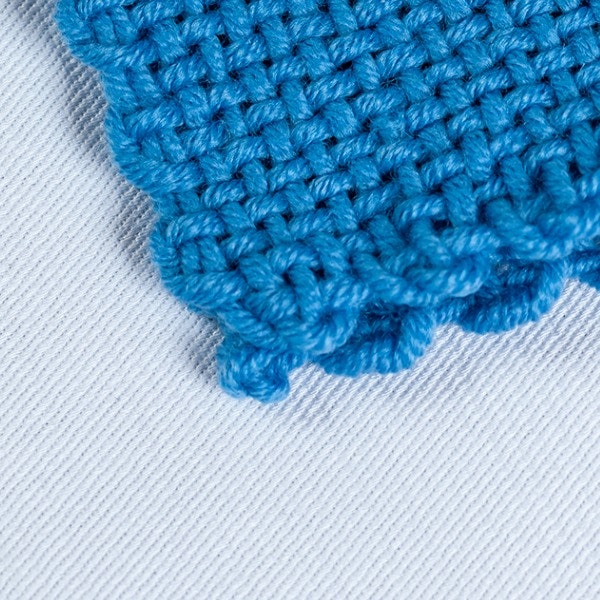
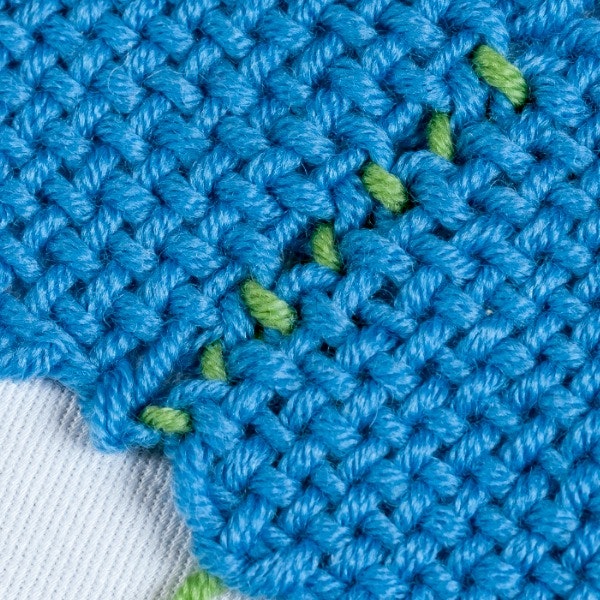
When the squares are opened with right sides facing, the seam will be nearly invisible. Had a matching thread or yarn been used, it would be even more invisible.
Anne Merrow
Originally posted April 20, 2016; updated June 4, 2026