When I first became interested in natural dyeing, I bought a beautiful book on the topic and ravenously flipped through it. Then I put the book on a shelf and didn’t do any dyeing for a couple of years. There was so much information that I didn’t know where to start. Fortunately, in time I gave it a try. First, I decided to start dyeing using materials I had on hand—cotton muslin, turmeric, and tea—plus alum purchased for mordanting.
After experiencing some success with kitchen-sourced dyes, I was then willing to buy some more exotic dye materials such as cochineal and was also emboldened to try out some plants from my garden. Many of these projects were on a small, sample-sized scale, and I began taping these samples into a swatch book along with notes. While I often refer to dye books, my ever-growing swatch book logs my own process and now provides a first-hand reference to look at when I’m planning new dye projects. There are a few things I wish I’d known when I first began dyeing, shared with you below, but most important is, just try something.
Let this be your mantra: scour-mordant-extract-dye.
This is the basic order of processes, and if you keep this in mind, the rest will fall into place. First we start with scouring, the process of cleaning fiber (or fabric) to ensure there are no residues that will interfere with dyeing. The next step is to apply a mordant to the fiber; this will help create a bond between fiber and dye. Once scouring and mordanting are done, the fabric is ready to be dyed. However, if you are using raw dye materials, the dye needs to be extracted and pulp strained out before adding fiber to the dye pot. There are more variations in the dye process, such as using multiple mordants, but if you get familiar with the basic order described here, it will easier to branch out later.
Dyeing is like cooking: The combinations are endless, and there are many ways to work with the same ingredients.
Pick just one dye plant, one fabric, and one mordant to start with. Once you have experienced the process, then you can consider your results and where you’d like to go from there. It could be that you’re excited by the idea of having a whole repertoire of mordants to modify your dye results with, so you will try out some other mordants using the same dye. Or maybe you find that you don’t want to deal with handling many different mordants, but you’re excited to try a variety of plants, while sticking with one mordant. Perhaps there is a particular fiber you love, so you will do a series of tests to find out what combinations of mordants and dyes will give you your dream color on that fiber. With each dye project that you do, consider tossing in at least two different swatches of fabric or yarn, so you can get a feel for how results vary between different materials. Start simple and expand from there. Read up on the techniques you are curious about and choose your own adventure!
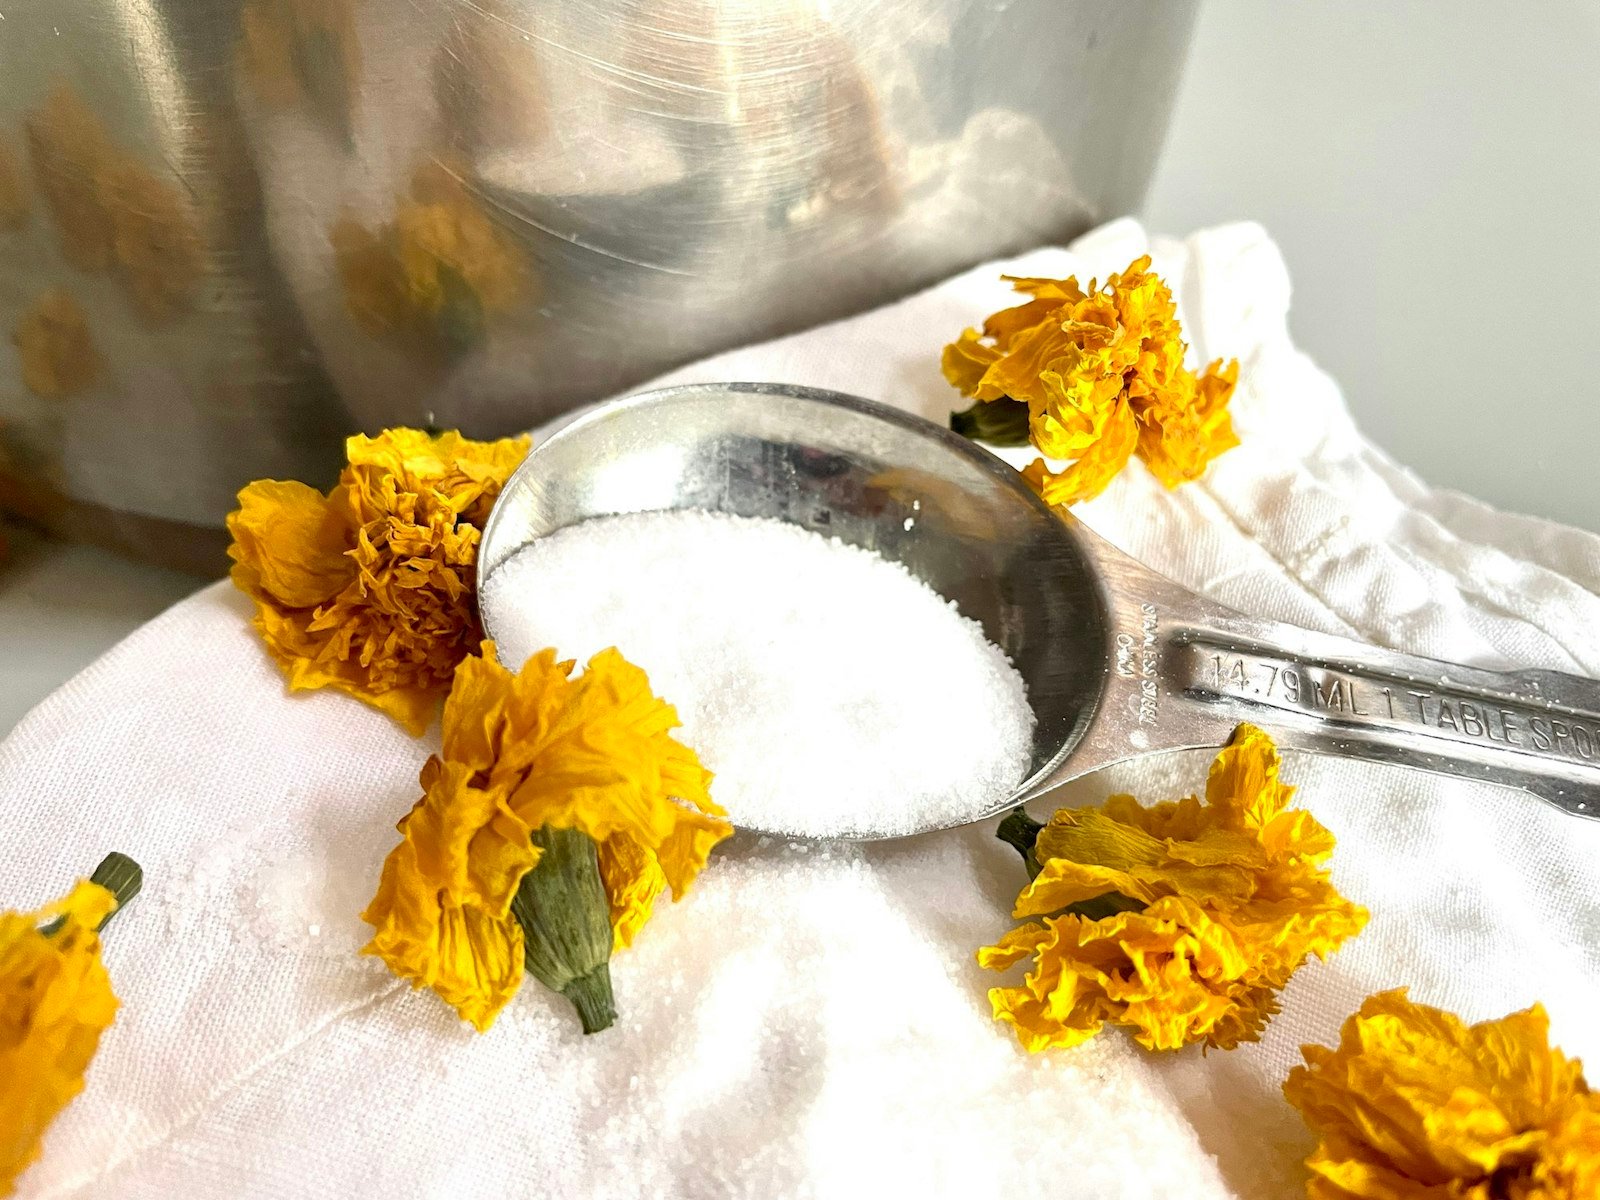
 Marigolds and zinnias are abundant, beautiful, and easy-to-grow sources for golden yellow dye.
Use dedicated equipment, but don’t buy new.
Dye ingredients may leave residues on your equipment, so don’t use your kitchenware. To get started, buy inexpensive kitchen equipment at thrift shops or garage sales. Make sure pots are nonreactive (stainless-steel, enamelware, or ceramic). Plastic works for equipment that won’t get too hot. Plastic cooking spoons are useful for poking fibers while they are in hot water, and plastic buckets are great for rinsing or soaking fibers. Aluminum, iron, and copper pots are reactive and can change the tone of your dyes. Reactive pots can be used strategically, but nonreactive pots will give you a baseline to start with.
Know your fibers.
Natural dyes work best on natural fibers, of which there are two groups: 1) Protein fibers (aka silk and wool) come from animal sources. 2) Cellulose fibers (aka cotton, linen, and hemp) come from plants. Bamboo and Tencel materials also fall into the cellulose category; they contain cellulose fiber even though they are produced in a similar way to synthetics. Bamboo and Tencel are handled like other cellulose fibers in dye recipes. They typically dye with similar hues to other cellulose fibers but have more vibrancy like the protein fiber silk. Protein and cellulose fibers react differently to dyes and pH values, so it is good to know what you’re working with when choosing a dye recipe.
Natural dyes come in many forms.
When shopping online for natural dyes, you may encounter bottled or powdered products; these are most likely concentrated dye extracts. You may also encounter bulk goods such as dried flowers and leaves, roots, wood pieces, and even insects. When working with bulk goods, plan on extracting the color from them before dyeing your fabric.
Once you have your first dye project under your belt, you’ll have a framework by which to understand the variety of methods out there. Many factors can affect your results, so instead of being put off if your results are different than expected, make notes about the recipe and materials you used and keep a swatch for future reference!