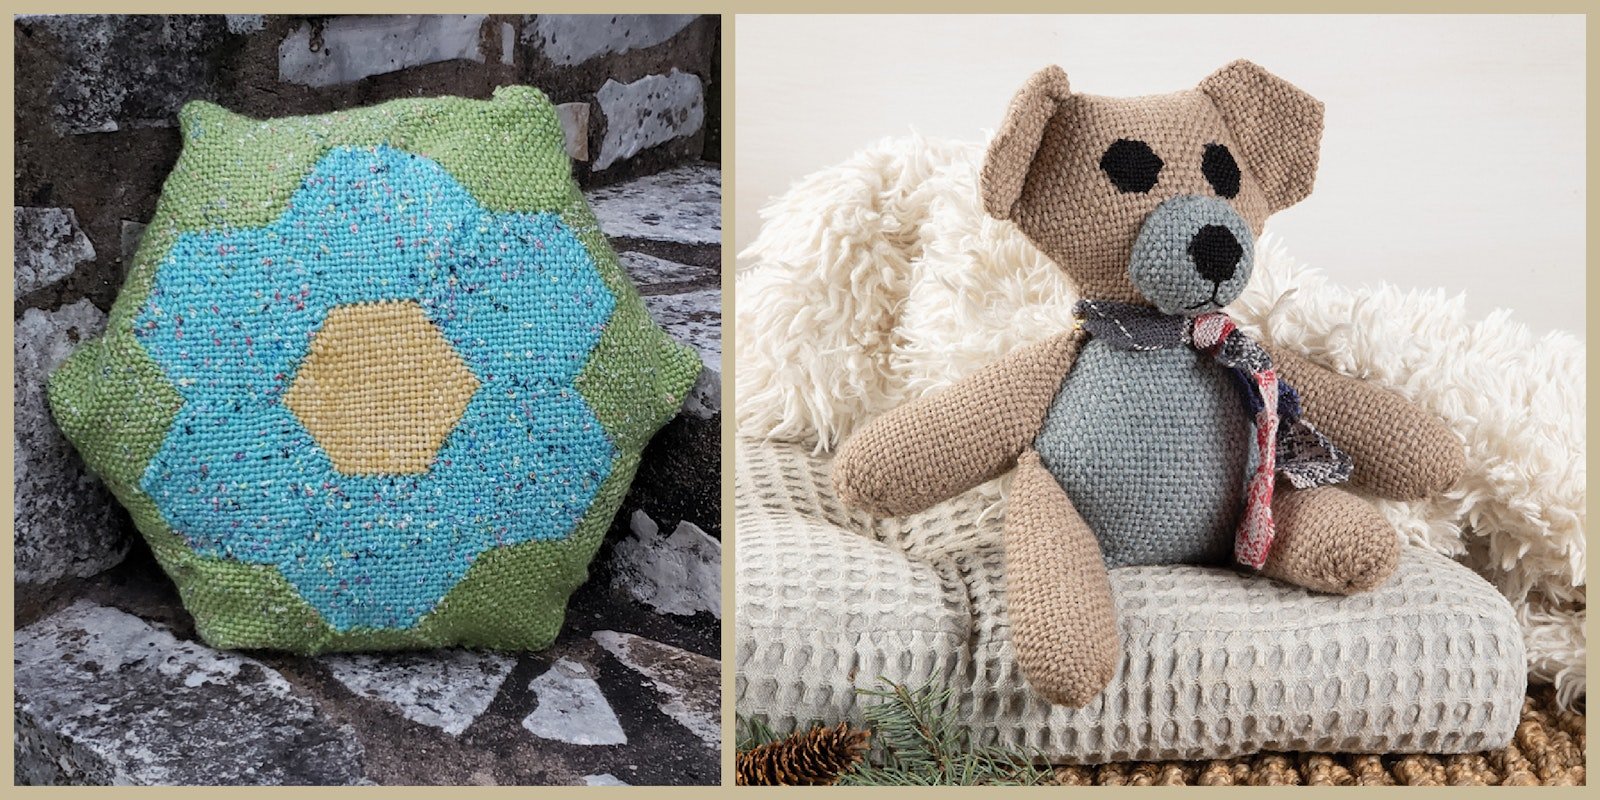
In Designing With Hexagons: Going 3D (Part 1) Gabi van Tassell described ways to create dimension using 2–4 hexagons and techniques such as pulling threads and folding that create unique shapes. Here, she goes even further into how you can combine and manipulate hexagons to create 3-dimensional shapes. –Susan
“Sharing” Hexagons to Create Straight Edgings
When constructing projects with two layers, for example pillows, bags, as well as garments, you can “share” hexagons by using half of them on the front side and the other half on the back. This allows you to create straight edgings without the need to weave half hexagons. A great example of sharing hexagons is the Aspen Clutch from Easy Weaving with Little Looms 2019 (see below). Another is the pillow on the left in the image at top.
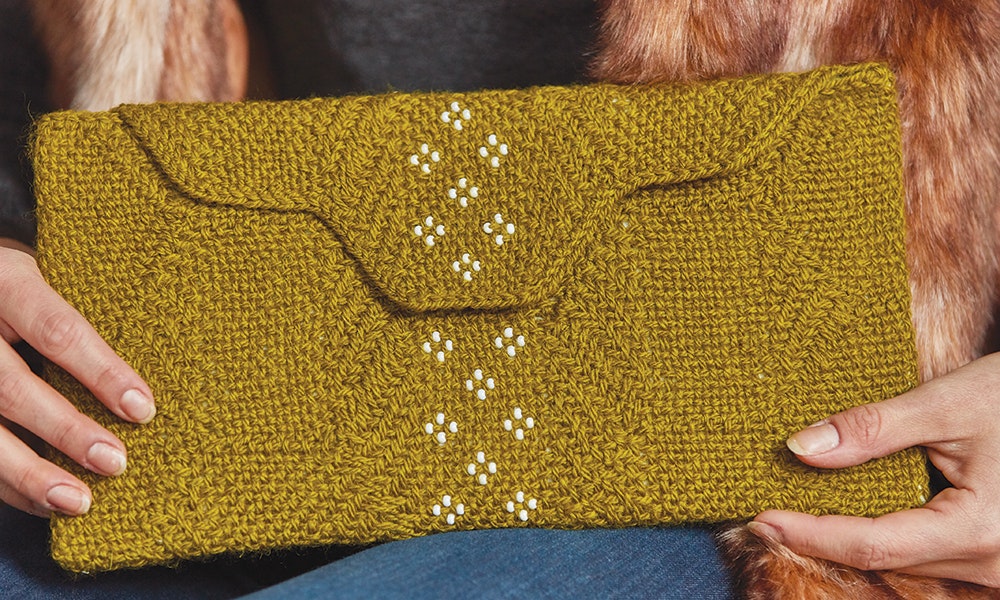
Photo by George Boe
Double Your Project
Many 2D projects are ready to go 3D if you make two of them! For example, the Grape Table Topper from Little Looms Summer 2018, shown on the left in the image below will make a great shaped pillow: Make two table toppers. Sew them together along the sides and stuff evenly before closing completely to make the pillow on the right.
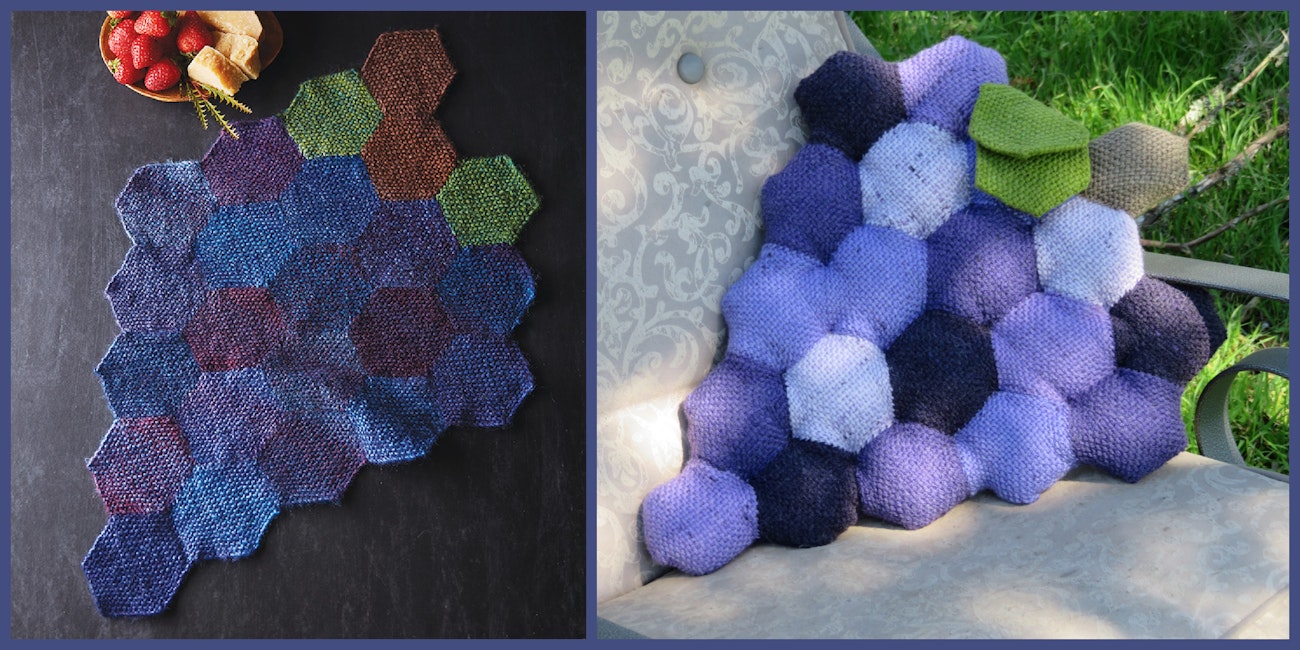
Photo on the left by George Boe, photo on the right by Gabi van Tassell
You can achieve an interesting effect by using a tie technique that is used in quiltmaking: Take a string of yarn and tie all the layers down where the hexagon corners meet. Secure with a knot and leave short tails if desired. Repeat this step for each seam join. This is a quick and easy method that will achieve a “faux puff” effect. Below are two pillows that are essentially the same shape but the one on the right is tied and puffy while the one on the left isn’t.
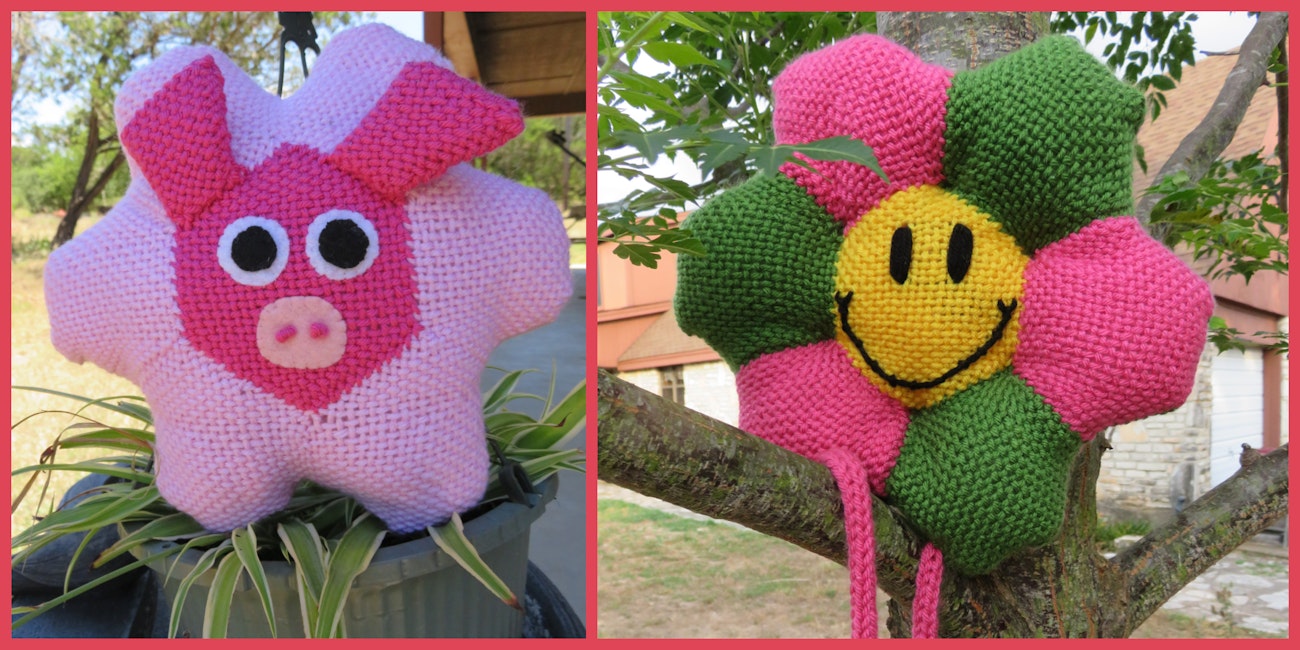
Photos by Gabi van Tassell
Gaining/Reducing Fabric Width
Because all the sides of a regular hexagon are the same length, there are seemingly endless opportunities to join those sides. It is beyond the scope of this article to cover all possibilities of gaining or reducing fabric width, but here are a few methods to consider:
- Using a larger/smaller hexagon to increase or decrease width.
- Sewing adjacent sides of one hexagon to another (rounder shaping).
- Sewing two adjacent sides of the same hexagon together to decrease width (dart shaping, used in the 22nd Century Hat, below).
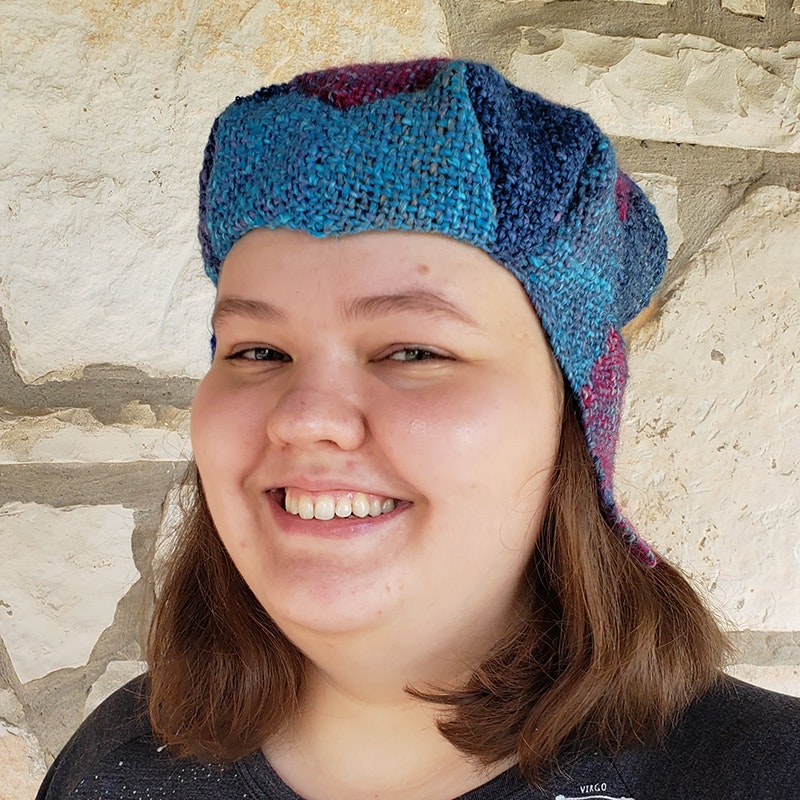
Photo by Gabi van Tassell
Prototyping 3D Projects
While laying out or sketching hexagons for a 2D project is usually sufficient, having a real sample for a 3D project is extremely helpful. I use 2" safety pins to temporarily secure hexagons in place and see whether the shaping and color distribution work well.
If you plan to design lots of 3D projects with hexagons, consider weaving some hexagons in neutral colors to use only for sampling and testing ideas. About 100 hexagons at hand is a good number that will answer many design questions.
Putting It All Together
In these past two posts, I have covered several methods for shaping 3D hexagon projects. Keep in mind that you can use more than one method in the same project to achieve a desired effect.
Take a look at this sloth below, for example. It features a modified hexipuff tummy, the legs and arms are made of folded hexagons, and the head is made of three hexagons, using one of the decrease methods.
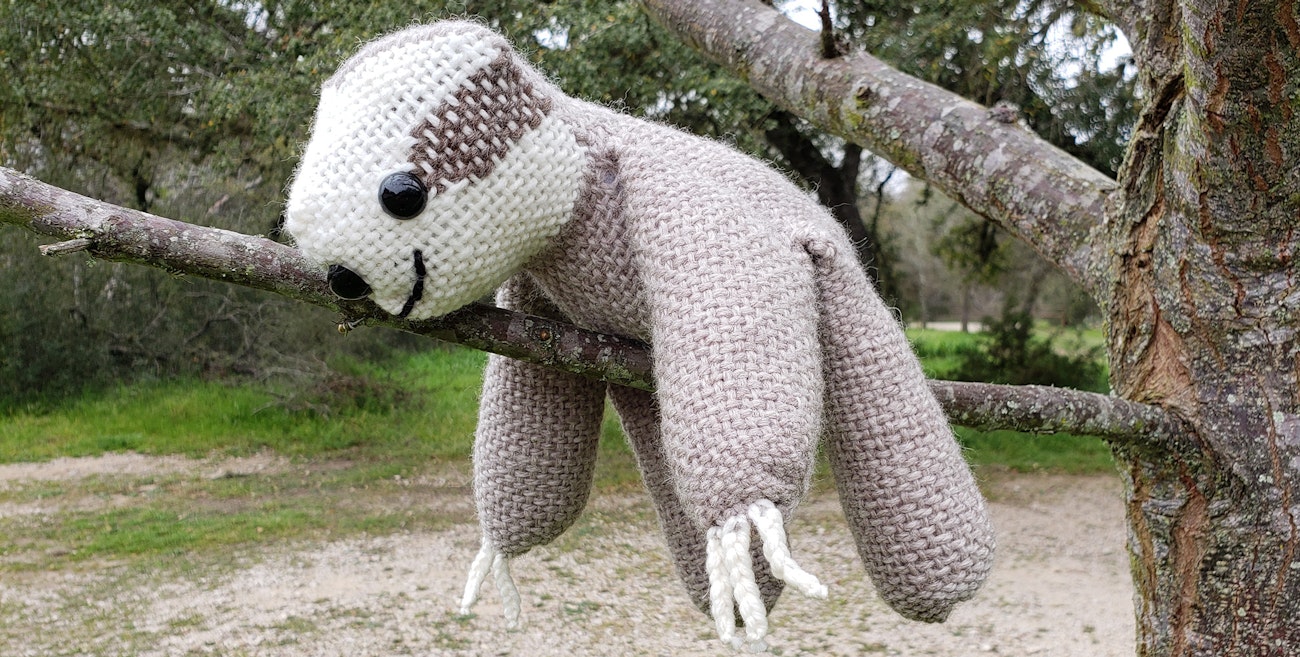
Photo by Gabi van Tassell
And, now it's your turn to start weaving and experimenting with putting hexagons together to make 3D objects. It's fun and challenging, what could be better?
—Gabi van Tassell
Originally published 9/28/23; updated 3/3/25

