


Contents

I remember the first time I finished a scarf with twisted fringe. It was a silk scarf and I remember thinking, “I don’t need a fringe twister; I can do it all by hand.” About four fringe bundles in, I regretted that choice and was soon the proud owner of a new fringe twister. Since then, I’ve finished many other scarves with twisted fringe, and I’ve even played around with other finishing techniques, inluding lattice fringe.
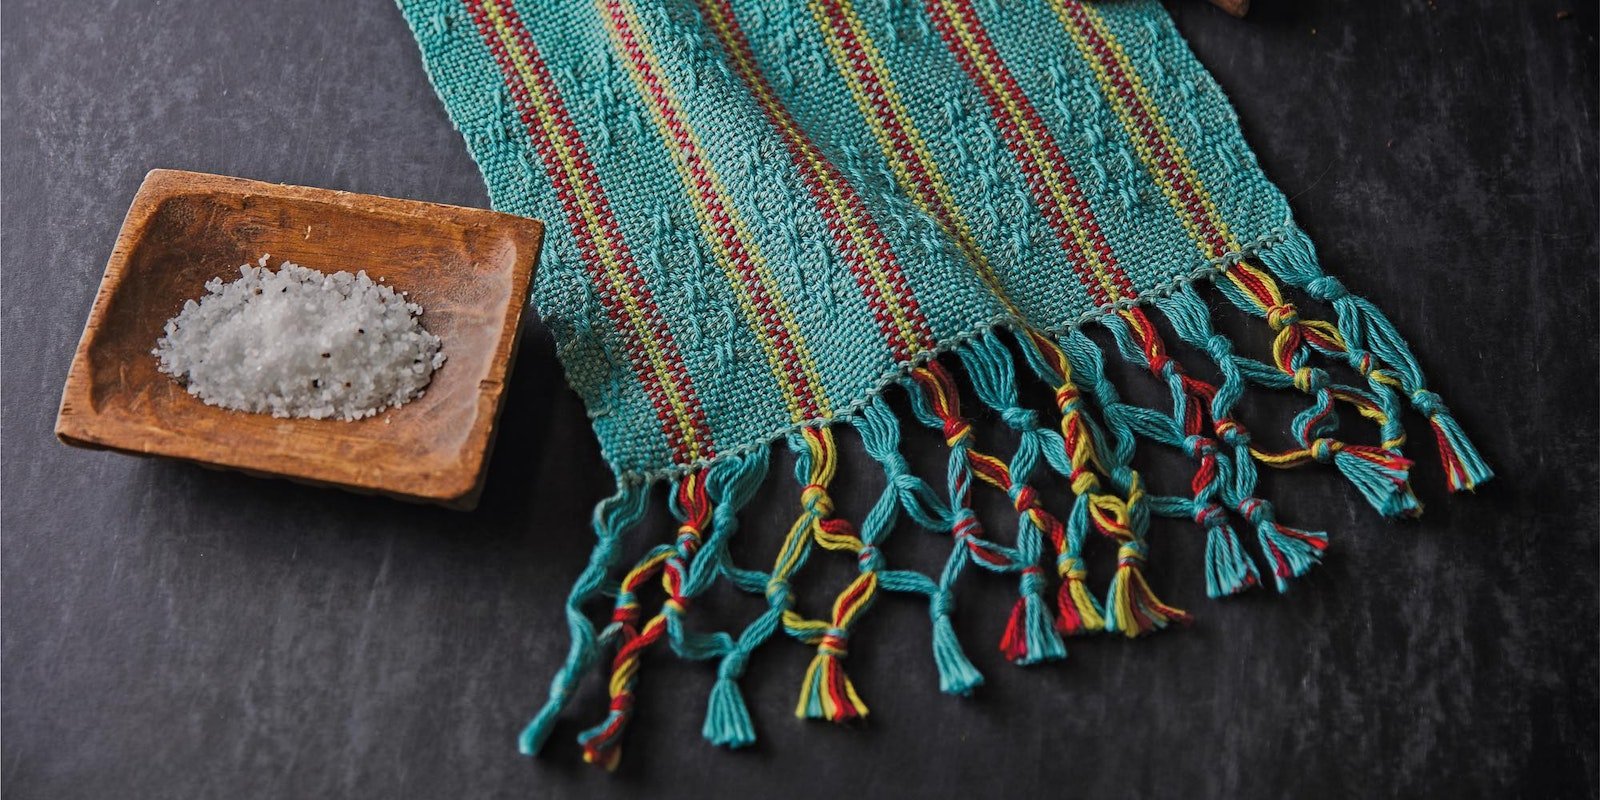
One of the best ways you can take your handweaving to the next level is with good fringe-finishing techniques. Whether you’re finishing fringe on rigid-heddle or tapestry-woven pieces or adding fringe to normally fringeless pin-loom projects, beautifully finished fringe makes a big difference. If you’re looking for some fringe options, this is the skill guide for you!
Today’s Skill Guide will give you a solid foundation. As you read, you’ll learn about:
- How to easily make twisted fringe using a fringe twister
- When and how to make a Damascus edge
- How to create an elegant lattice fringe
Every item we’ve selected for this guide is part of your All Access program and will help you get the most out of your subscription. Check out the Little Looms Library and our video course website for more learning opportunities.
Happy Weaving,
Christina
Twisted Fringe with a Fringe Twister
Adapted from “Do the Twist”
Twisted fringe makes for a beautiful finish for handwoven scarves and shawls. Not only does it produce a more professional-looking finish, twisted fringe is more stable than untwisted. If you’re twisting your fringe by hand, however, it can be a literal pain. Fortunately, there are a number of wonderful fringe twisters on the market that will help you twist fringe faster, more efficiently, and without finger cramps.