
Contents
If you’re new to rigid-heddle weaving, you might know the basic tools and pieces of equipment you need to get started weaving—a loom, threading hooks, scissors, shuttles, etc. But what about those little items that can make a big difference in your weaving experience? I’m talking about notions.
Top 5 Weaving Notions
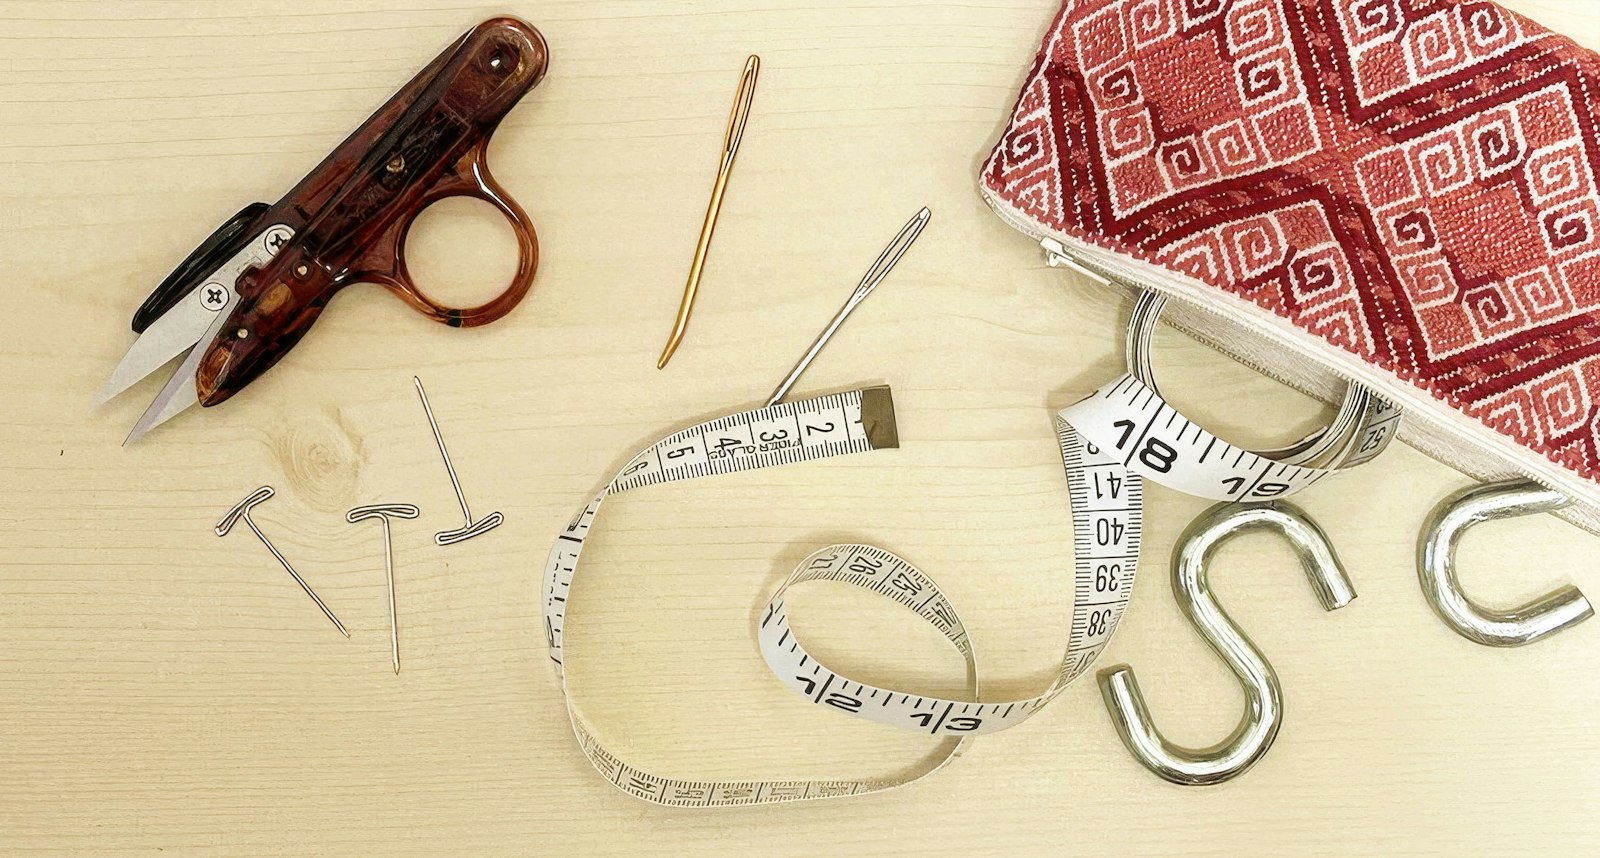
While going through my own weaving kit, I came up with this list of notions that I think every rigid-heddle weaver needs. These aren’t specialty items and should be easy to find at any fabric, yarn, or craft store. This isn’t an exhaustive list of notions by any stretch of the imagination, but these are the ones I use on almost every project and, in many cases, didn’t know I needed until after I started weaving.
T-Pins
 For extra-thick fabrics, such as the krokbragd shown here, T-pins are a must.
Even though I had dabbled a bit in sewing, I had never heard of T-pins until I started weaving. T-pins look a bit like straight pins that are shaped like the letter T (hence the name). T-pins are stronger than straight pins, and their T-head makes them both easier to grip and more stable once they’re in the fabric.
Weavers use T-pins to fix broken warp ends, to keep track of measurements on the loom, to mark errors, and to help with blocking. T-pins make it easier to position your pin even in thick, dense fabrics held at tension that might cause other straight pins to bend, break, or—even worse—damage the cloth.
Tapestry or Darning Needles
 Tapestry needles come in two varieties: straight and bent-tip.
Tapestry needles, also called darning needles, are blunt-tipped needles. They are larger and thicker than sewing needles, and because they’re designed to hold yarn, they also have a much larger eye. Tapestry needles come in a variety of sizes and can have either a straight or bent end.
These needles are used for hemstitching, fixing errors, weaving in ends, and for certain hand-manipulation techniques. Personally, I find using the bent-tipped version more ergonomic, but you can use either style interchangeably. The blunt end of the tapestry needle makes it easy to slide it through your fabric without getting caught on individual threads and damaging them.
Flexible Measuring Tape
 Flexible measuring tape isn’t just pliable, it's also durable, so you can pin it to the side of your cloth to keep keep track of length woven, motif size, and your picks per inch.
To easily and efficiently keep track of measurements on the loom, flexible measuring tape is a must. Sometimes called tailor’s tape, this measuring tape is typically made from vinyl-coated fiber glass, although you can find cloth versions as well. Because it’s flexible, you can wrap it around the loom during measuring. It’s also durable, so you can use it repeatedly—and even pin it to the side of your woven cloth as you weave it—without fear of ripping.
Flexible measuring tape comes in two forms: standalone tape and retractable tape. The standalone version is just a long piece of measuring tape, usually with metal at either end to keep it from fraying. The retractable version is similar to a measuring tape you’d find at a hardware store. The tape is held in a case and can be pulled out and locked in place during measuring and then retracted back into the case with the push of a button. Which tape you use is a matter of personal preference, and each type has its own pros and cons. I have both types in my weaving toolkit and use them both frequently.
Small Sharp Scissors
 Small scissors or thread trimmers will help you cut your tails much closer to the fabric.
Weaving involves a lot of trimming tails flush with the woven fabric, and using small, sharp scissors will let you get in closer to the fabric for a perfectly precise trim. (You can use larger scissors in a pinch, but they don’t work as well for detail work.) Embroidery scissors, thread trimmers, and even some utility scissors are good options, and which style you choose depends on your personal preference as well as your level of hand strength and dexterity. For example, some people find the squeezing action used on thread trimmers more ergonomic than manipulating tiny scissors.
These small snips come in a wide range of options when it comes to style, quality, and price. Look for scissors that are well made—they should not wobble at the hinge or have a gap between the blades—have a sharp point at the end, have sharp blades, and feel good in your hands.
S-Hooks
 S-hooks are useful for fixing broken warp ends as well as for tensioning any ends that have gone a bit slack. Photo by George Boe
S-hooks are the only item on the list you probably won’t find at your local sewing or yarn shop; however, you should be able to easily find them at any hardware store. (For more weaving tools from the hardware store, see “Hardware-Store Hacks to Improve Your Weaving.”) They come in a variety of sizes and weights, but for most purposes 2 1/2“ S-hooks will do the trick.
Weavers use S-hooks to weight down warp ends. What does this mean? Well, if you break a warp end mid-weaving and need to replace it, that replacement end will need to be tensioned. You can’t wind the new end on the beam, but you can weight it over the back of the loom with an S-hook.
Also, sometimes warp ends lose tension as you weave. You can hang an S-hook on that end at the back of the loom, and it will remove any unwanted slack. I try to keep a few S-hooks on hand in my weaving kit because I’ve found that if one warp end breaks or misbehaves, more will follow suit.
Building Your Weaving Toolkit
This isn’t a definitive list of weaving notions, but these are the items I would recommend that any new weaver have on hand. As you continue your weaving journey, you might discover other different notions or small tools that work well for you.
Do you have a notion or small tool you just can’t live without? Let us know!
Happy weaving!
Christina