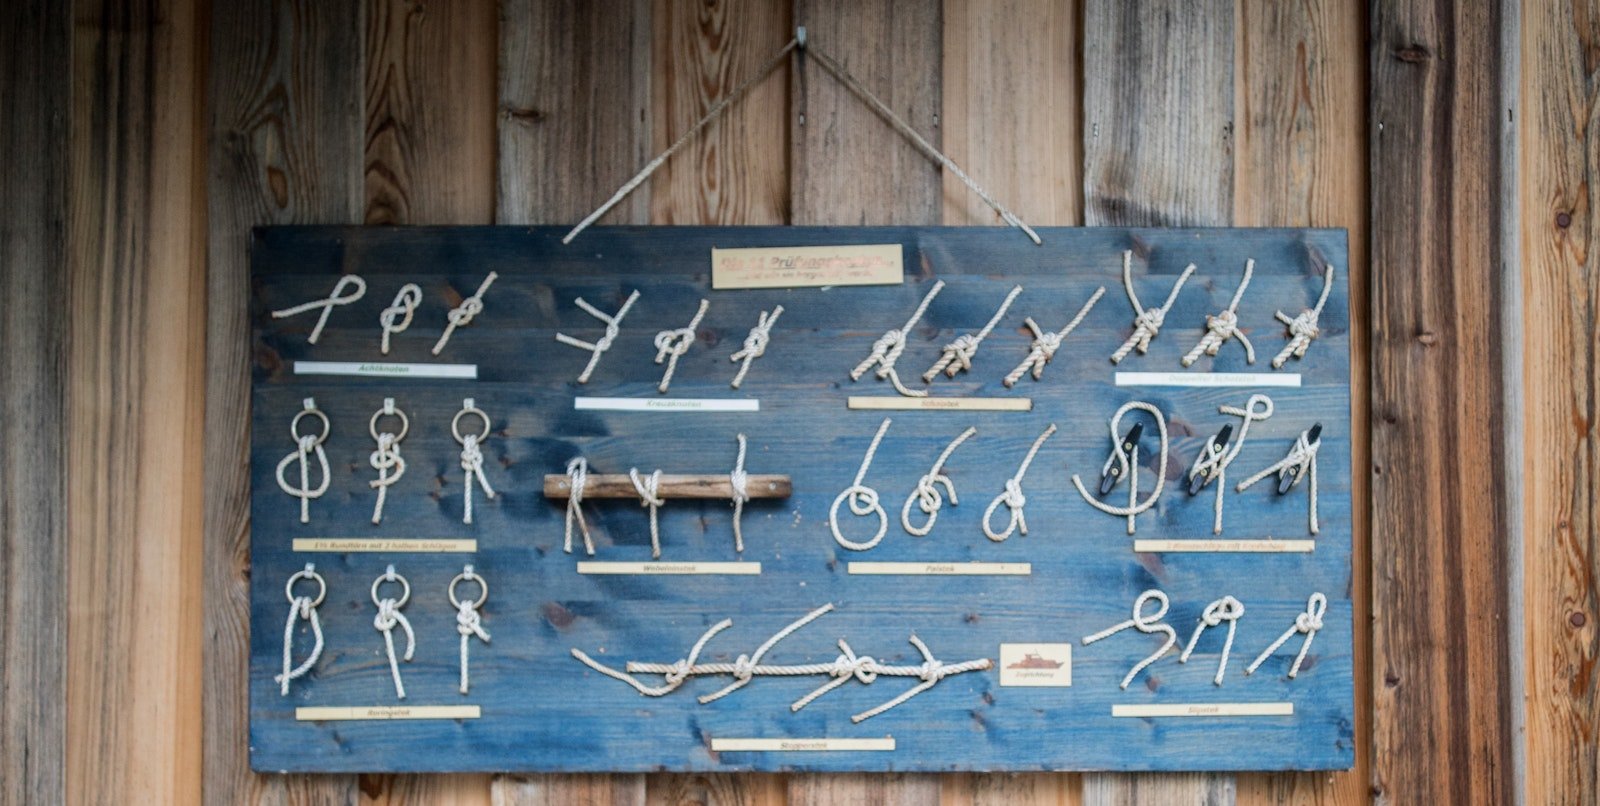
Knots are an important but often underappreciated part of weaving. We use knots to tie our warps to our looms, to tie string heddles, to tie two yarns together in the weft, and to fix broken warp threads. Choosing the right knot for the job is vital. Do you want a knot that will be easy to release or one that will stay in place? Do you want a knot that’s easy to tighten or one that won’t budge once it’s tied?
The more knots you have in your metaphorical weaving toolbox, the better. Just as with your physical weaving tools, you can probably get away with having only a few, but the more specialized ones really can make your weaving life easier. So, to start off the new year right, I’d like to introduce you to the weaver’s knot.
Some of you might already know this incredible, versatile knot. For those who don’t, the weaver’s knot is used to tie two different threads together with as little bulk as possible. It’s great for fixing broken warp ends, tying warp ends together, or tying weft ends together when you need something stronger than a splice. It’s a knot that needs to be untied to be undone, so you don’t have to worry about accidentally tugging it in just the wrong way and having it come apart.
Here’s how you tie the weaver’s knot:
 The weaver’s knot steps 1 to 5 from left to right. Illustration by Missy Shepler.
- Place threads A (purple) and B (blue) side-by-side with a loop in thread A.
- Pull one end of thread B up through the thread A loop.
- Wrap thread B over one side of the loop and then bring it under thread A to the other side.
- Bring thread B across the loop under itself and then over thread A.
- Pull tight. Trim the ends when you are sure the knot is secure.
That’s it—easy peasy, as they say.
Happy Weaving!
Christina

