

Contents
In Part 2 of her Spice Up Your Selvedges series, popular weaving teacher Sara Bixler suggests that you consider crochet when you’re finishing your piece. Along with this article, LTM All Access subscribers can enjoy browsing Handwoven’s project ideas for crochet borders. If you missed Part 1, which covered ways to deal with lace and weft floats, you can find it here.
—Little Looms editors
Free Lesson: Spice Up Your Selvedges with Crochet
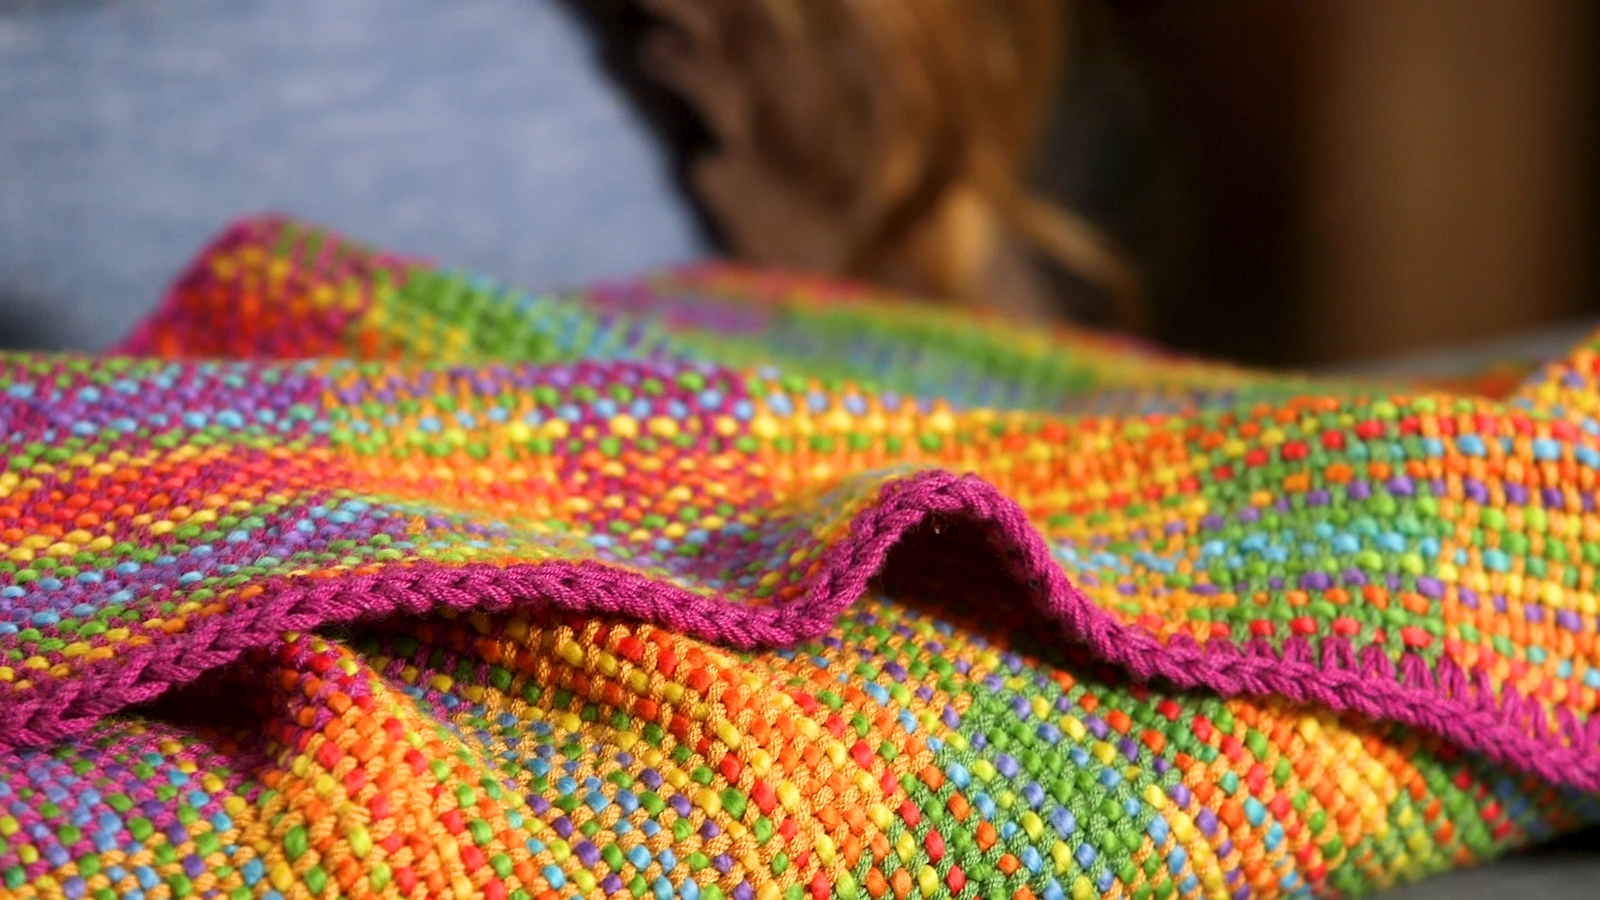
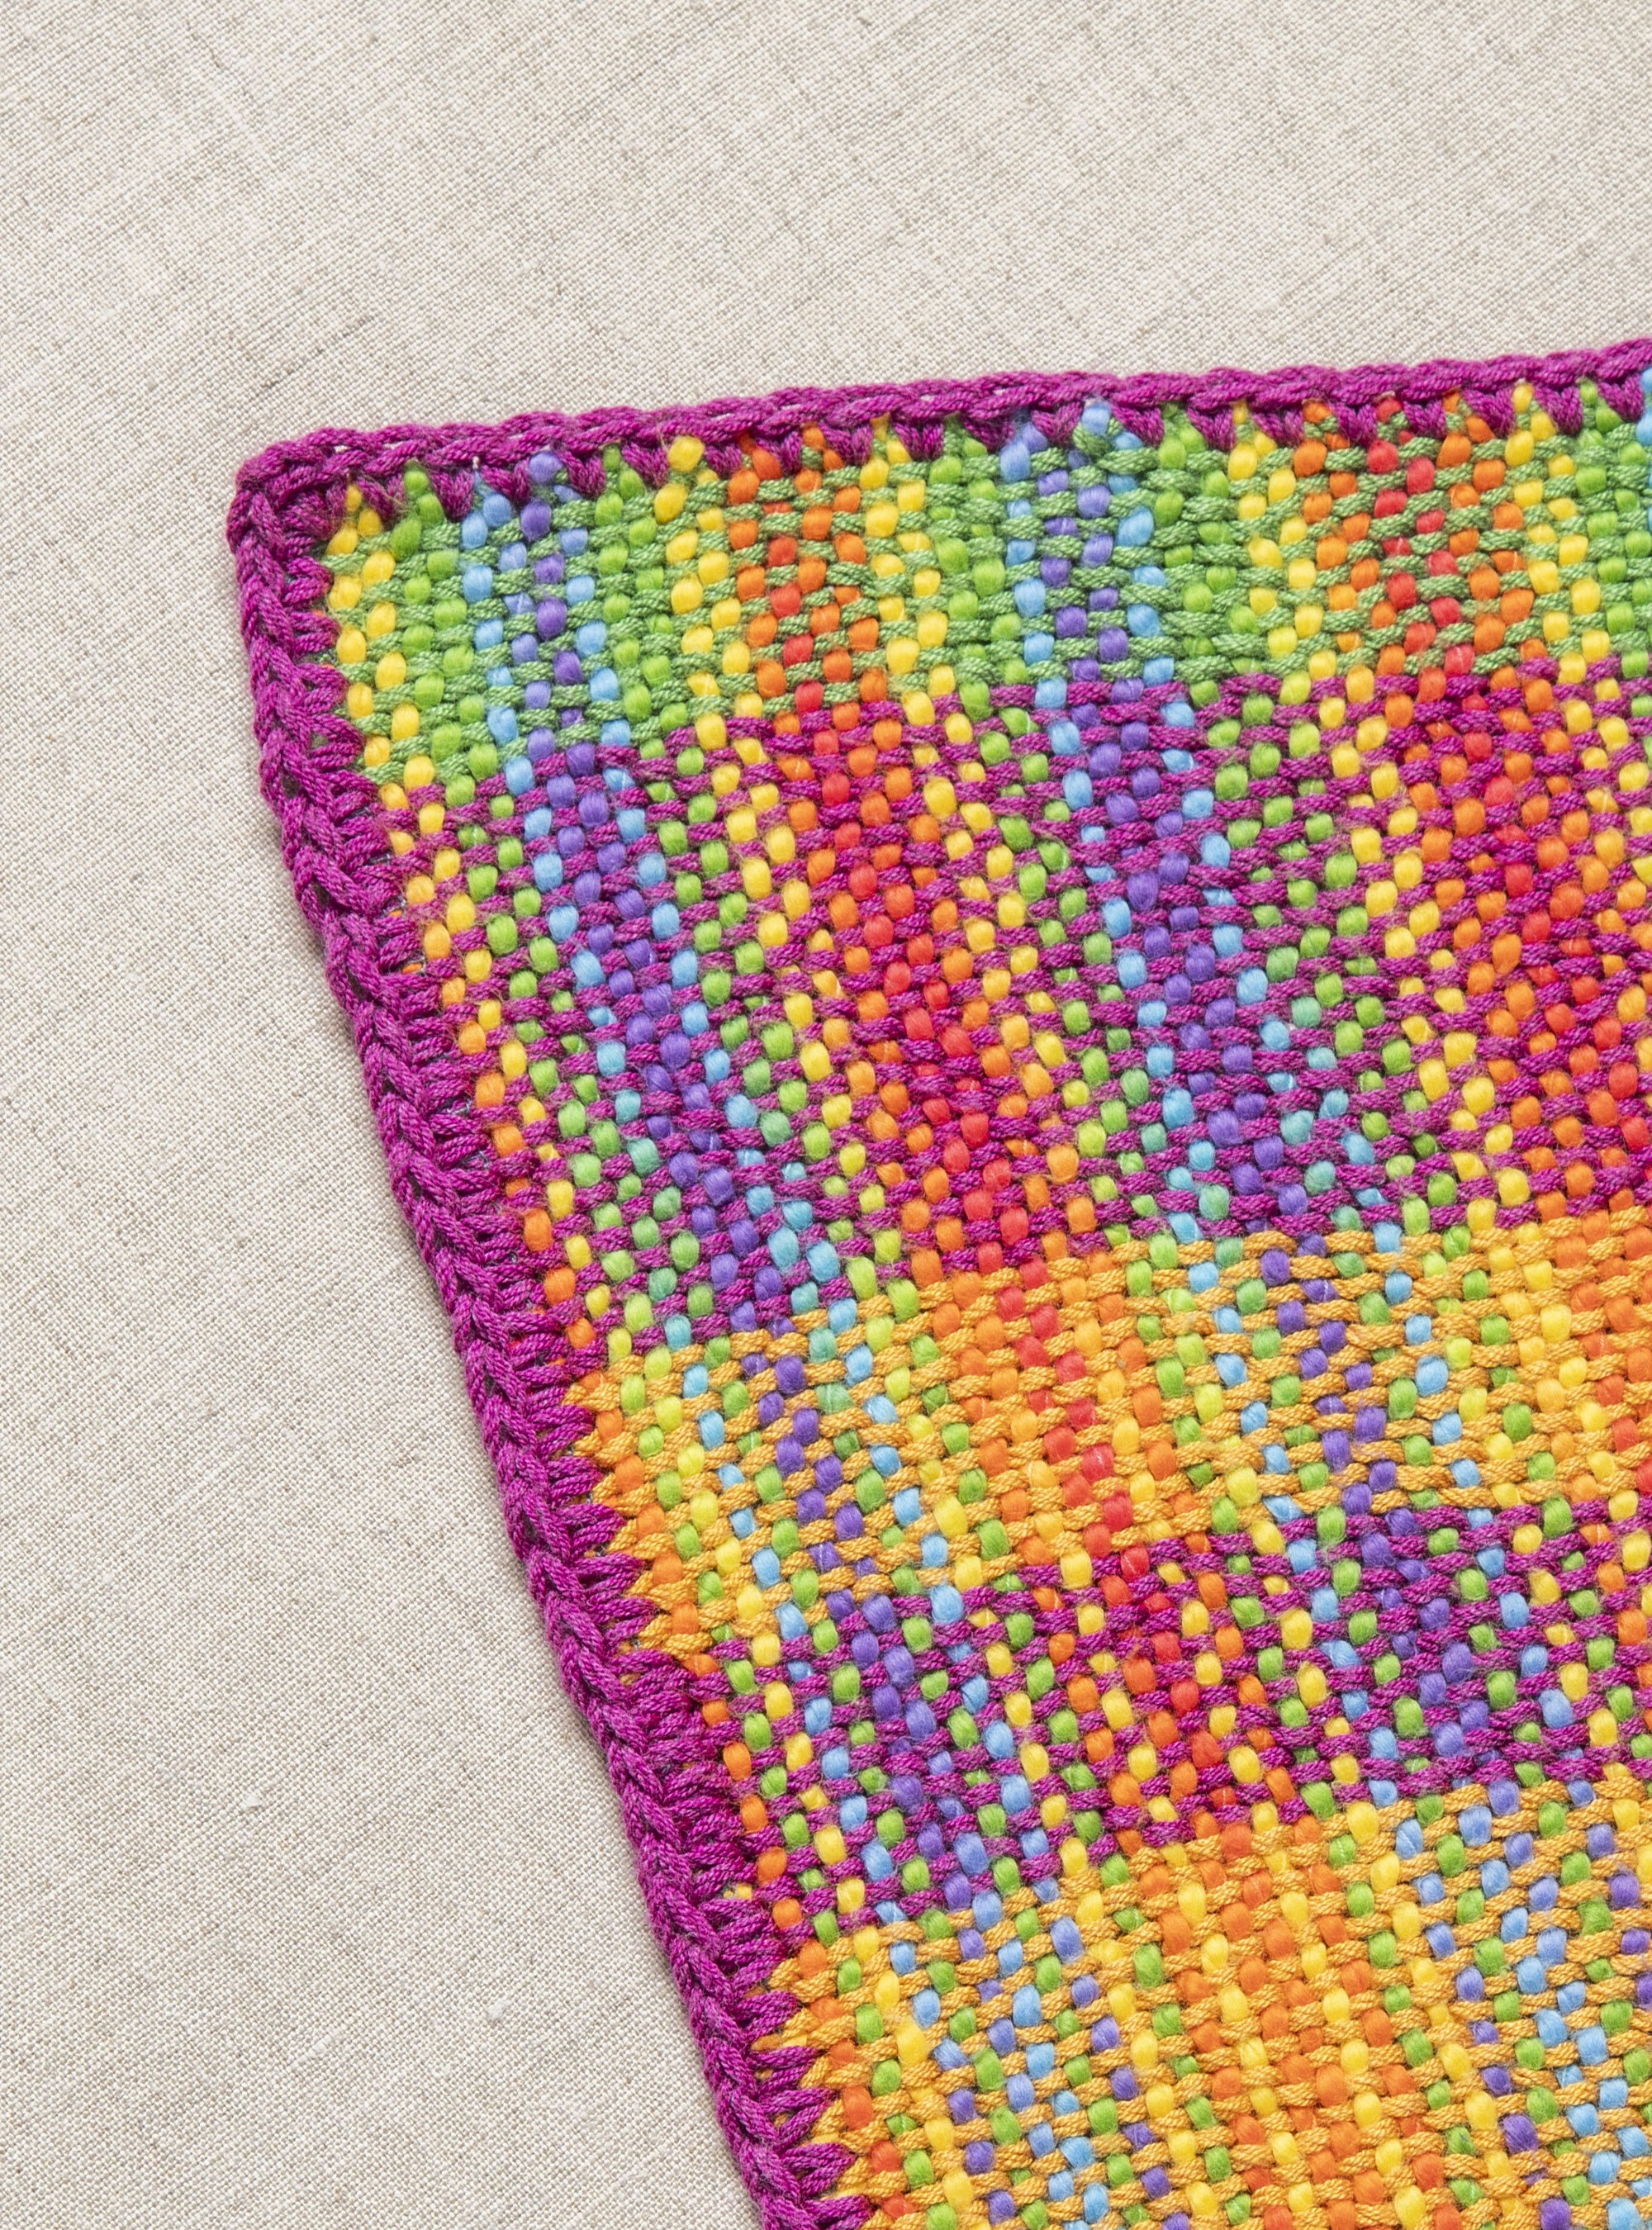
Getting neat and tidy selvedges is a constant struggle for pretty much all weavers—but what if I told you there was a way to get spectacular selvedges without fiddling with each pick? No—I’m not talking about using a temple, either. Instead of fussing with your selvedges during weaving, you can trim them after weaving with some simple crochet. In this second part of our Summer Selvedge Series, we’re going to show you just how easy it is to spiff up your selvedges with some extra stitching. Even better? This technique works equally well on rigid-heddle and pin-loom projects!
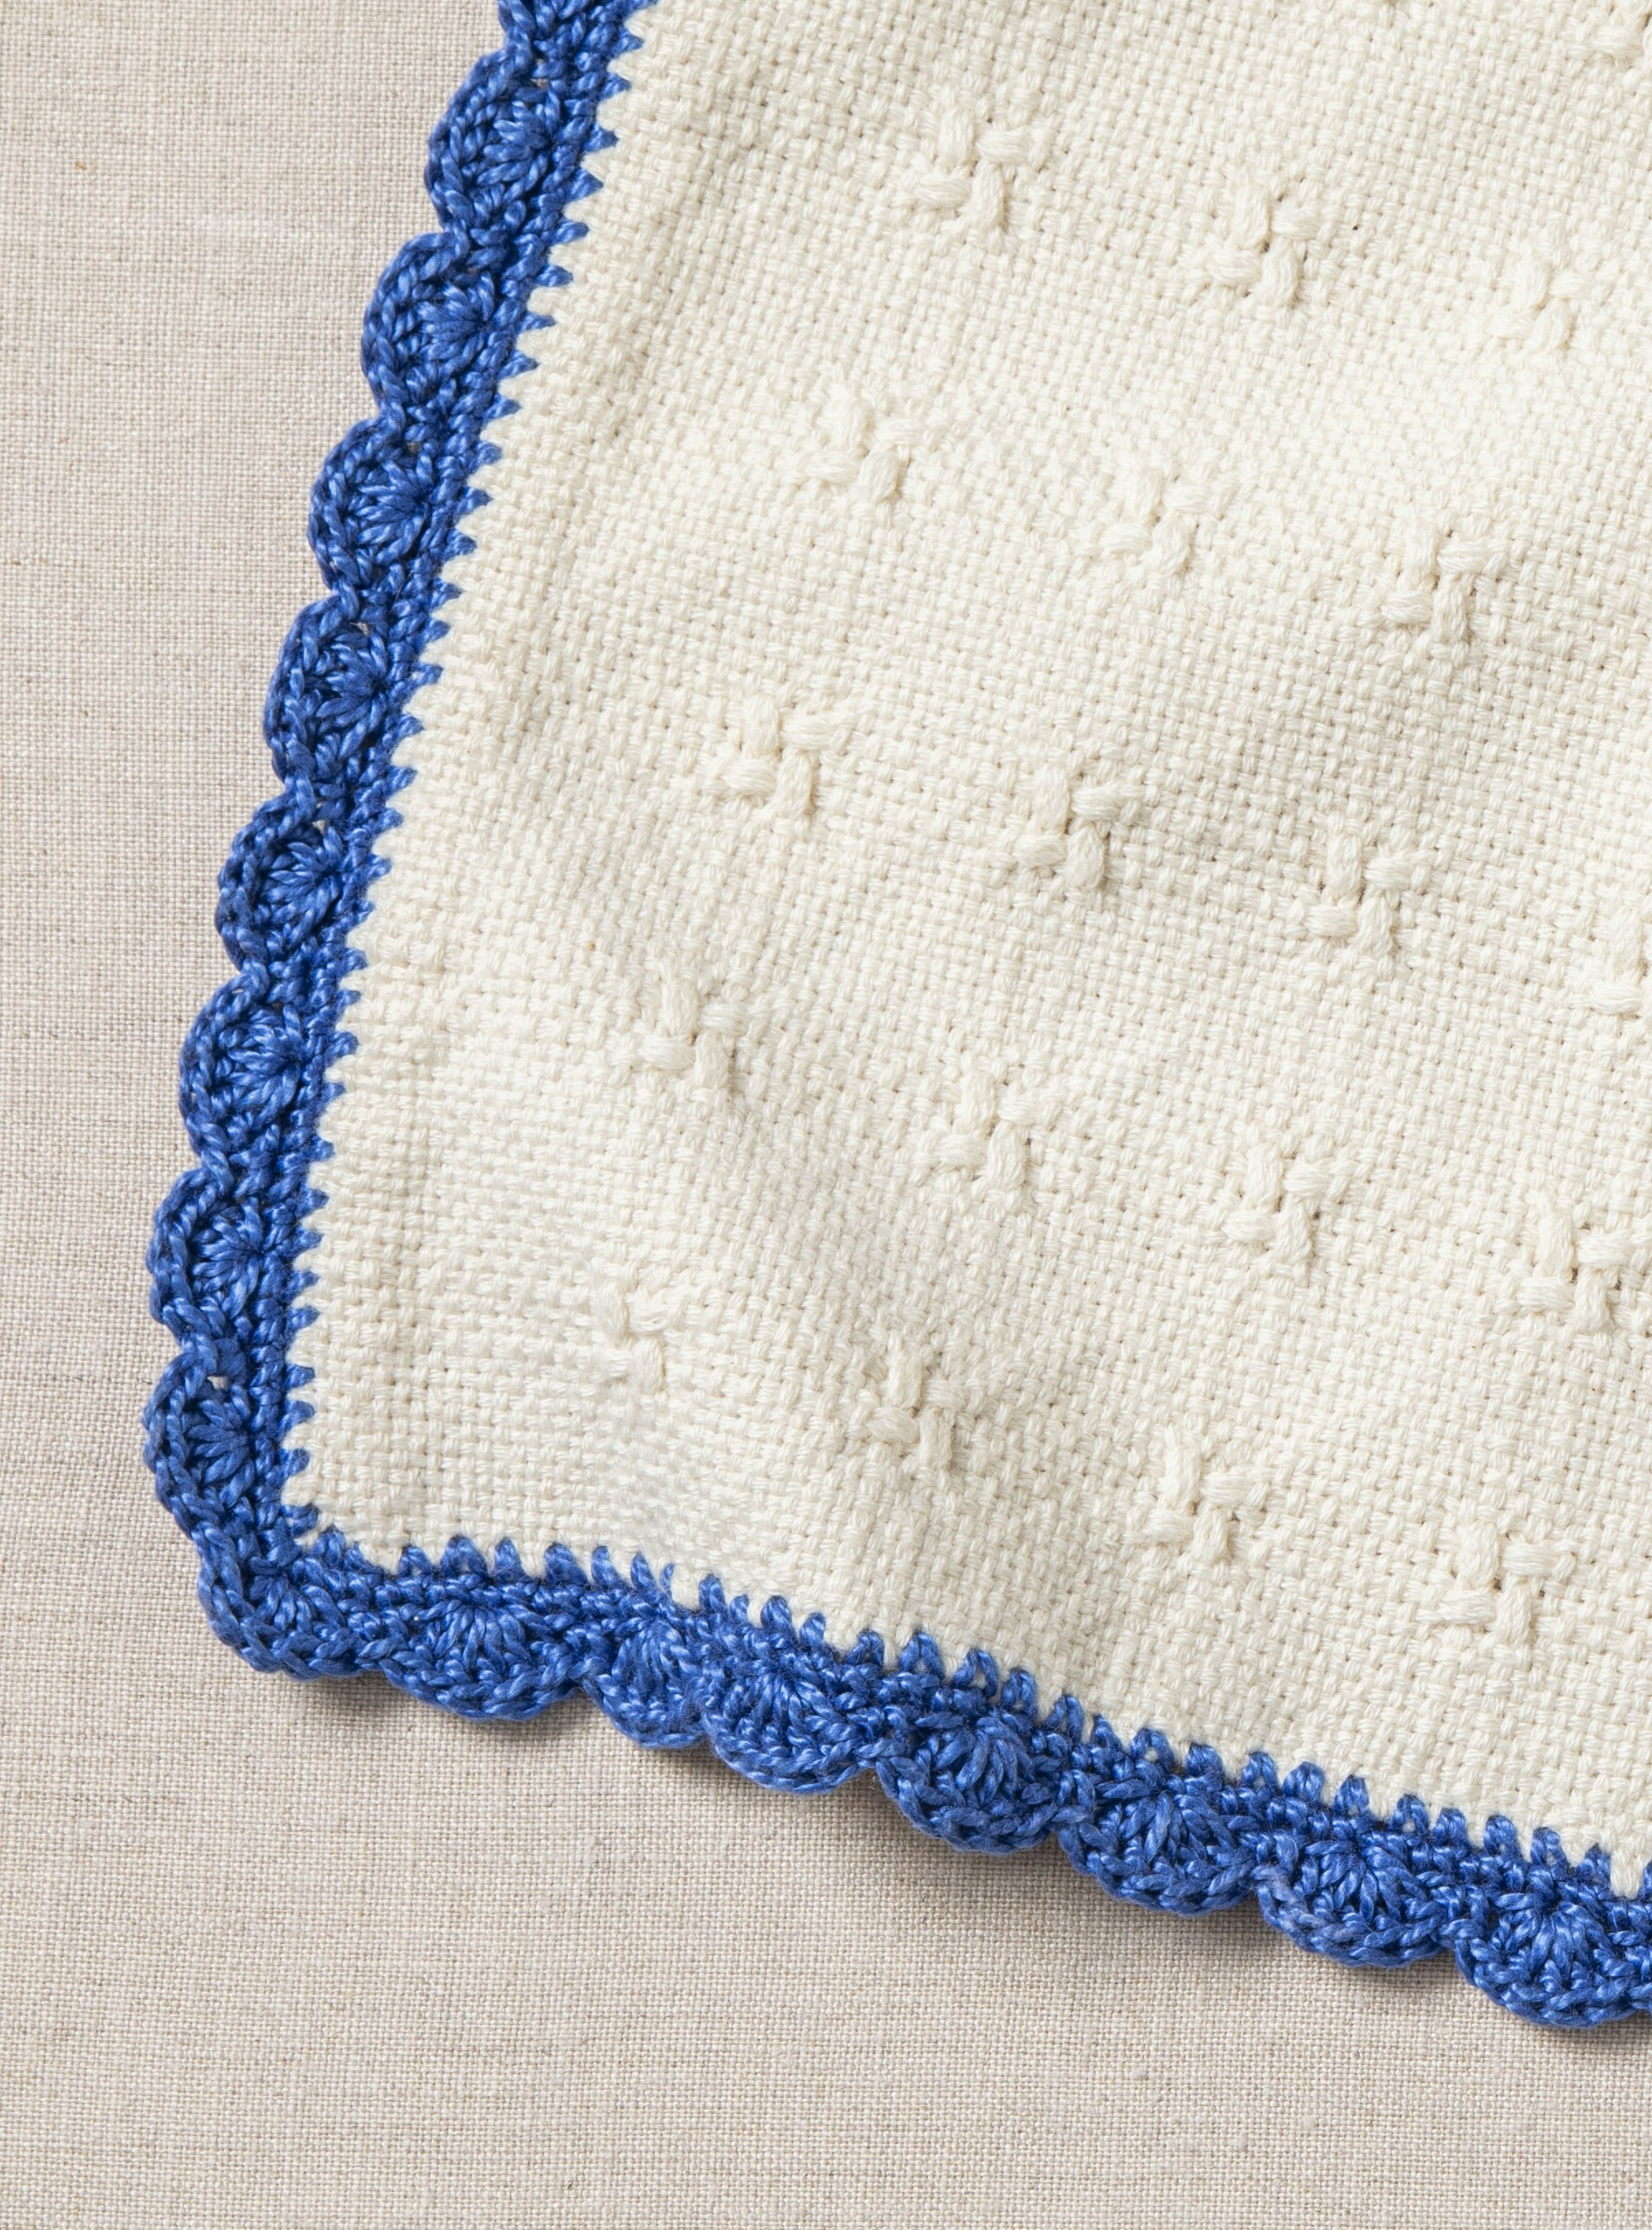
When you add crochet trim after weaving, you can add it to every edge—not just the selvedges. Giving your piece a crochet border literally frames your weaving. Just like the right frame can enhance your favorite painting, picking the right trim (color and style) for your cloth can enhance the texture and patterns. Simple trims, such as a single crochet border, will make your weaving stand out even more. More elaborate designs, such as a shell stitch, can help elevate already spectacular cloth to a new level.
Beyond aesthetics, a border can also be a practical choice. If you’re weaving a baby blanket or another project where fringe isn’t desirable, and maybe hemming isn’t a good option for whatever reason, adding a border lets you achieve a beautiful finish without the fringe.
Time to Crochet!
Not sure how to crochet directly onto handwoven fabric? Don’t worry—we’ve got you covered! We’ve got step-by-step instructions that will walk you through several ways to give your cloth a beautiful border.
Prep Your Edges
Adapted from this free article by Heather Winslow
Start with these preparatory steps before adding in or attaching crochet trims to your flat handwoven fabrics.
Secure the raw edges. Serge or machine stitch 2 rows of straight stitching ¼" apart and ¼" from the raw edge of the fabric. If the yarns in the fabric are particularly heavy or very slick and prone to raveling, encase the edges with Seam Finish from Farmhouse Fabrics or a similar bias edging.
Crochet a sample swatch. Experiment with different yarns, hook sizes, and stitches to get the look that you want. To achieve a firmer edging, use a hook at least one size smaller than the one recommended on the yarn label. In your woven piece, count the number of stitches per inch to determine the gauge and the number of stitches you will need to work. If you have a woven sample of the fabric, you can even add trim to the sample before wet-finishing it to get even more information about how the yarn will work.
Mark the edge of the cloth in inches. Use small safety pins to mark the length of the fabric in inches. Use these marks as a guide to crochet the exact number of stitches per inch as determined by your test swatch.
Next, you can choose to add a foundation slip-stitch row, or go straight to single crochet (or another stitch of your choice).