Contents
I remember when the concept of an ugly holiday sweater first emerged. Originally, the sweaters in question were flamboyant pieces from the ’80s and ’90s. I don’t know whether they were ever considered truly fashionable, but I definitely remember my elementary teachers wearing similar sweaters emblazoned with Santas, Christmas trees, stockings, snowmen, and other holiday and winter imagery in bold, bright colors. At that time, the sweaters weren’t a joke; they were beloved, fun garments pulled out year after year and worn multiple times a season. I loved my teacher’s sweaters, and I loved my little child-sized holiday sweaters and wore them proudly.
Tastes changed and fashion moved on, and these garments found new life as “ugly” sweaters that brought smiles and laughs from both the kitschy designs and the nostalgia factor. Today, however, countless cheaply made ugly holiday sweaters are mass-produced each year.These are sweaters that have been specifically manufactured to be ugly, to be mocked rather than loved. Even worse, I’m now seeing ugly sweaters that aren’t even sweaters—they’re just T-shirts with screen-printed designs that look vaguely sweater-ish. Kitsch, to be true kitsch, should come from a place of love, not cynicism. (I have strong opinions about sweaters, in case you can’t tell.)
But what if you could combine the joy and nostalgia of the original sweaters with a fun fiber craft, all while also rescuing stained and holey sweaters? You can do just that with needlefelting!
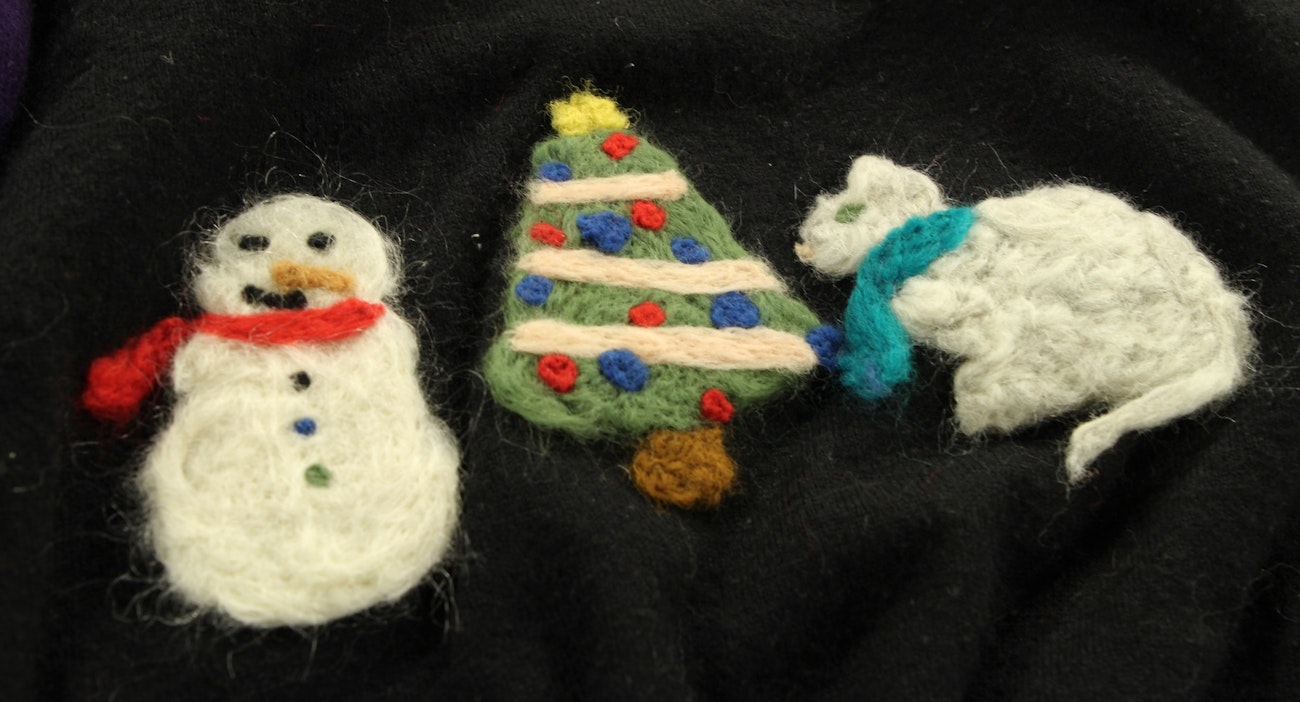
All three of these designs were created by using a cookie cutter as a mold to create the base shape. After felting the base, Christina added details.
Needlefelting Sweaters
If you’re not familiar with needlefelting, it’s a technique for manually felting (not fulling) wool using a special barbed needle. With needlefelting, loose roving can be felted into standalone items or can be felted to wool fabric—including old sweaters. It requires a little bit of finesse in how you position the wool, but overall, it’s a fairly easy process that involves jabbing the wool over and over again until the roving felts.
It’s also a great way to cover up unsightly stains or holes in otherwise quality sweaters. With needlefelting you can make your sweater as whimsical as you want or, conversely, you can make more “serious” holiday or winter sweaters with more elegant or understated designs. How do I know? Well, years ago (so many years ago), I filmed a video on just this topic! After reviewing the video, we found some good tips that we edited into a nice, bite-sized tip.
In this video, you’ll learn the basics of needlefelting sweaters and get an example of how to use a cookie cutter as a mold. After you're done watching, you can find even more details written below to get you started on your needlefelting journey.
Supplies
To needlefelt a sweater, you’ll need:
- Wool sweater.
- At least one felting needle
- Wool roving in a variety of colors—you can also use non-superwash wool yarn and 100% wool felt.
- Tapestry needle or a toothpick.
- Needlefelting pad such as a thick foam—just make sure the foam is thick enough so the needle won’t go through the bottom.
- Optional: Molds such as a cookie cutter or stencil.
You can find needlefelting kits and supplies at many craft stores as well as online. An easy and inexpensive way to get started is to buy a needlefelting project kit that includes a felting needle and small amounts of colorful roving. You can make the project or use the needle and roving to get started embellishing sweaters. If you end up wanting to do a lot more needlefelting, you can buy larger amounts of roving and specialized needle holders to make the felting process more efficient and more ergonomic.
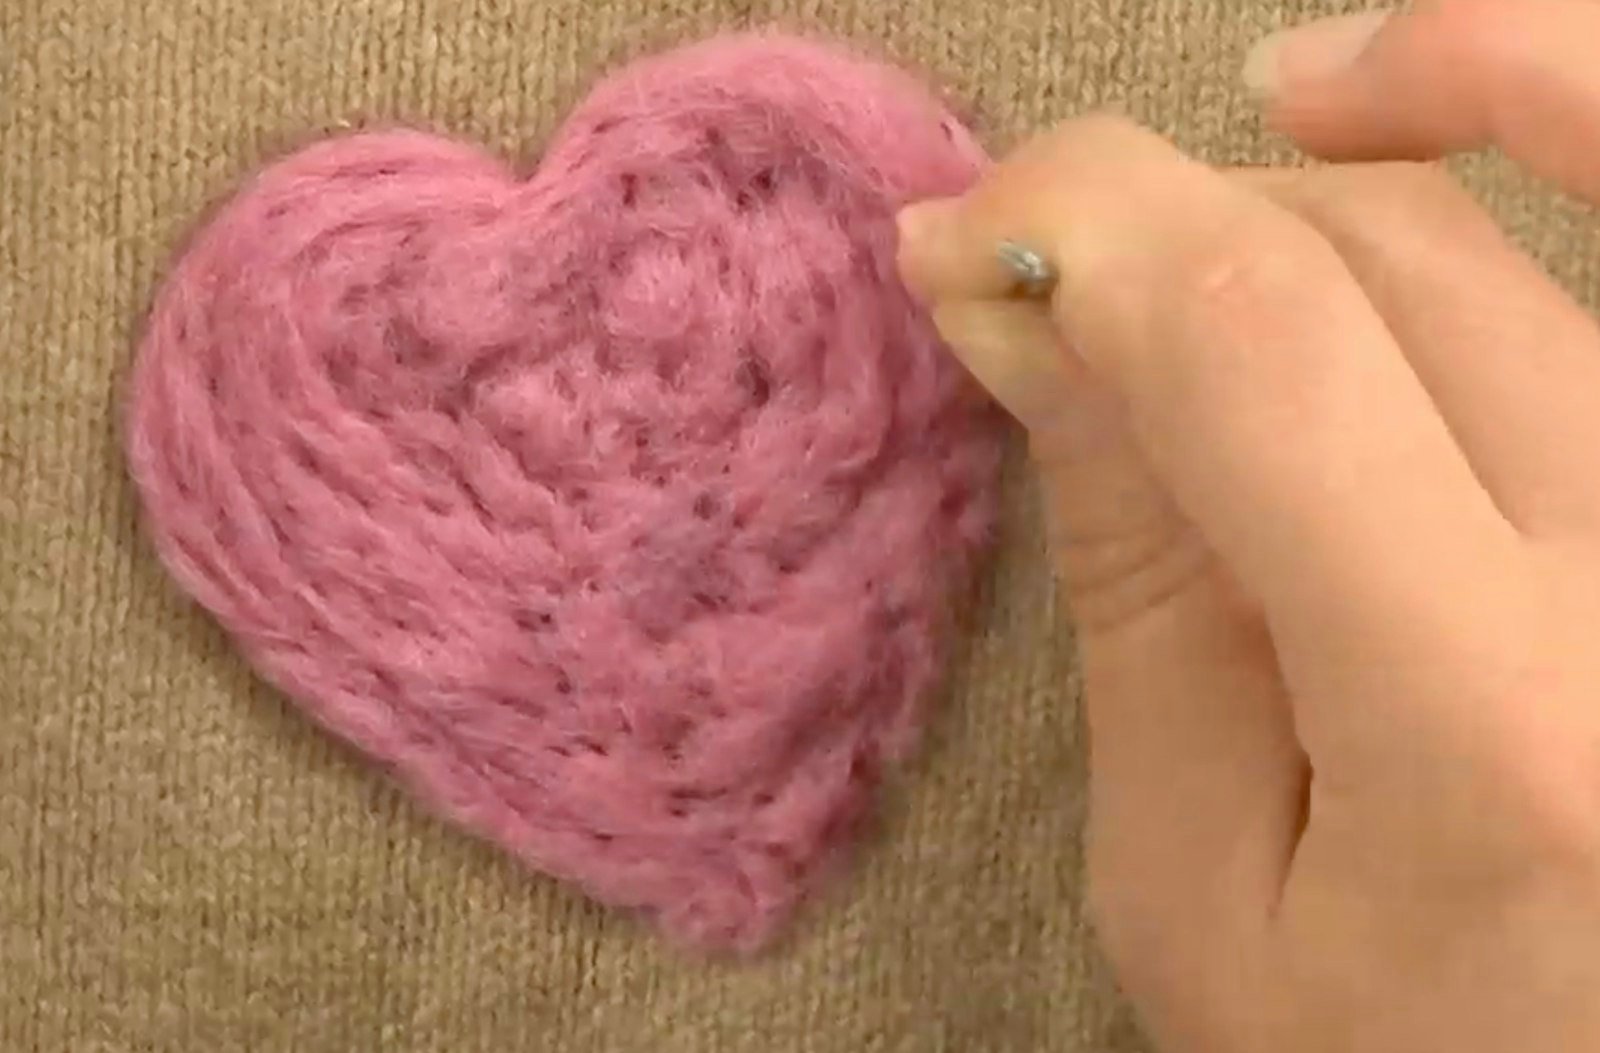
When using a cookie cutter as a mold, begin by felting the edges. Once those are felted, then you can move to felting the center of the design.
Basic Method
Once you’ve got your supplies, you’re ready to start felting! I recommend starting slowly because as tempting as it is to go quickly, you’ll want to get a feel for the felting process and how long it takes and how your wool behaves. Also, be careful! It’s easy to stab yourself during the felting process.
- Place the felting pad inside the sweater (this way you won’t accidentally felt your sweater together).
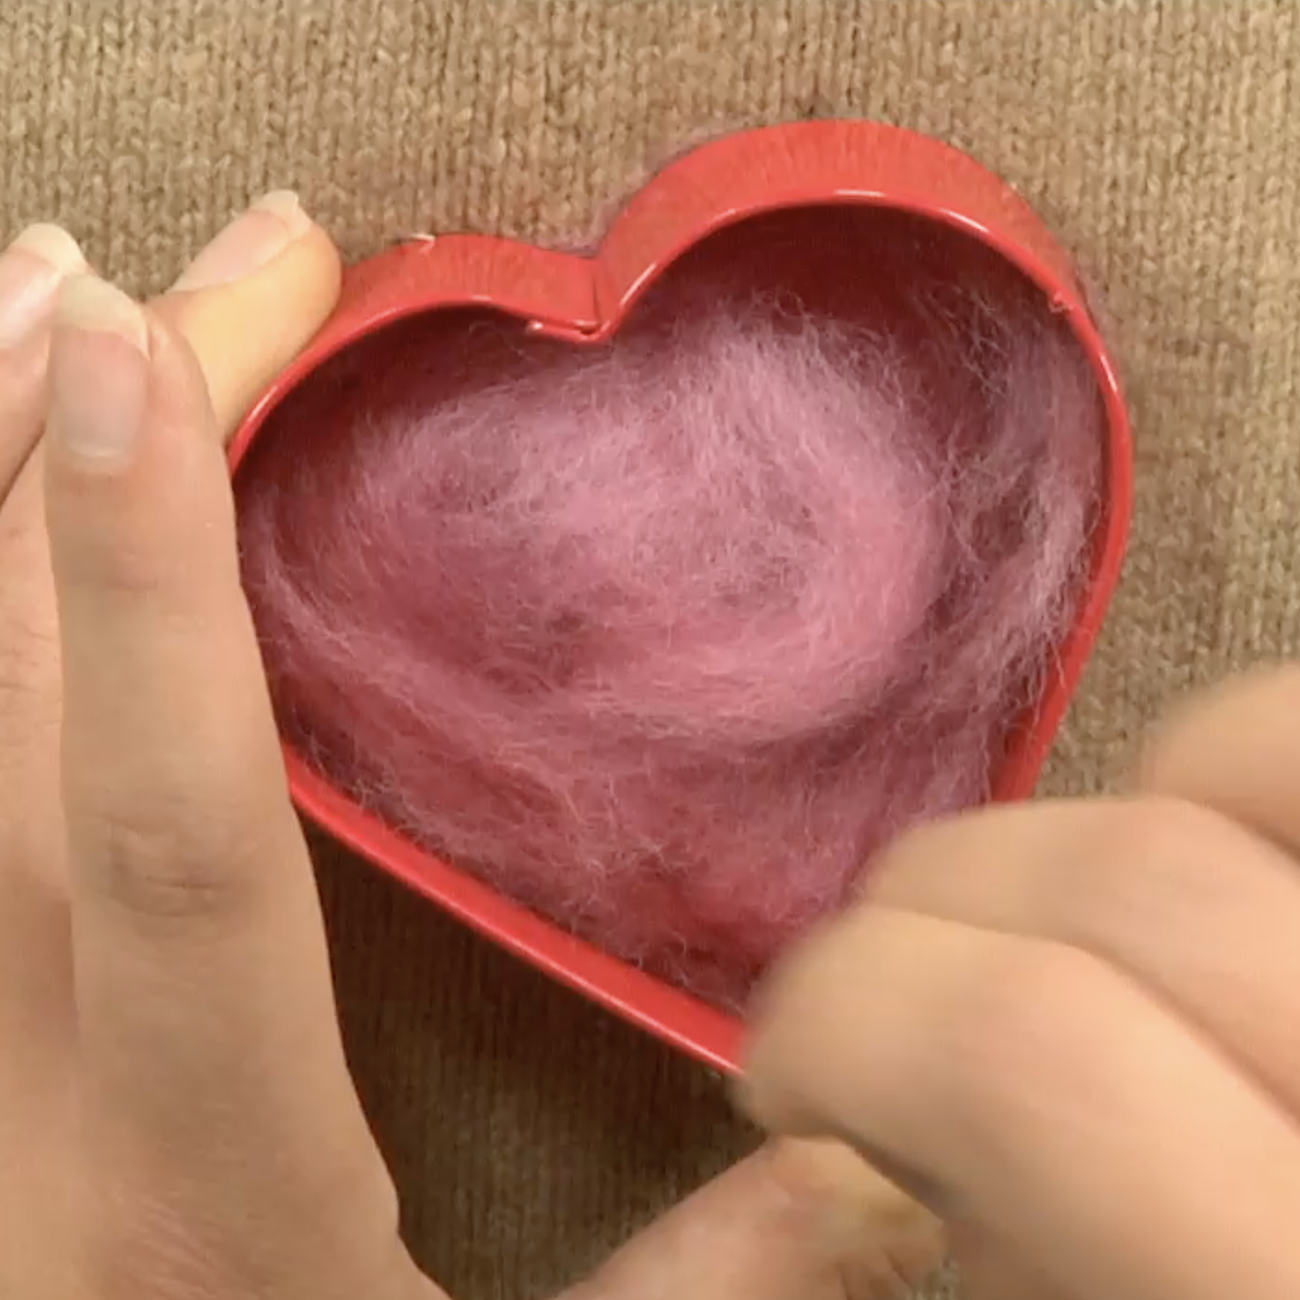
- Position your roving (or yarn or felt) on the sweater. If you’re using a mold, place it on the sweater and fill the mold with a layer of roving. The wool will compact as it’s felted, so you may find you need to add more partway through.
- Carefully poke the felting needle through the wool roving and sweater into the pad. It is very easy to stab yourself, so be extremely careful. If you’re using a mold, begin by needlefelting the outline, then felt the center.
- Keep poking the wool, moving the needle around the roving, until it’s thoroughly felted to the sweater to your desired thickness. Remember: You can always add more wool, but once it’s felted on the cloth, it’s difficult to remove it.
- Roving can be added on top of felted designs so you can build your designs in layers, adding faces and other embellishments. For needlefelting small details safely, use a tapestry needle or toothpick to adjust the roving and hold it in place instead of your fingers. Keep adding wool until your design is complete.
While needlefelting works great for making holiday sweaters, it can be used as a general mending method for wool sweaters. If you have a beloved wool sweater in your closet that’s too stained or worn out to wear—but too comfortable to throw away—you can cover the blemishes with wool flowers, wool sheep, wool hearts, or any other design. It’s a fun and accessible method of mending.

These adorable gnomes were needlefelted by Jennifer and Melissa Vansant in their video course, Felt It: Make Mini Gnomes.
More than Sweaters
You can felt more than sweaters, too. Have a damaged wool scarf or shawl? Fix it with felting! Want to liven up a boring wool runner? Felt on a new design! You can even wet-felt handwoven fabric, cut it into shapes, then needlefelt those shapes to each other or onto a seperate wool base. If you end up with leftover roving and don’t want to take up spinning, you can needlefelt roving directly on the felting pad to create small animals and other figures, ornaments, and other décor. If you want to learn more about needlefelting more than sweaters, we’ve got some excellent video courses—including Felt It: Make Mini Gnomes where you can learn to make the too-cute gnomes in the photo above from needlefelting experts Jennifer and Melissa Vansant.
Needlefelting is a lot of fun and very beginner-friendly, so even if you don’t need a holiday sweater, I hope you consider giving it a try!
Happy Felting!
Christina