

One of the best early lessons I learned as a new weaver was how to fix unwanted floats. I rarely spot floats when they happen and are easy to unweave. Instead, I usually notice them after an inch or more of weaving has gone by. Once I see an unwanted float, that becomes all I can see—at least until I get it fixed.
What Are Floats?
When we talk about floats in weaving, we’re talking about when a warp end goes over more than one weft thread or when a weft thread goes over more than one warp end. Many designs rely on floats—it’s how we create lace and waffle weave, for example. These floats are planned and part of the design. They become a problem if they’re too long, but otherwise they can add extra visual and textural interest to your cloth.
 In the red oval, you can see two warp floats in a sea of plain weave. Photos by Christina Garton
Unfortunately, floats often pop up where we don’t want them. In the photo above, you can see some warp floats I discovered while weaving a set of napkins. Sometimes you can get away with ignoring the float. If you’re going to vigorously full the fabric, for example, the float should, in theory, disappear. Or if it’s a small float in an already float-filled fabric, such as waffle weave, you probably won’t notice it after wet-finishing. However, even in these cases I prefer to fix the float “just in case.”
How to Fix Floats
Before I go further, I do need to mention that you can take certain measures to prevent floats. On a rigid-heddle loom, having an evenly tensioned warp and advancing frequently will greatly decrease the chances of a float occuring. On a pin loom, having good tension is also key. If your weaving gets too tight to easily manuever your needle, floats are more likely to happen. However, getting good tension is sometimes easier said than done—especially when you’re dealing with inelastic threads—and even if you advance your rigid-heddle warp every inch, you can still end up with floats where you don’t want them.
Floats are easiest to fix if you spot them during weaving. For a float near the fell line of a rigid-heddle loom or on a recently woven pick on a pin loom, the best way to fix it is to unweave until you’ve unwoven the row with the float. Then you can start anew. Sometimes you might notice an errant droopy warp thread has caused floats in every other pick for a whole inch. In those cases, if it's only an inch or two of weaving, I will sometimes cut out weft down to the first float.
If the float is further down in your weaving, or if you would rather not deal with unweaving and then reweaving, you’ll need to needle weave in what I like to call a fix-it thread. I've used this method to fix floats in fabric still on the loom (both rigid heddle and pin loom) as well as in fabric off the loom and even pieces I've already wet-finished.
Gather Your Supplies
You need only a few simple items:
- A blunt-tipped needle, such as the kind you’d use for hemstitching.
- The same thread the float is going over (if you’re fixing a warp float, you’ll need the same weft thread and vice versa).
- Small, sharp scissors or snips.
- Optional: If you’re fixing a float off the loom, using an embroidery hoop to tension your cloth can make needle weaving easier, although it's not necessary.
Once you’ve got everything you’re ready to start needle weaving.
4 Steps to Fix a Float
Step 1: Thread your needle with a short length of the thread. I usually use at least 12" of thread—sometimes I’ll need more if I’ll be fixing multiple floats in a row.
 To fix a float, begin needle weaving toward the float following the path of the thread that was floated over. Christina is fixing a warp float, so she’s following the path of a weft thread.
Step 2: Starting at least ½" away from your float, begin needle weaving toward the float, following the path of the non-float thread. For example, if you have a warp float that’s going over an extra weft pick, you’ll follow the same path as the weft thread. In the photo above, you can see how I’m needle weaving a new weft thread toward the warp float.
 When you reach the float, instead of following the path of the warp or weft thread exactly, you’ll follow the path it should have taken, going over the float. Here, Christina is using a pink fix-it thread to better show the path.
Step 3: When you get to the float, continue along the path your thread should have taken. In my case, which you can see in the photo above, I’ve taken my fix-it thread over the float. Then continue weaving for at least ½" inch past the float.
 After replacing the pink thread with white, the fix-it thread is much less obvious, especially compared to the unfixed float above it.
Step 4: Trim the ends of the fix-it thread as flush to the cloth as you can. That’s it—you’ve fixed your float! Congratulations! Once the fabric is wet-finished, your fix-it thread should blend in with the rest of the threads around it.
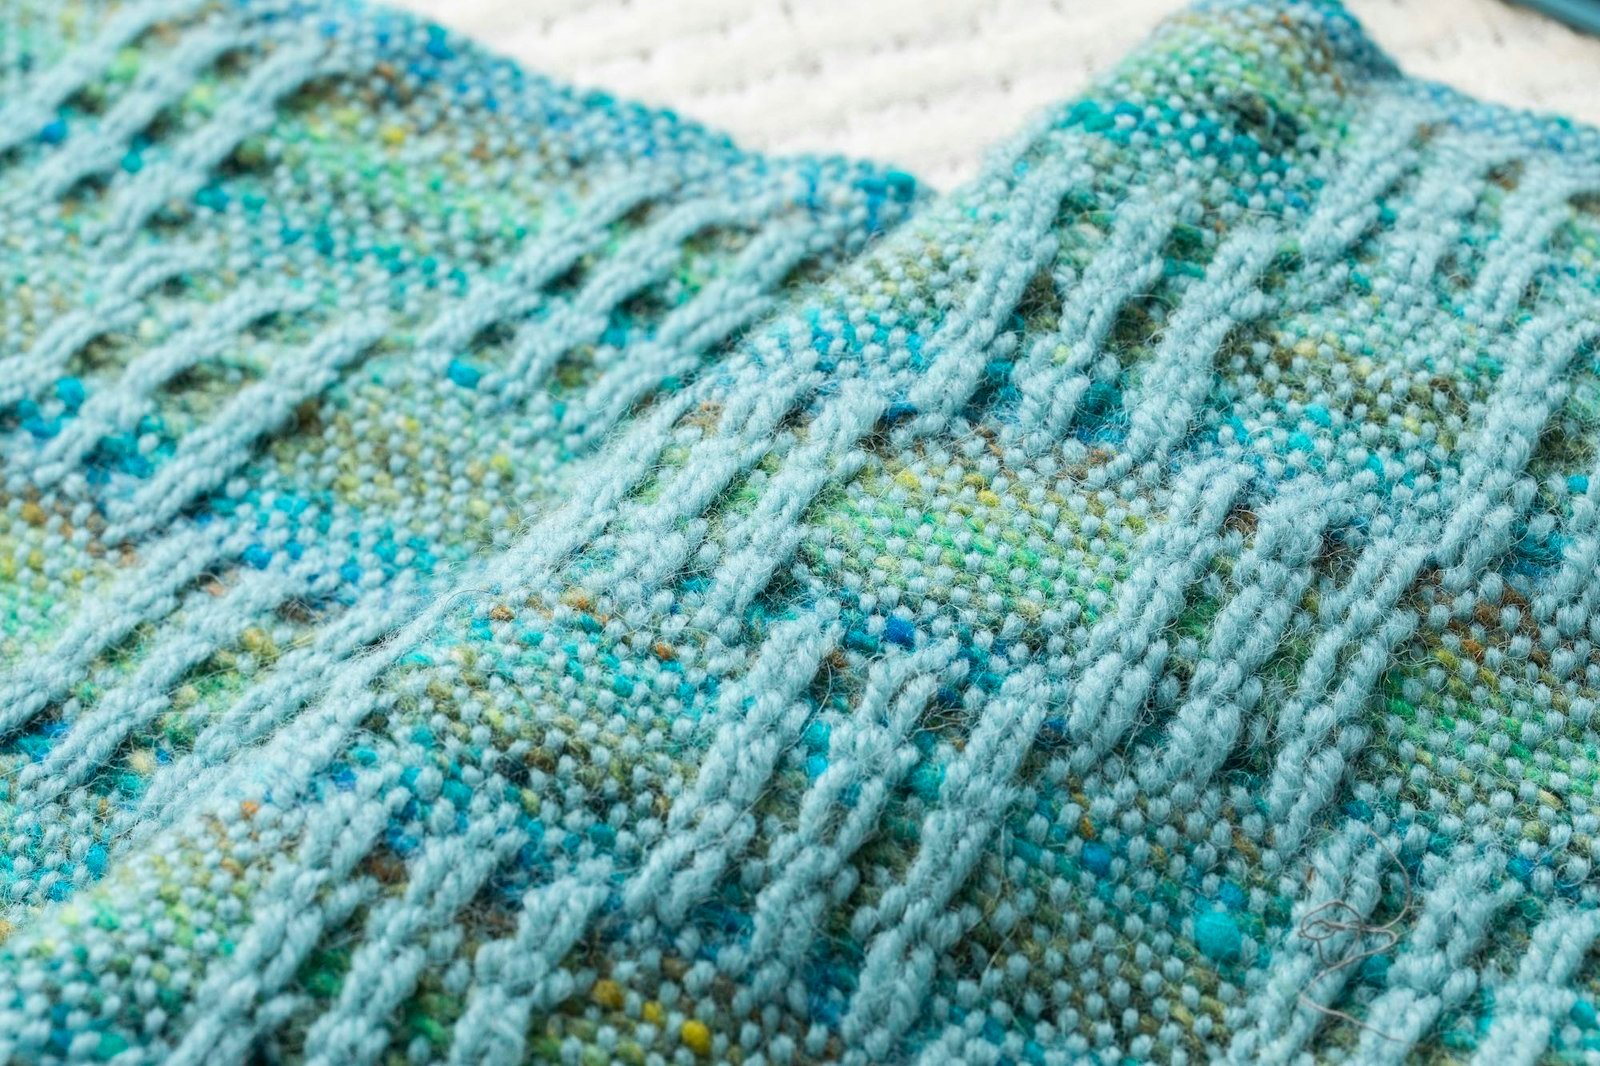
 After wet-finishing, the fix-it threads Christina needle wove over the unwanted floats have all but disappeared.
Modifications
This method works well for most projects, but sometimes you’ll need to make adjustments. For example, how far away from your float you begin and end needle weaving depends on the size of your yarn and the sett of your fabric. Also, if you have more than one float in a row—maybe you have 4 warp floats all along the same weft pick—you can fix them all at the same time, so you’ll need to adjust the length of your fix-it thread accordingly.
When floats occur, they affect both sides of the fabric. A warp float on the front results in a weft float on the back. This method fixes only the float on the front of the fabric. If you’re weaving a reversible piece, or plan on using the bottom of the weaving as the right side, you’ll want to follow those same steps to fix the float on the back as well.
Will this method work to fix every float, always? Unfortunately, no. If you’ve already wet-finished and your cloth has fulled or bloomed to the point where you can no longer easily follow the path you need to needle weave, fixing floats becomes much more difficult and sometimes impossible. If you used a thick or highly textured yarn, sometimes the fix might look more obvious than the original error. In these cases, you can embrace either the patch or floats as a sign that the cloth was lovingly handmade, or you can take a page from visible mending and cover it up with a bit of embroidery.
Happy Weaving!
Christina