
Even the most careful weaver breaks a warp end every once in a while. Breaking one when weaving on your rigid-heddle loom can be frustrating, but fortunately it’s easy to fix! This step-by-step tutorial on how to fix a broken warp thread will teach you to quickly and easily fix these pesky weaving problems.
Tools and Supplies
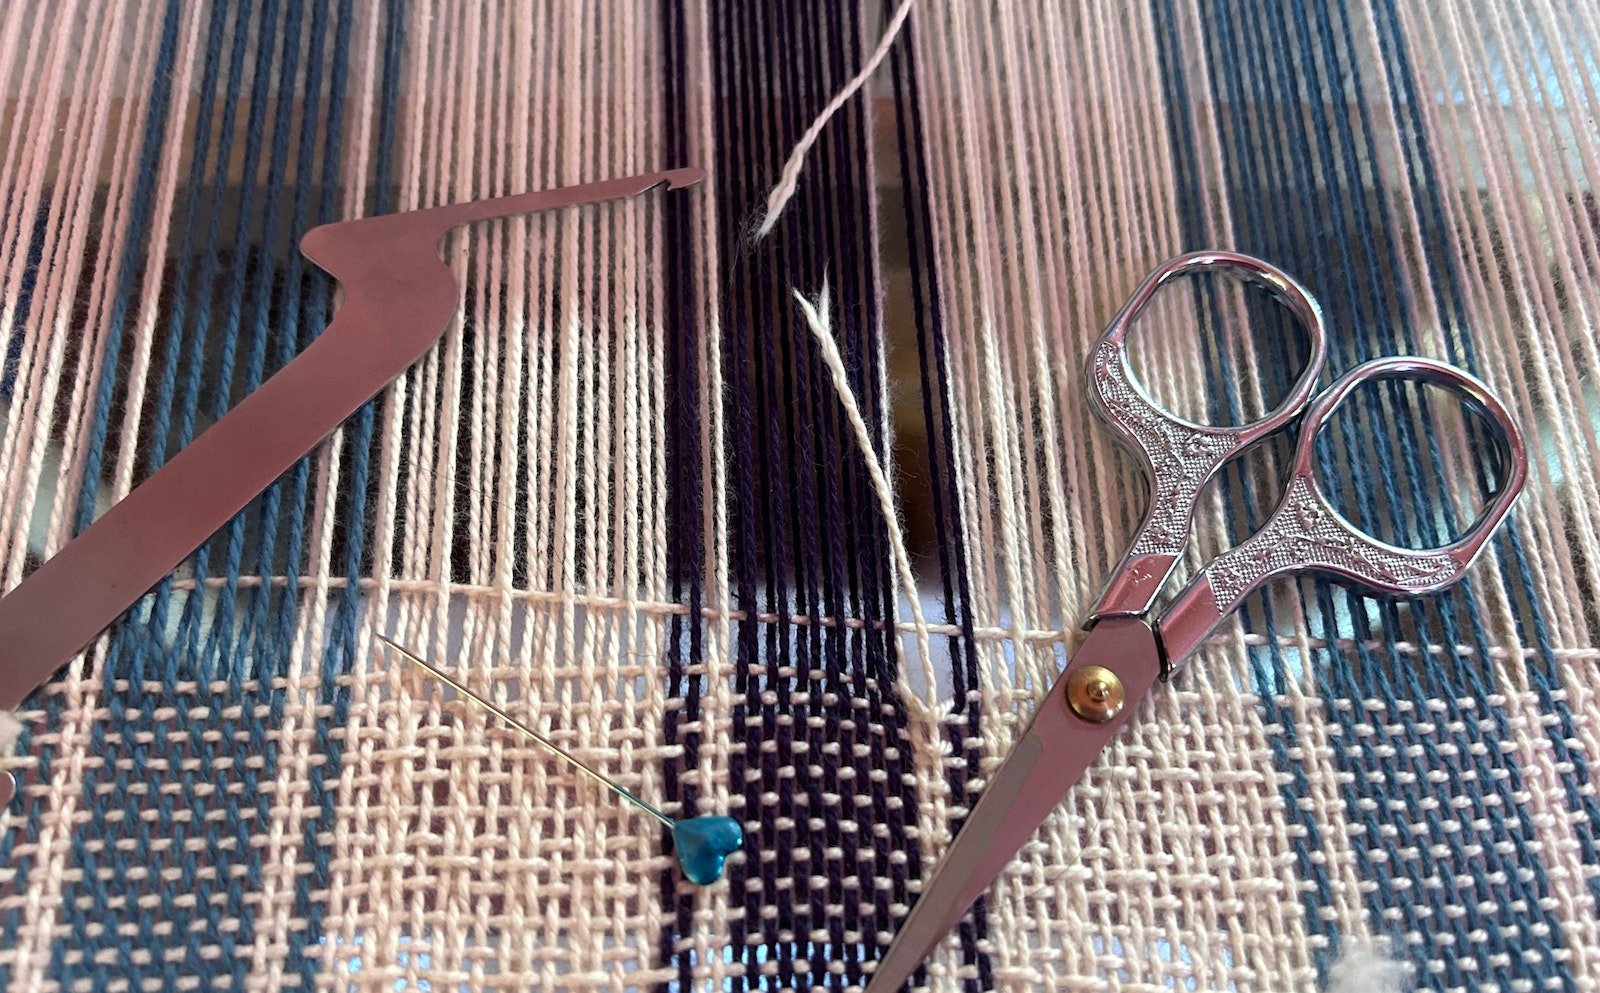
You don't need much to fix a broken warp—and most of these items are supplies you probably have on hand while you weave.
- Sturdy pin with a large head. Many weavers use T-pins, but glass- or plastic-head pins work just as well—I've also used a safety pin in a pinch. Do not use a straight pin.
- The same yarn used in the warp.
- Scissors or snips.
- Threading hook.
- Warp weight. Your warp weight should be something you can easily and firmly attach your replacement warp to. Common warp weights include S-hooks, empty pill bottles or film canisters weighted with coins or washers, and, my personal favorite, Lego bricks. Keep in mind that there is no one-size-fits-all warp weight and you may need to adjust the amount of weight used.
Steps to Fix the Warp
Step 1. Put your heddle in the neutral position. If you’re fell line is close to your heddle, advance your warp.
Step 2. Measure and cut your repair warp end. You’ll want your repair end longer than the unwoven warp on your loom. Why? Instead of tying the repair end to the apron rod with the rest of the warp ends, you’ll be weighting it off the back of your loom. When you get to the end of your warp and your apron rod is near the heddle, you want your repair end to still be hanging off the back of your loom. I like to estimate the current unwoven warp length and add on an extra 2 feet.
Step 3. Look at your heddle and figure out which slot or hole the broken warp end went through. Remove any of bit of the broken warp end that might still be in that specific slot or hole. Using your threading hook, pull one end of your repair warp thread through the slot or hole.
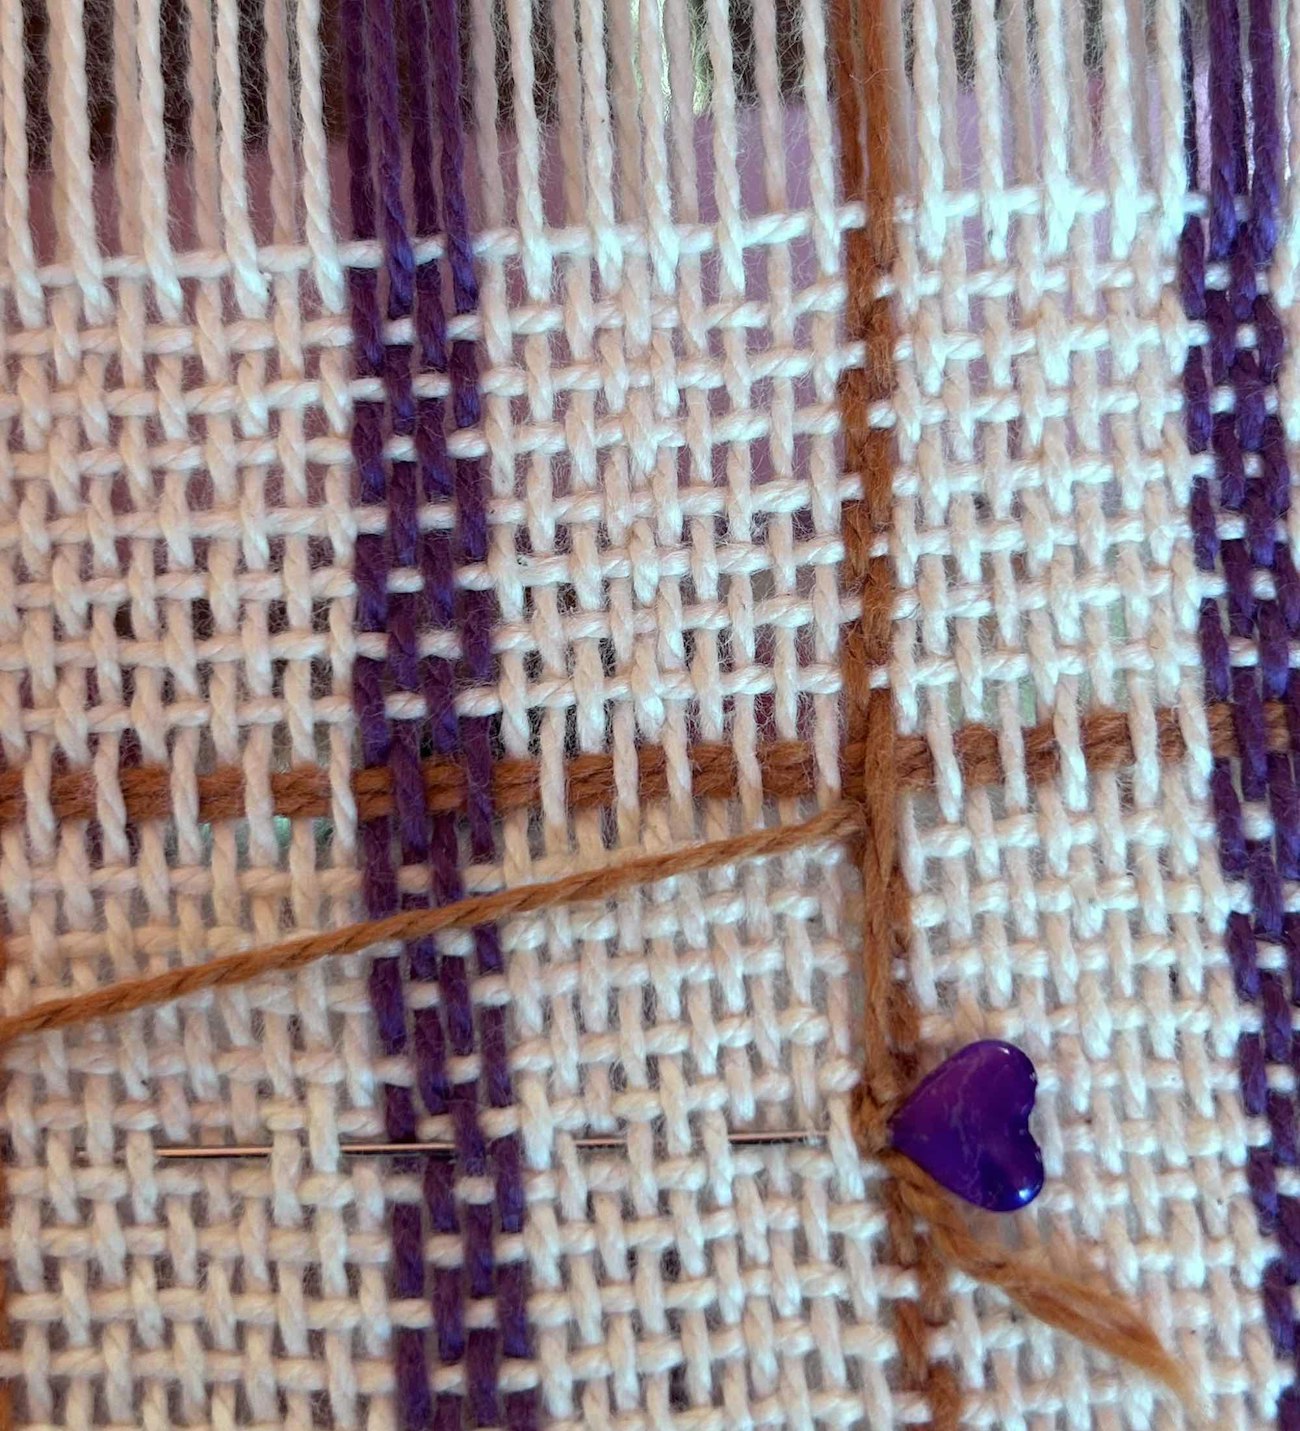
 Place a pin with a large head about an inch from your fell line, aligning the head of the pin near your broken warp end. Tie your repair end onto the pin snug against the head so the repair end lines up with the broken warp end.
Step 4. Place your pin in the woven cloth parallel to the weft threads about an inch from the fell, positioned so the head is roughly where the broken thread was in the warp. Tie your repair warp thread to the top of the pin against the head so the new thread lines up as close as possible with the old.
Step 5. Determine where to hang the warp weight. You’ll want to position the weight on the end so it hangs freely over the back of the loom. If you’re not using a weaving stand, you may need to position your weight directly against the back beam.
 When attaching repair ends to S-hooks, use a knot that can be easily undone. In this example, Christina wound her repair end’s tail into a butterfly, secured it with a bow, and then used the butterfly’s yarn loops to attach it to the S-hook.
Step 6. Attach the repair end to the warp weight. As you advance the warp, you will need to release more length from your replacement end. If you’re using a pill bottle or film canister, you can wind your end into a butterfly and tuck it into the bottle or canister.
If you’re using an S-hook, you can tie the repair end to the hook with a strong knot that can be easily undone or you can wind the yarn into a butterfly, secure it with a bow, and then use the butterfly’s loops to attach the S-hook to the repair end, as shown in the photo above.
If you use Lego bricks, sandwich the end between two bricks and snap them together as shown in the photo below, then add more bricks as needed to get to your ideal weight. You can leave the tail hanging or wind it into a butterfly and attach the butterfly to the weight with another brick.
 Christina prefers to use Lego bricks to weight her repair warp ends.
Weaving with the Repair
Weight Adjustments
Start by weaving a few picks, keeping an eye on the repair end as you do. After the first two picks or so, the repair end should lock into place and weave like a normal warp end. If the warp seems flimsy, you may need to add more weight. If it’s tensioned much higher than the rest of the warp, you may need less weight.
Advancing the Warp
At some point during your weaving, you’ll need to reposition your warp weight to release more of the repair end. Before you advance your warp, check the position of the weight. If it’s close to the back beam, release the end from the weight, advance the warp, and then reattach the end to the weight. If you’re not using a weaving stand, you may need to do this every time you advance the warp. (Another plus to using the Lego brick method: If you don’t butterfly the tail, you can just slide the bricks down the warp tail to reposition.) If you forget (something I do often), the warp weight might end up on top of the back beam, on top of the rest of the warp, or dangling down behind the heddle. All you need to do is release the repair warp, reposition, and reattach to the weight.
Finishing
After you’ve woven a few inches, you can safely remove your pin. If you’re worried, you can also leave it in until you’ve finished weaving—just make sure to remove the pin before wet-finishing. Leave a small tail after removing the pin. After wet-finishing, clip the tail as close as you can to the fabric.
That’s it! Now you know how to replace a broken warp end on a rigid-heddle loom. Breaking threads is always a pain, but now that you know how to fix them, you can weave with even more confidence.
Happy Weaving!
Christina