
For ages I avoided non-tablet weaving on my inkle loom because I didn’t get the concept of how to make string heddles. I knew, in theory, how they worked and generally how to make them, but it wasn’t until I took a class from frequent Easy Weaving with Little Looms designer and inkle-weaver extraordinaire Jennifer B. Williams that I realized just how easy it is to measure and make string heddles.
The heddles I’m making are known as double heddles or double string heddles. They’re nice because you can remove them from or add them to the loom during weaving without cutting. You can also put them away and reuse them over and over again.
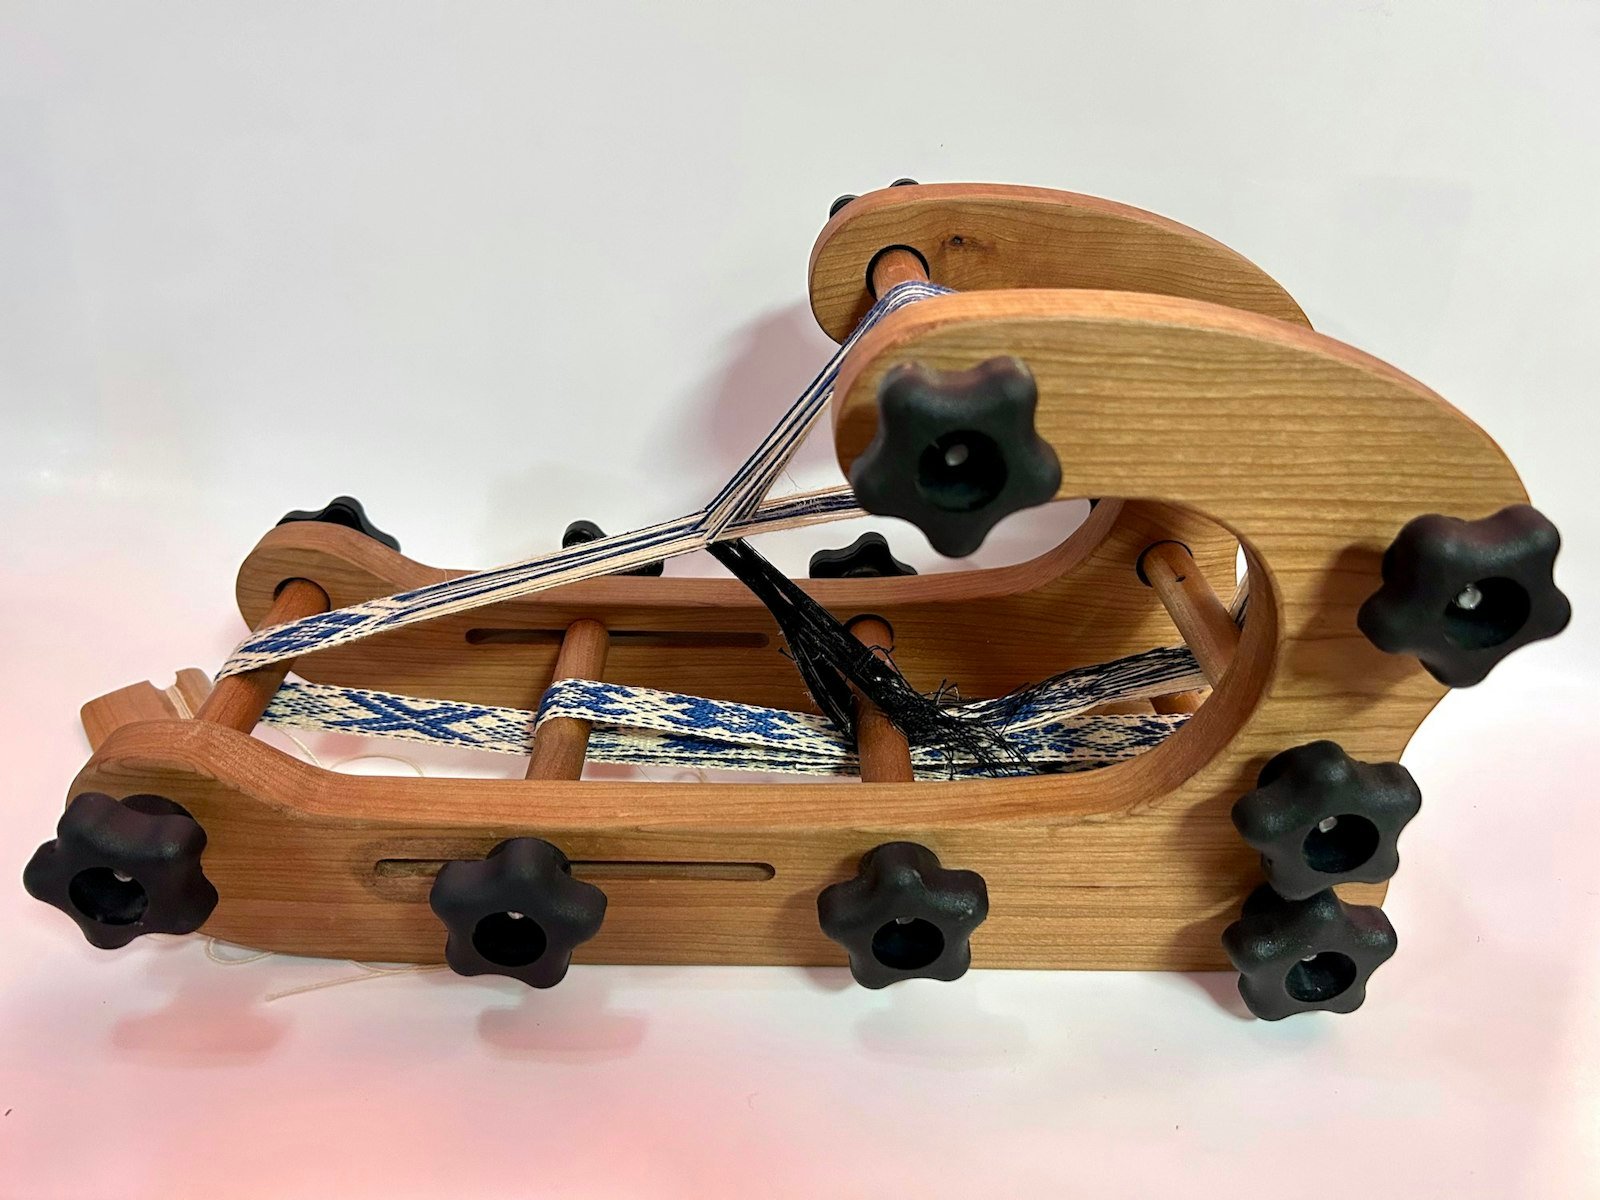
 When making string heddles, you’ll need your inkle loom, a guide yarn for wrapping around the loom, sharp scissors, and thread for making the heddles. You’ll also need to identify your heddle peg.
Before you get started, you’ll need to gather some simple tools and equipment: your loom, a pair of sharp scissors, a guide yarn, and thread for making heddles. For this example, I’m using a thick, bright acrylic as my guide yarn so it will be easy to see how to set up the yarn on the loom for measuring my heddles. I would not weave with this particular yarn on an inkle loom, though. The thread shown here is a size 12 perle cotton for embroidery (not embroidery floss). Jennifer also recommended nylon crochet thread (she uses Omega brand size 2) as well as waxed linen or cotton. You want something that won’t stretch, won’t stick, and also won’t shed—so no acrylics, wools, or unmercerized cottons. You also want something thin enough that it won’t get in the way, but not so thin that it’s difficult to handle.
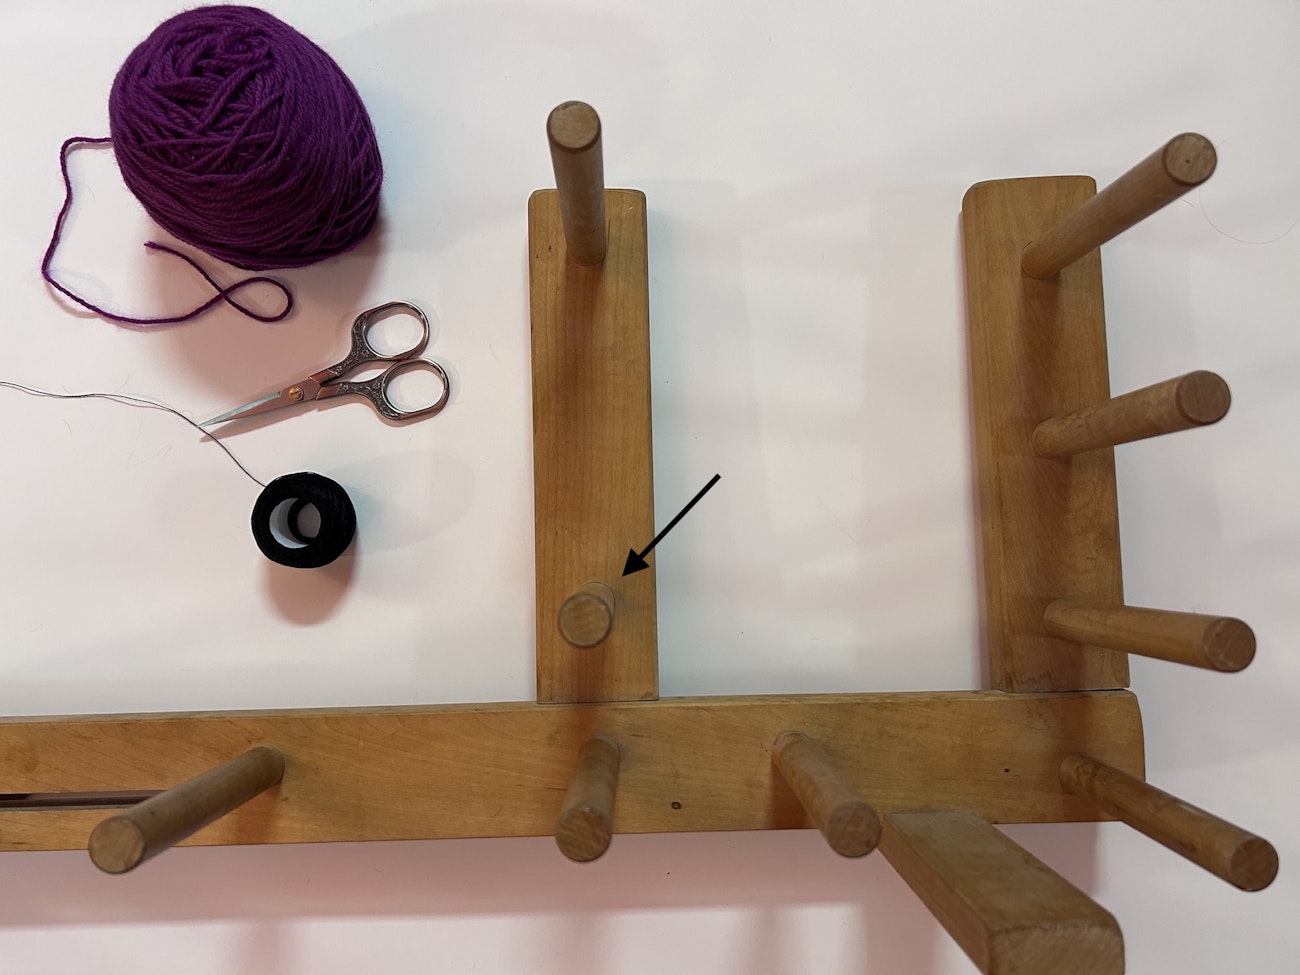
Now take a look at your inkle loom. You’ll need to locate your heddle peg. This is the peg that will hold your heddles as you weave. It is important to locate it first because you’ll need it for measuring out your first heddle and you do not want to wrap your guide thread around it. Typically the heddle peg will be below the weaving area toward the middle of your loom. If you know the brand of your inkle loom, you can probably find the information in the instructions or online. I got my loom secondhand, and it has no brand name on it, but by comparing it to photos of other similar warped inkle looms I was able to figure out my heddle peg fairly quickly. In the photo above there’s an arrow pointing to it. Now you’re ready to start making your heddles!
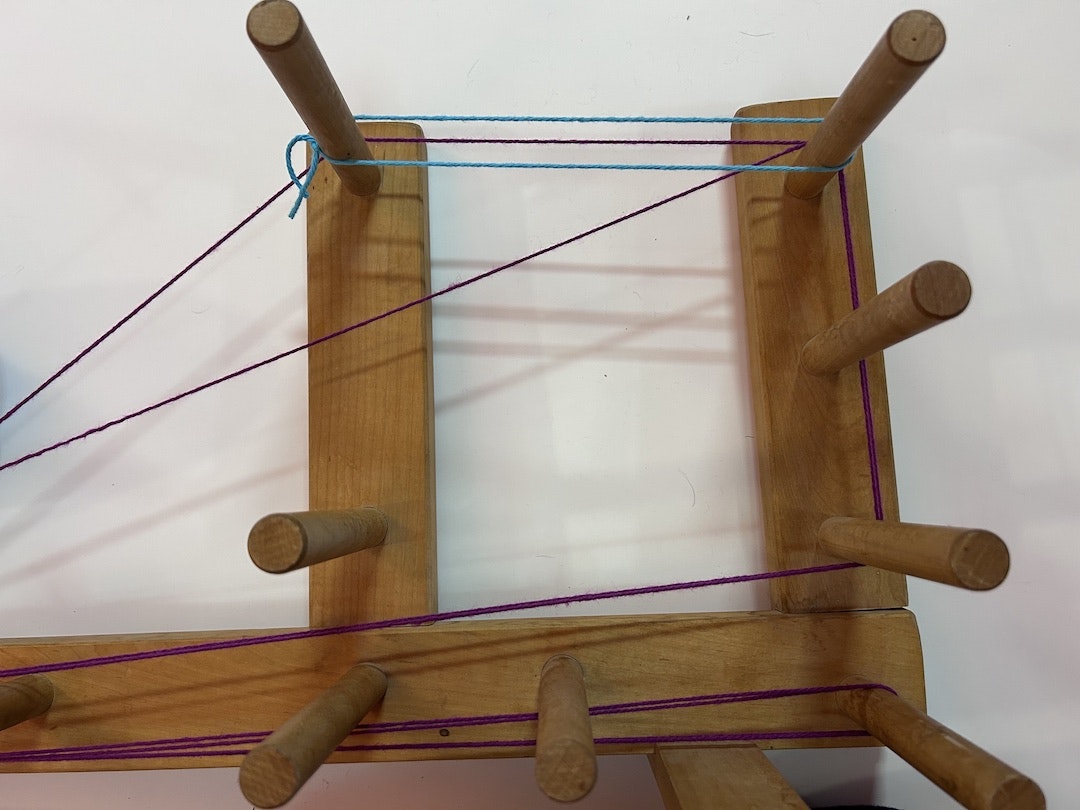
Step 1: Wrap your yarn around your inkle loom two times using the same path as you would for warping and taking care to avoid warpping the yarn around the heddle peg. The first time you wrap your yarn around, go over both the pegs at the top of your loom. The second time, go under the first peg and over the second. If you were warping your loom for real, you’d continue in this way alternating going over or under that first top peg. Cut and tie or wrap the guide yarn so it stays tensioned as it would for weaving.
 Wrap your loom twice with your guide yarn. The first time, the yarn goes over the top front peg while the second time, it goes under. After wrapping, cut an extra-long piece of thread (or in this case, yarn) to serve as your first heddle.
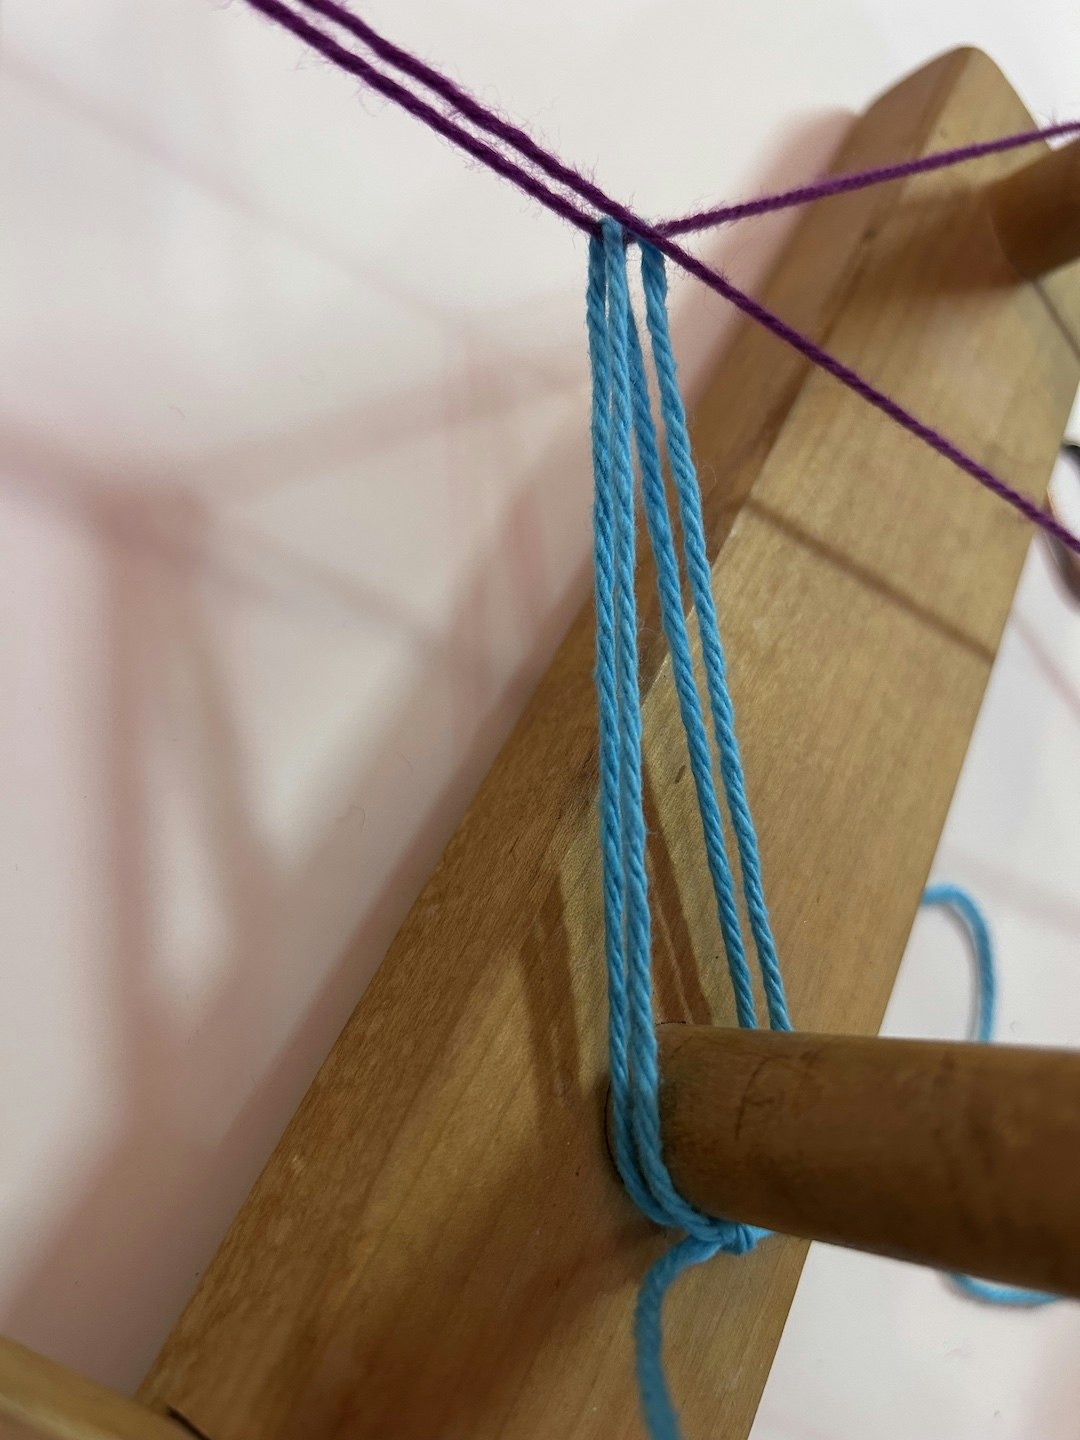
Step 2: Cut a long piece of your heddle thread—make it much longer than you think you’ll need (trust me). For this example, I’m using a piece of thick cotton yarn in a contrasting color. While I would absolutely not use this yarn for a real string heddle, it’s easy to see and it won’t stretch, making it a good heddle template.
 The folded heddle is positioned on the heddle peg with cut ends behind the first warp and pointed up.
Step 3: Fold your string heddle piece in half. Loop the folded end around your heddle peg and point the cut ends toward the warp above it and position them behind the first warp end, the one that went over the top front peg.
 The heddle is now pulled over the first warp end, pulling the warp end down until it is at the same level as the second warp end.
Step 4: Pull the cut ends down over the other side of the first warp end, being careful not to catch the second warp end as you do so, and continue to pull down on the warp end with your heddle until it is at the same level as the second warp end.
 The completed first heddle.
Step 5: Keeping the first warp end with the heddle wrapped around it in the same position where it’s equal to the second warp end, tie the cut ends of your heddle together around the heddle peg. Now you’ve made your first heddle! The thread with the heddle around it is known as a heddled end. The ends that go under that top first peg are known as unheddled ends.
 Often, but not always, inkle looms will have two or three pegs positioned the same distance from one another as you’d need for creating a string heddle. These can be used as a guide for measuring and making more heddles.
Step 6: Pull the heddle you just made off of your heddle peg. Trim the ends as needed. On many (although not all) inkle looms, there are usually pegs that are the same distance apart as you’d need for making a string heddle. You can also sometimes adjust your tensioning peg so it will be the correct distance from one of the pegs next to it. This is now your heddle guide. Once you’ve found a good guide for making more heddles, all you need to do is cut a piece of heddle thread, wrap it around the guide, and tightly tie it into a loop. Repeat for as many heddles as you need for your project plus at least a few extra “just in case.” You can also repeat the same method used for making the original template to create all your heddles, although this will take more time.
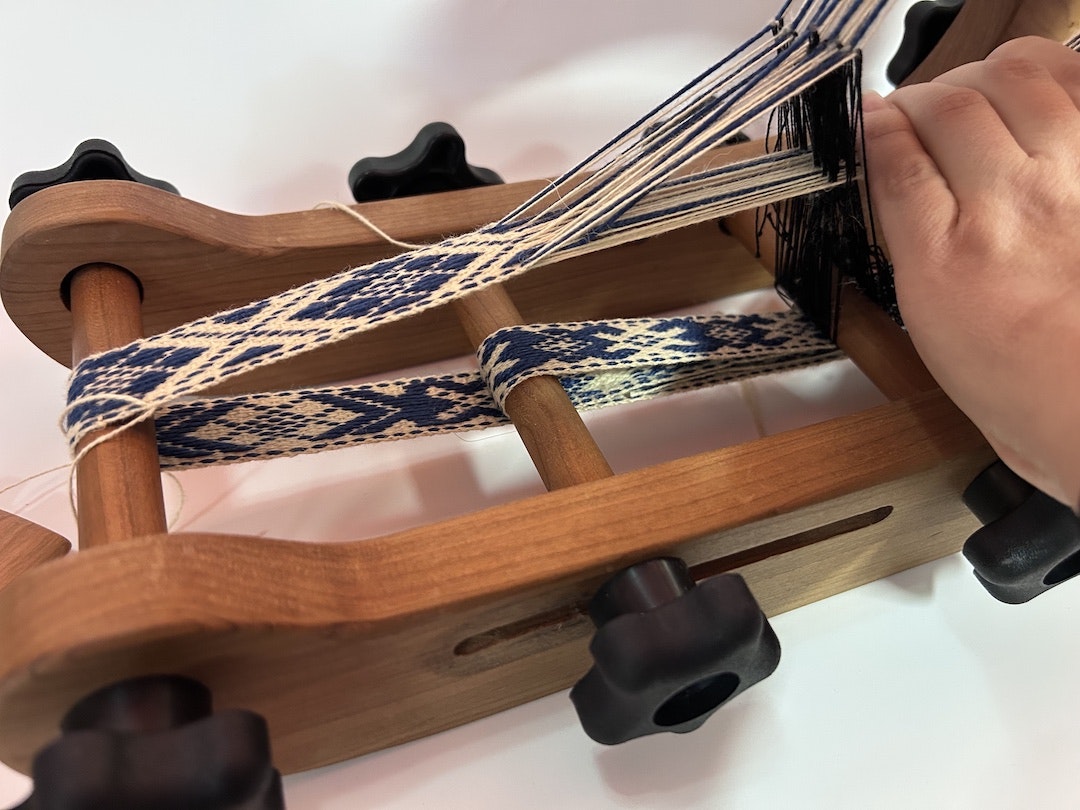 Christina demonstrates pulling the unheddled ends down on a fully warped inkle loom to create a shed. To create the opposite shed, these same unheddled ends would be pulled up. Always pull your unheddled ends up or down from behind the heddles.
That's it! Once you've got your heddles made, you can warp your loom and either place heddles on every other warp end as you warp or after you’ve finished warping. (I like to heddle my ends as I warp, but either way works.) Once you’re warped and ready to weave, you can create a shed by pulling up or down on the unheddled ends. Always pull on the ends from behind the heddles.
When you’ve finished your first project, remember: Don't throw away your heddles! You can use them over and over again, making new ones as needed for wider projects.
If you’ve been wanting to start inkle weaving but weren’t sure where to start, I hope this helps! Since taking my initial class with Jennifer, I’ve played with plain weave as well as Baltic-style pick-up, and it’s been such a joy. For more information on warping and weaving on an inkle loom, check out the article “Introducing Inkle” by Sara Lamb from the 2017 issue, which subscribers can find in the Little Looms library.
Happy Weaving!
Chritsina