
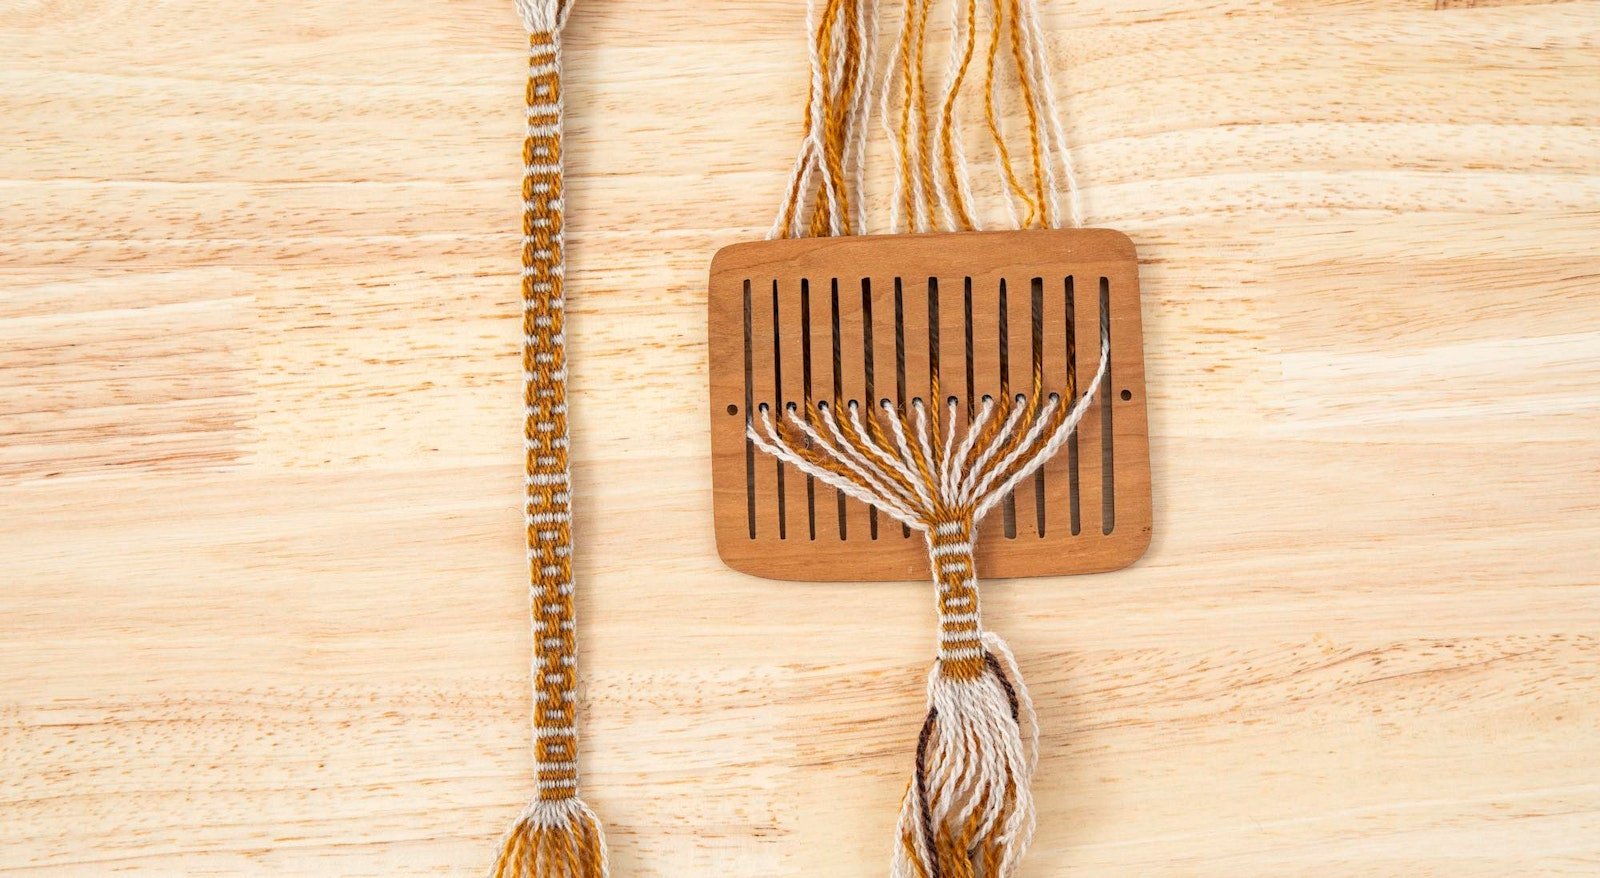
I had a lot of fun weaving in 2025, but perhaps my favorite discovery is just how much I enjoy doing pick-up, especially in bandweaving. There’s just something so lovely about gently manipulating each thread. While I’ve written a bit in the past about Baltic pick-up, I realized I haven’t talked at all about alternating pick-up, which is a shame because alternating pick-up is beginner friendly, endlessly versatile, and has the potential to open up a whole new world of design.
Alternating Pick-Up vs. Baltic Pick-Up
In bandweaving, there are a variety of ways to create patterns in your woven cloth. You can make simple patterns without hand manipulation by using multiple colors in your warp, or, you can use pick-up, where you manually pull threads that would normally be on the bottom of a shed to the top (or, if you will, pick them up) or, in some cases, push them down to the bottom of the shed. Two of the most common types of pick-up are alternating pick-up and Baltic pick-up.
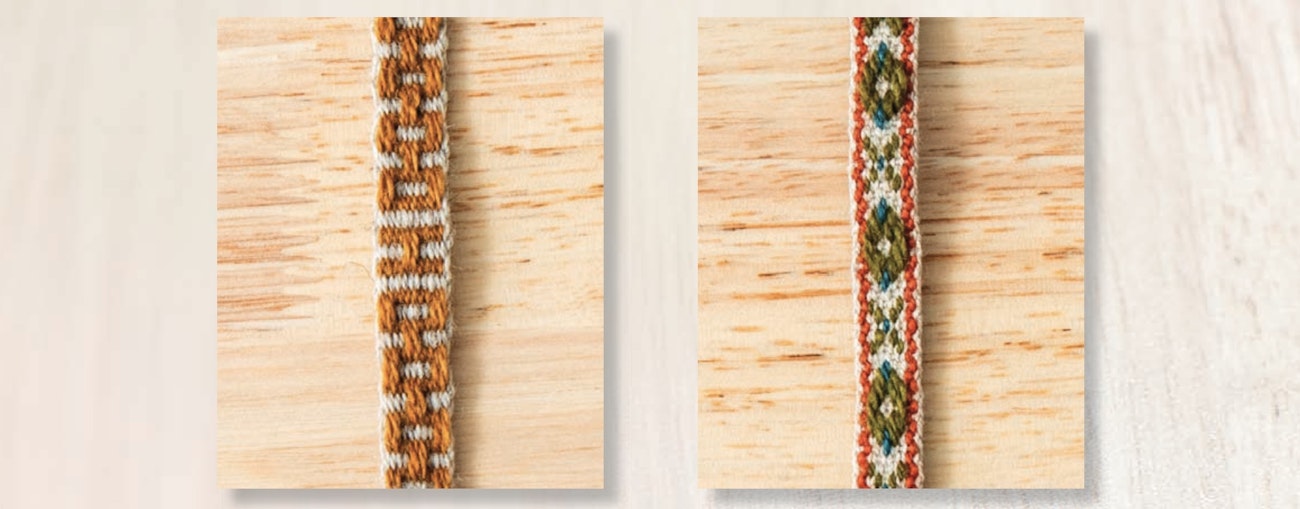
Alternating pick-up (shown on the left) and Baltic pick-up (on the right) can both be used to create striking patterns in your bandweaving. Photo by Matt Graves
- With alternating pick-up, all the warp threads are (usually) the same size, with one color designated as the pattern warp and the other as the background. The pattern ends are always unheddled, and the background ends are heddled. If you were to weave this setup in plain weave with no pick-up, you’d end up with stripes.
- For Baltic pick-up, the pattern ends are larger than the background ends, and both types of ends can be heddled or unheddled. If you were to weave plain weave using this setup, you’d end up with a speckled warp.
You can create incredible designs using both techniques, but if you’re just starting out in the world of pick-up bandweaving, alternating pick-up is a good place to start. Warping for alternating pick-up is quick and easy, and during weaving you know the pattern ends will all either be at the top of the shed, or they’ll all be at the bottom of the shed.
Design Possibilities
When I think about alternating pick-up, I tend to think of symmetrical geometric designs: block chains, zigzags, diamonds, and so on. These are often the first pick-up patterns most bandweavers learn (including me), and while they might feel basic, they can be used as the building blocks for more complex designs.
Asymmetry
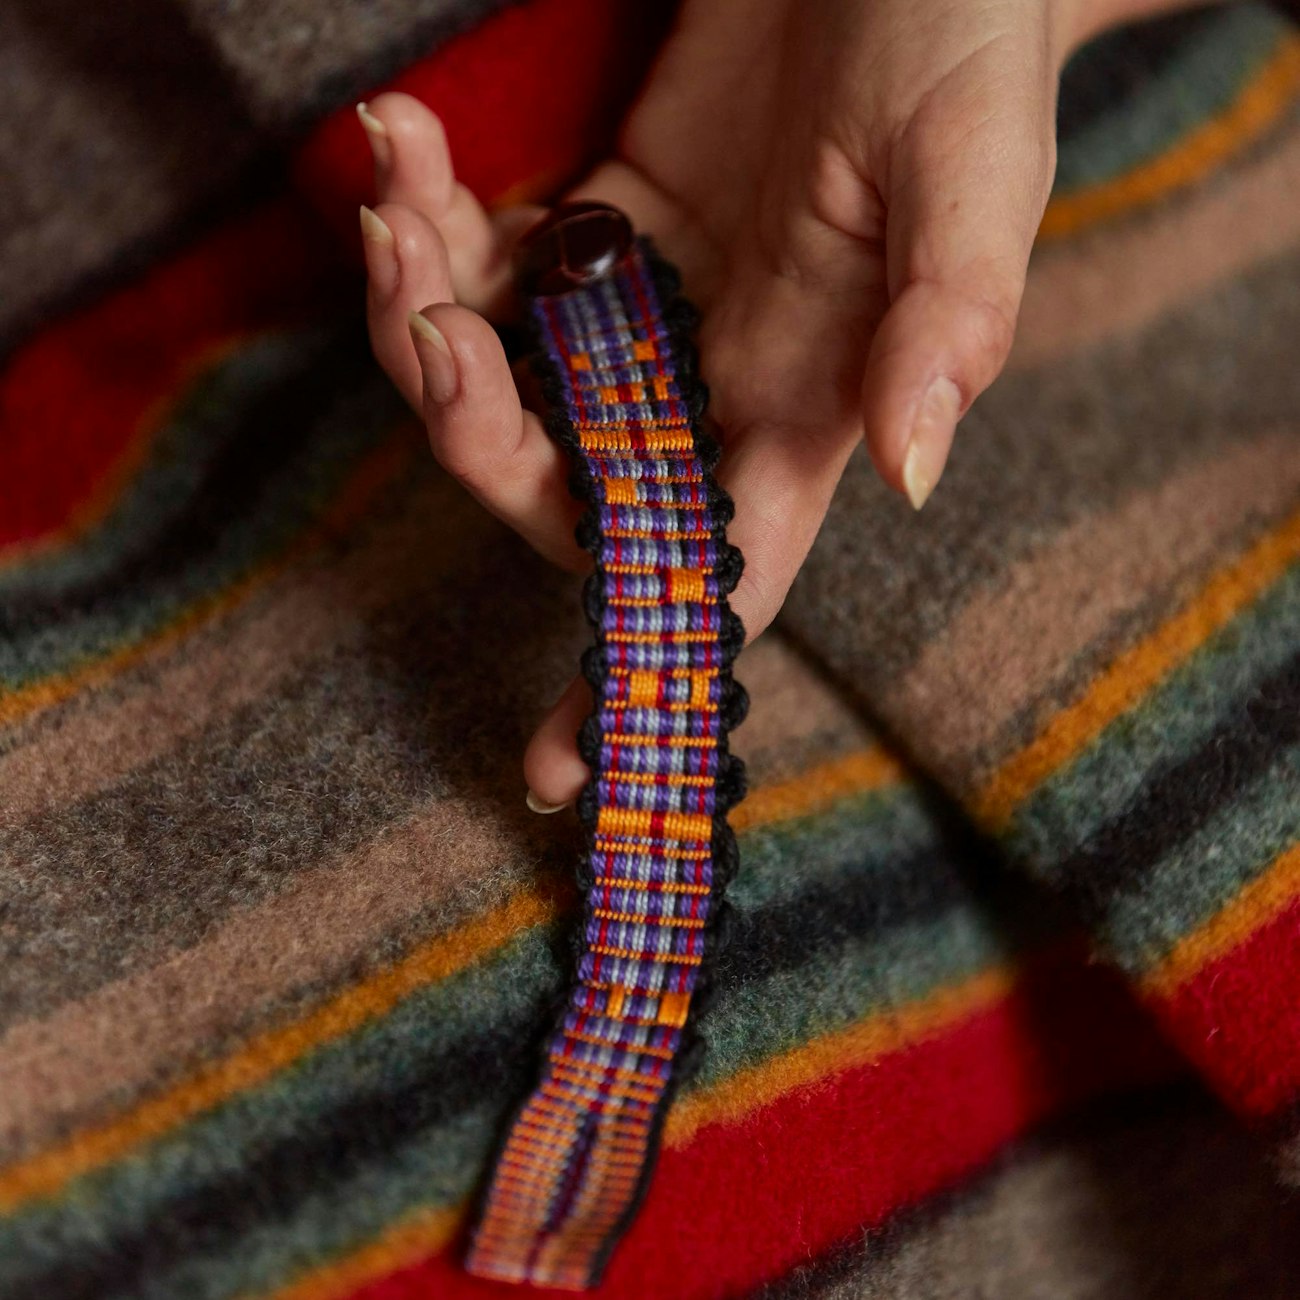
Alternating thick and thin wefts combined with an asymmetric pick-up design give Ellen LaBruce’s Mountain Sunset Bracelet a more organice feel. Photo by George Boe
For example, in her Mountain Sunset Bracelet, Ellen LaBruce used alternating pick-up, but in a very nontraditional manner. First, she used asymmetric stripes in her background warp. Then, instead of using a thin weft, she chose to alternate two wefts, one thick and one thin. Finally, Ellen chose to use pick-up minimally, and in a more free-form, asymmetric manner. The result is a bracelet that feels modern in the best way and calls you in to look closer.
Texture
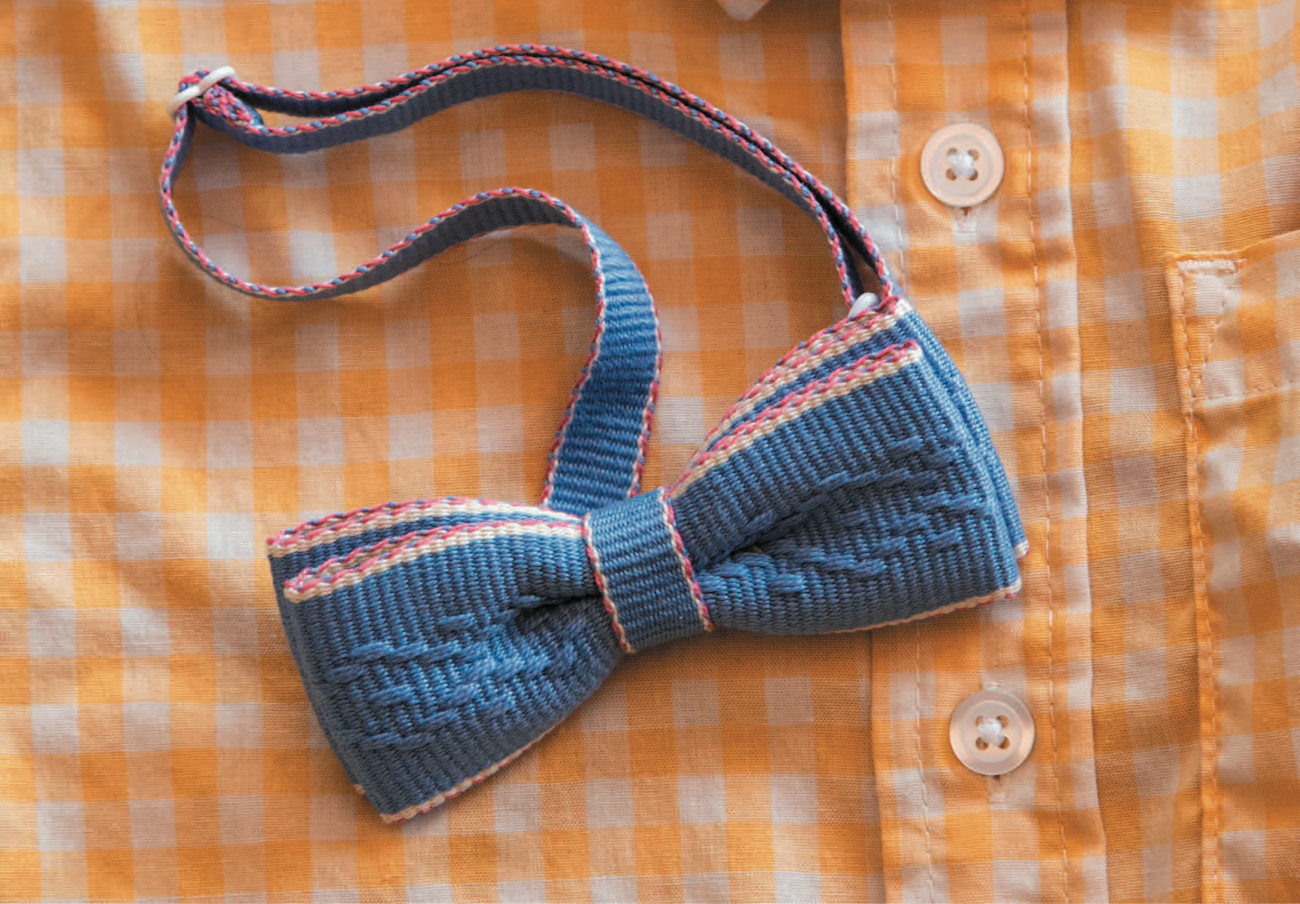
Using the same color as both the background and pattern in alternating pick-up creates a cloth where texture is the main focus, as in Jennifer B. Williams’s Ring-Bearer Bow Tie. Photo by Matt Graves
There’s also no rule that you have to use more than one color. In her Ring-Bearer Bow Tie, Jennifer B. Williams chose to do her pick-up on a monochromatic palette. The result is more subtle, but it allows the texture to really come to the fore.
Weaving Words
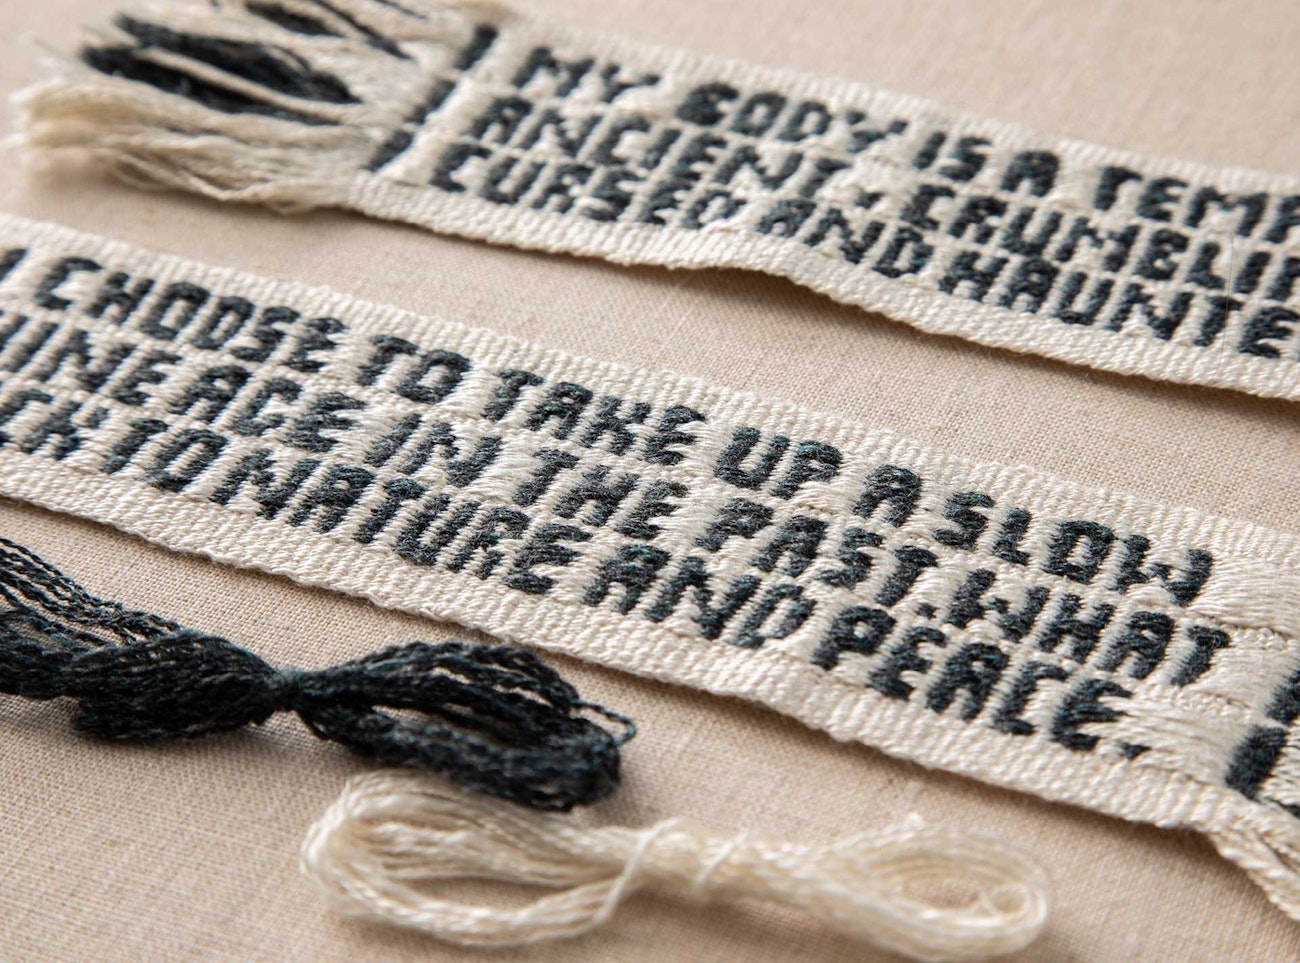
From top: “My body is a temple: ancient, crumbling, cursed, and haunted,” and “As a spinner with my spindle, I choose to take up a slow art and put the noise of the machine age in the past. What I do is healing and will take me back to nature and peace.” Jeannine’s handspun yarns sit in front. Photo by Matt Graves
You can even use alternating pick-up to weave letters and numbers into your bands. In fact, if you find you get the itch to try weaving words using this method, we found a fantastic tutorial for weaving letters and numbers—incluing a draft and fully charted alphabet—in the May/June 1999 issue of Handwoven. If you don’t have this issue in your weaving library, don’t worry! We’ve added it to our library as a special subscriber-exclusive download. (Not a subscriber yet? Learn about the different subscription tiers and their perks here.)
Pick-Up Primer
If you’re curious and want to learn more about alternating pick-up and how to incorporate it in your bandweaving, I absolutely must recommend our new video course, Backstrap Rigid Heddle: Weaving Pick-Up Bands, that features bandweaver extraordinaire Kate Larson. Not only is Kate an excellent bandweaver, she’s also a gifted teacher who has a knack for explaining each step so it genuinely feels easy. See what I mean in this video tip where Kate explains how to read alternating pick-up threading drafts before demonstrating how to take that information and turn it into a fully wound warp.
I learned how to bandweave from Kate at our 2024 Weave Together event, so I can tell you with the utmost authority that her video course is almost as good as her in-person class, the primary downside being that you can’t try out all her fun belt shuttles.
In this course, Kate teaches you how to warp and weave both alternating pick-up and Baltic pick-up on a backstrap loom with a rigid heddle. You’ll also get a workbook featuring two different alternating pick-up patterns that you can weave as-is or mix and match to create your own patterns. Almost all the information in this video applies equally to weaving patterns on an inkle loom (including the patterns in the workbook), so if you find you prefer using a loom to a backstrap setup, you’ll still be able to confidently weave pick-up patterns after watching this video. (Personally, even though I primarily weave bands on my inkle loom, I appreciate knowing how to set up and weave on a backstrap because it’s much more portable than even my smallest inkle loom.)
No matter how you weave it, alternating pick-up is a fantastic design technique, and I hope you feel inspired to explore it in your own weaving!
Happy Weaving!
Christina