
A couple of weeks ago, I went to a birthday party for a three-year old. While chatting with the birthday boy’s mom, I found out she had been looking for a floor loom because she was interested in weaving. She asked me if I knew anything about weaving, which led to a fantastic conversation.
Later, it had me thinking about when I was new to weaving. My first rigid-heddle project was a log cabin scarf woven in green and white cotton.
After a little looking, I managed to find a photo, which you can see below. Looking at it now, through more experienced eyes, the first thing I notice is the fringe. I see the loops between each fringe bundle and how the ends are already starting to fray. Then I notice how uneven the knots are and how unevenly I tied them (did I even count the number of ends in each bundle?)
 Christina's very first project on the rigid-heddle loom. Photo by Christina Garton
Looking at the project with more experienced eyes, it’s easy to want to judge my past self for not doing this or that. However, when you’re a new weaver, you don’t know what you don’t know, and much of what you learn comes through trial and error (in my case, many, many errors). So, as I’m preparing to help my friend on her new journey into weaving, I came up with a short list of advice on fringe finishes—it’s all the information I wish I’d had before I wove my first project.
Hemstitch your ends if you’re going to have fringe.
Looking at my scarf, I can’t help but fixate on the giant loops of weft hanging down between the knotted bundles of fringe. Hemstitching both ends of the scarf would have made for a much neater finish. Also, if you’re not twisting your fringe, consider hemstitching in lieu of knotting. Especially as a beginner, it can be hard to get your knots looking tidy and even; with hemstitching, everything is flat, even, and tidy right from the start. I realize hemstitching can feel intimidating to the new weaver, but I promise it’s easier than it looks!
 Knotted fringe looks so much more elegant when it’s done on top of a hemstitched base, as demonstrated here in Shilpa Nagarkar’s Sunshine on Your Shoulders Scarf from Spring 2024. Photo by Matt Graves
The easiest way to evenly trim your fringe is a rotary cutter.
Can you trim your fringe evenly using a good pair of sharp scissors? Absolutely. However, it’s quicker, easier, and more accurate to use a rotary cutter with a self-healing mat and a straight edge. When you’re picking out your mat and straight edge, I suggest heading to the quilting section. I use a self-healing mat with rulers on the side and a grid that measures every ½” along with a clear, gridded quilter’s ruler so I can make sure I’m trimming my fringe evenly to the exact length I want it.
Twisting your fringe will protect it.
While a knotted fringe will keep your piece from raveling, it won’t protect the fringe yarn from fraying. Twisted fringe doesn’t just look nice—it also secures your fringe so it will look nice and neat for years to come. You don’t have to always twist your fringe, but if you’re making an item with heavy use and want a longer life, fringe twisting is the best way to keep that fringe secure.
 While you can twist fringe by hand, a fringe twister will make for a more efficient and more ergonomic experience. Photo by George Boe
Fringe twisters are worth the investment.
For several years I assumed I didn’t need a fringe twister. I would either knot my fringe or twist by hand. Then I made a silk scarf that required twisting what felt like 1,000 fringe bundles. The fine, slippery yarn kept sliding out of my fingers as I twisted. Within a few bundles my fingers were so sore I had to take a break. When I was done, I bought a fringe twister and haven’t looked back.
If you don’t want to twist, consider braiding your fringe.
Sometimes I think we forget that when it comes to fringe, the options are more than just twisted and untwisted. Braiding will keep your fringe from fraying just as well as a twisted fringe with the added benefit of having multiple styles of braiding to choose from. Most of us are familiar with the 3-strand braid, but you could also do a flat or round 4-strand braid. When you’re working with bulky yarns that might not clamp as nicely to a fringe twister, braiding might even end up being easier!
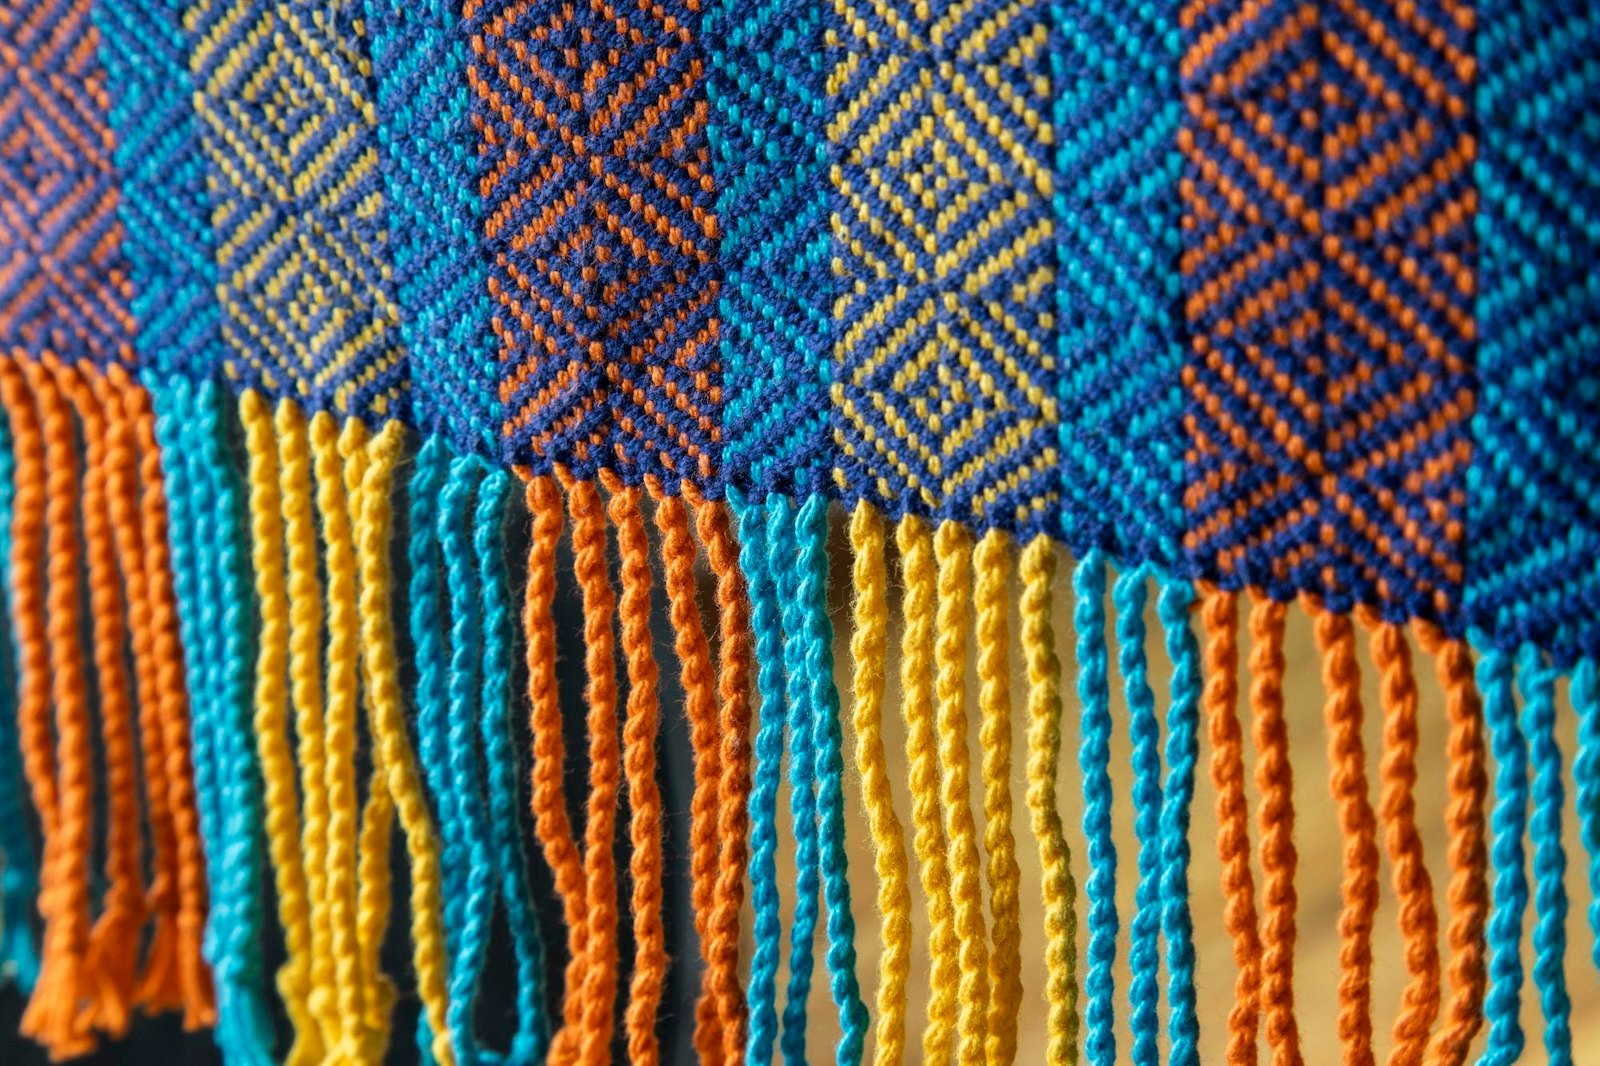
 For the fringe on her Friendship Scarf from the Winter 2025 issue, Sara Goldenberg White alternated braids with bundles of twisted fringe. Photo by Matt Graves
There’s a whole world of finishing options beyond what I’ve mentioned here, but these few bits of advice are the basics I think every beginning weaver should know. Understanding the purpose of hemstitching or twisting your fringe will help you as a weaver make better, more informed decisions about your finishes.
Happy Weaving!
Christina