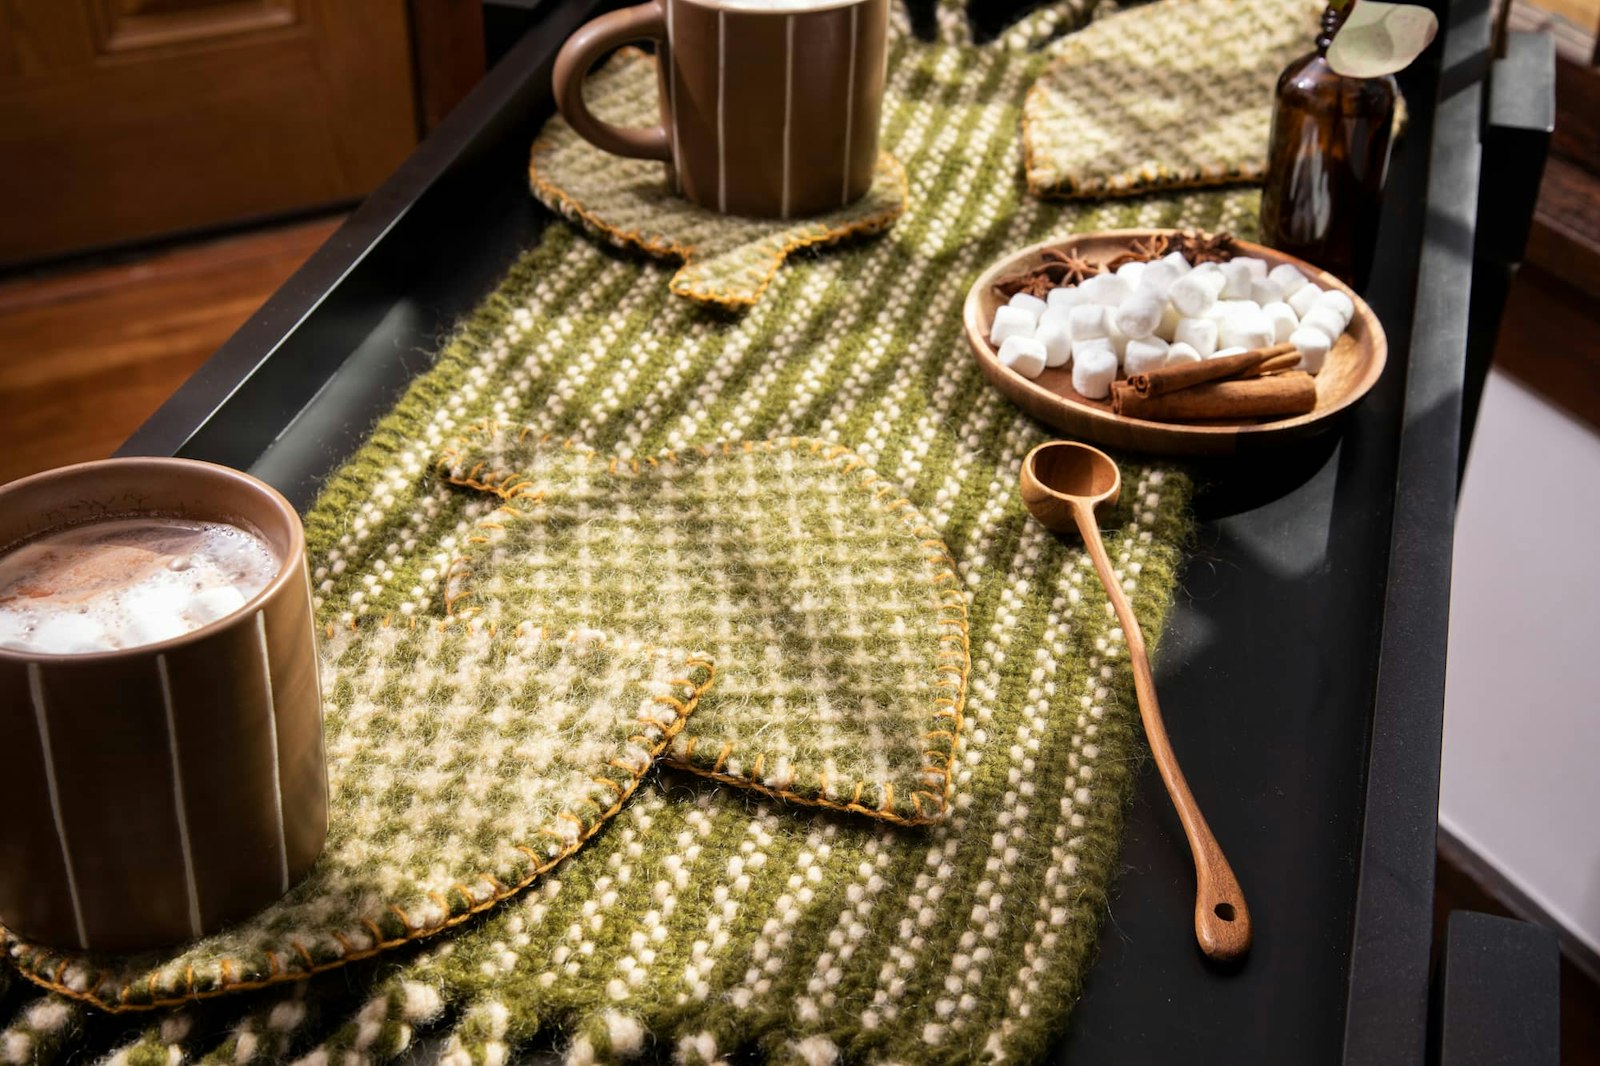
Blanket stitch is a simple, versatile stitch typically used to finish the edges of a piece of cloth. Traditionally, blanket stitch was used to secure the raw edges of blankets—a job for which it works very well—but these days you’ll also see it used to tack down hems and as a decorative finish on edgings, especially thick ones. (My personal favorite use of this stitch is in crazy quilts where it was just one of many methods to cover seams with a bit of a beautiful pattern.)
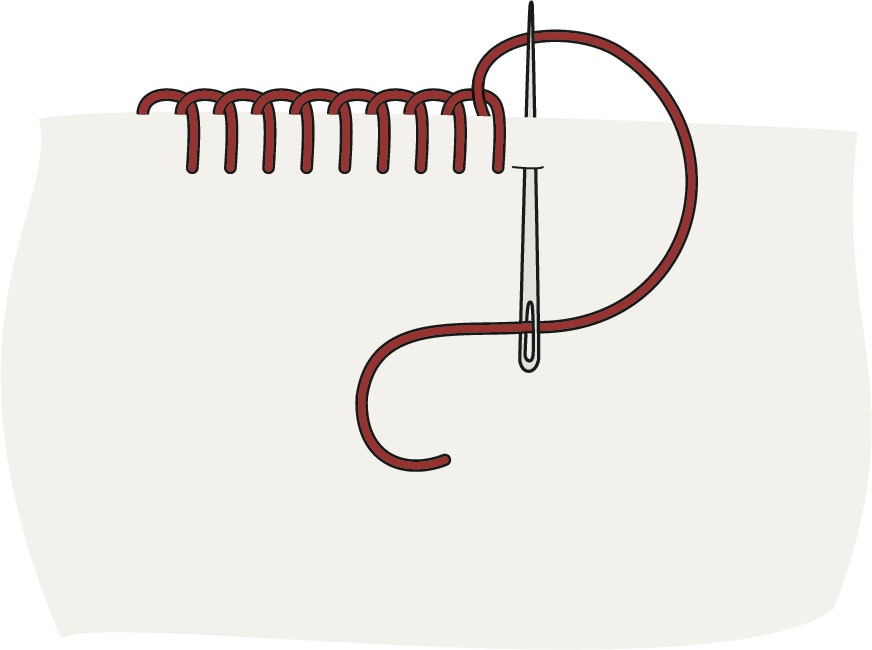
The stitch has two main components: the arms and the baseline. The arms for traditional blanket stitch are placed at right angles to the baseline. Blanket stitch can also be used in a straight line or can follow curves with a slight adjustment. When the line curves, the arms fan. The baseline forms naturally as a twisted edge as you stitch and will be more attractive if your baseline stitches are equal in length and tightened to the same degree. The arms can be the same length or can vary to create different effects.

The directions that follow are for blanket stitches that finish an edge with arms equal in length.
- Determine your desired blanket-stitch arm length and draw a line parallel to the edge at that distance.
- Secure your stitching thread on the back of your fabric.
- Working from the left for right-hand stitchers, bring your needle down into the cloth along the line you have drawn and up to the edge. Loop the stitching thread under the needle as you tighten the stitch.
- Step the needle over a small distance from the first stitch and repeat Step 3.
Once you get the hang of using blanket stitch in a straight, even line, you can practice stitching curves or any other variations your heart desires.

